Basic Fabric Rosette

I enjoy simplicity and being able to make something by cutting corners or doing it a slightly different but still achieving the same or similar results.
I love rosettes. They are so pretty and work as great embellishments on anything from picture frames and pillows to headbands and wreaths. Just following the steps to create a simple and basic rosette can lead to many decorating possibilities.
Supplies needed
– A piece of felt cut out in a circle slightly larger than the size of the rosette. Use a felt color similar to the color fabric.
– Glue gun
– Strip of fabric approximately 2-3 inches wide. Depending on the size of the rosette will determine the length of fabric required.
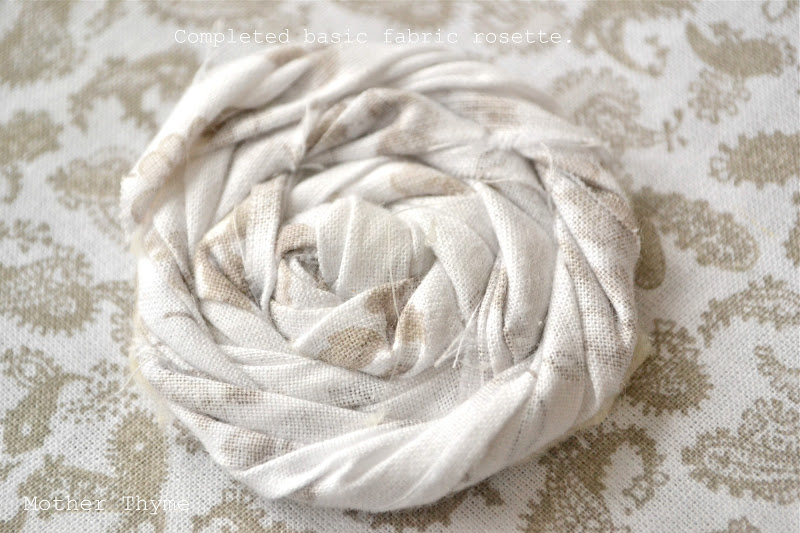
A Basic Rosette
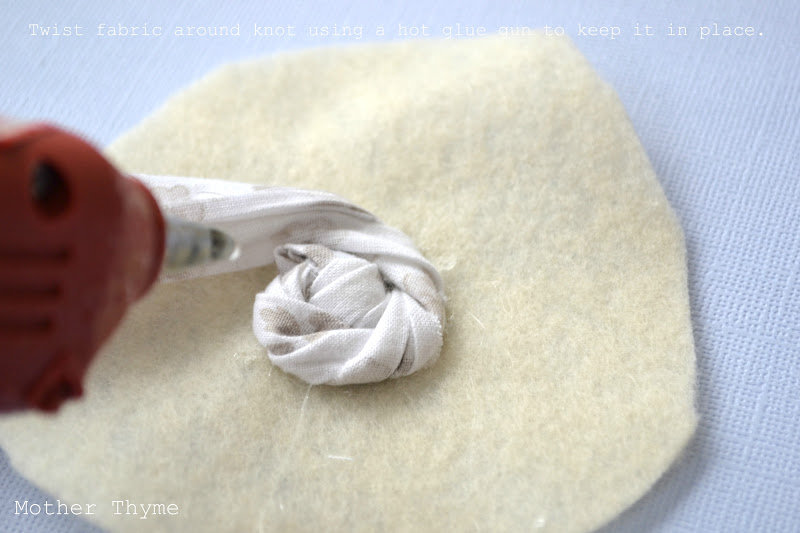
Step 1- Make a knot at one of the fabric.
Step 2- Place a dab of hot glue in the center of felt.
Step 3- Place knot on glue and press firmly until knot holds

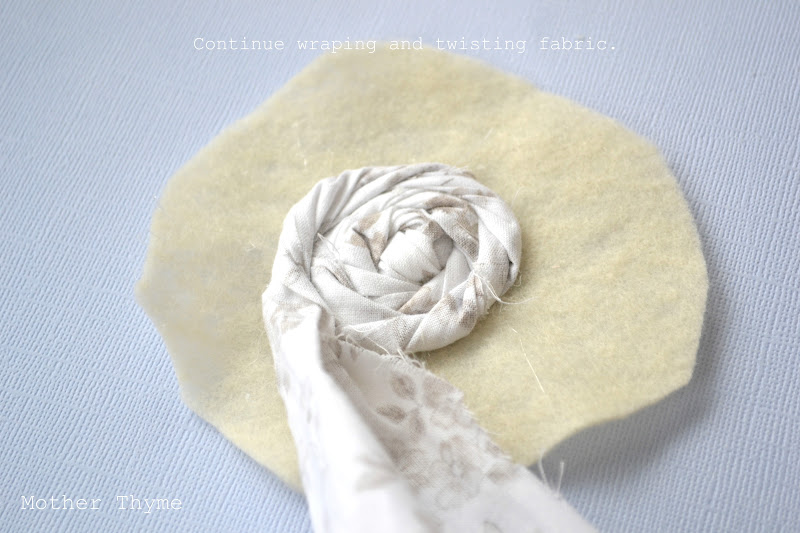
Step 4- Start wrapping the fabric around the knot, placing a dab of glue around to hold in place. Make as tight or as lose as desired. Twist fabric as fabric is being wrapped.
Step 5- Continue to wrap, placing a small amount of glue to hold fabric in place until desired size is achieved.
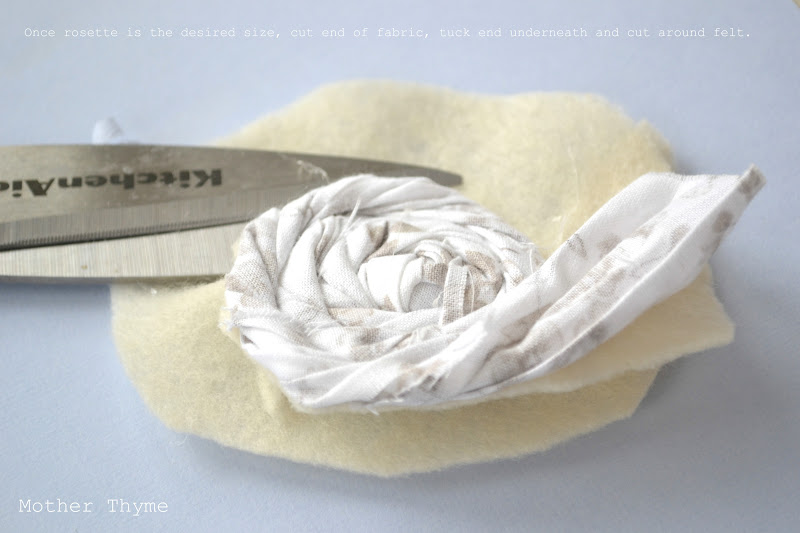
Step 6- Cut felt closely around the rosette. Either tuck end behind and hold with a dab of glue, tuck under previous row or snip extra fabric and neatly glue into place.
Step 7- Gently pull on fabric to mold to desired look.
Step 8- Use in embellishing projects like this Shabby Fabric Wreath.
Awesome job!