Skip to content
Facebook
Instagram
Pinterest
TikTok
Twitter
YouTube
Email
MOTHER THYME PRINT SHOP
HOME
YOUTUBE
BLOG
RECIPE INDEX
ABOUT
AMAZON
CHALK COUTURE
PRINT SHOP
Expand
DIGITAL PRINT SHOP
FREE PRINTABLES
Facebook
Twitter
Instagram
Search
Toggle Menu
Home
/
baking
baking
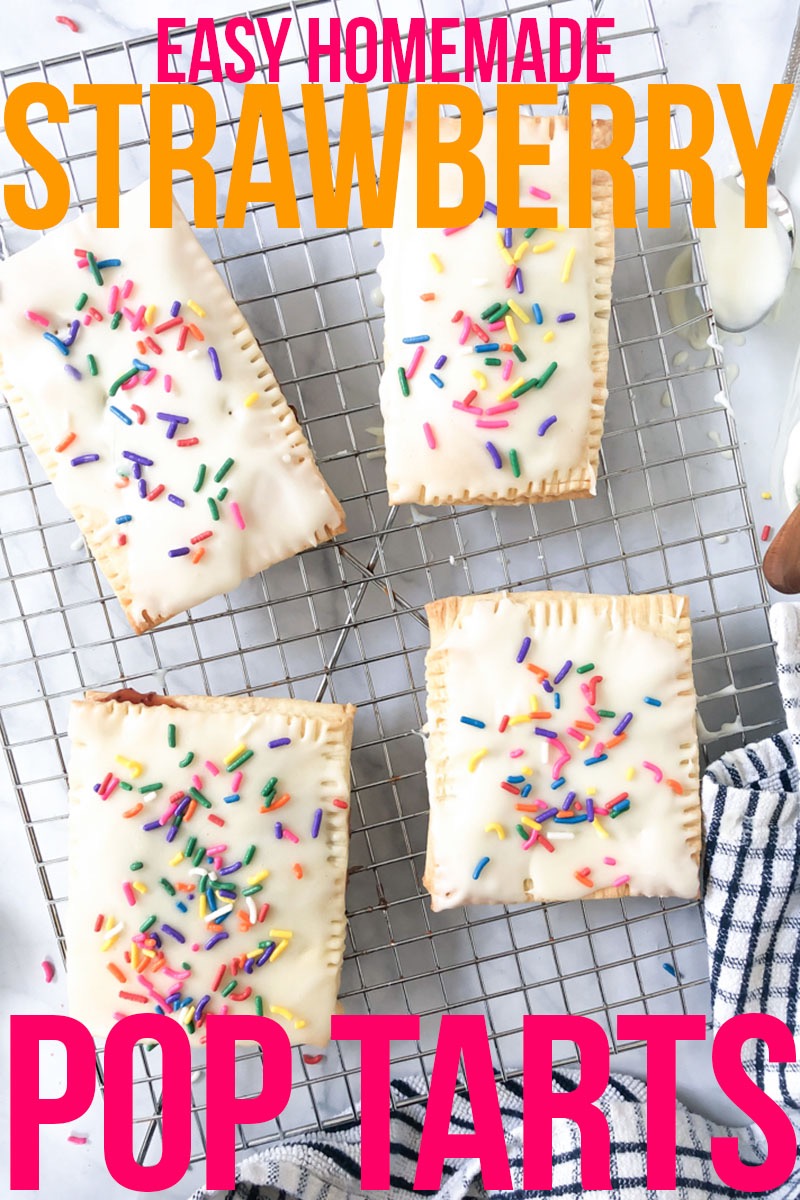
Easy Homemade Strawberry Pop Tarts
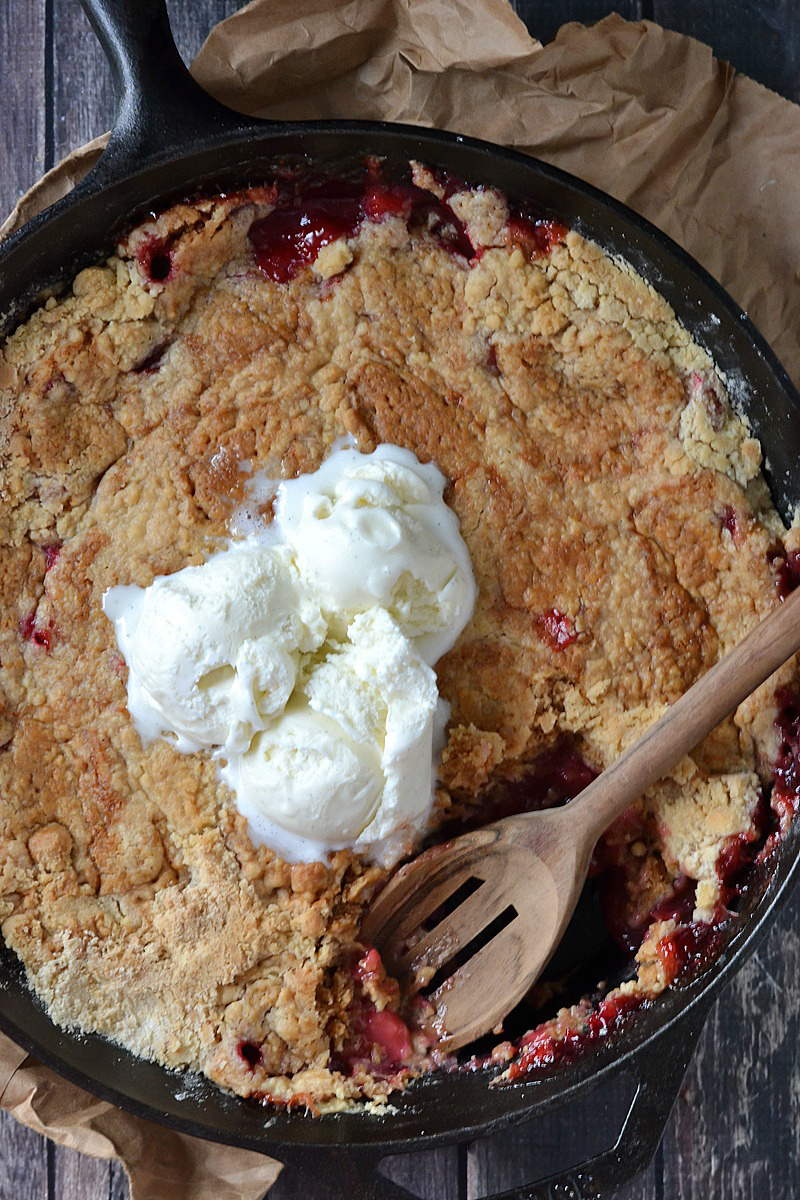
Strawberry Cobbler
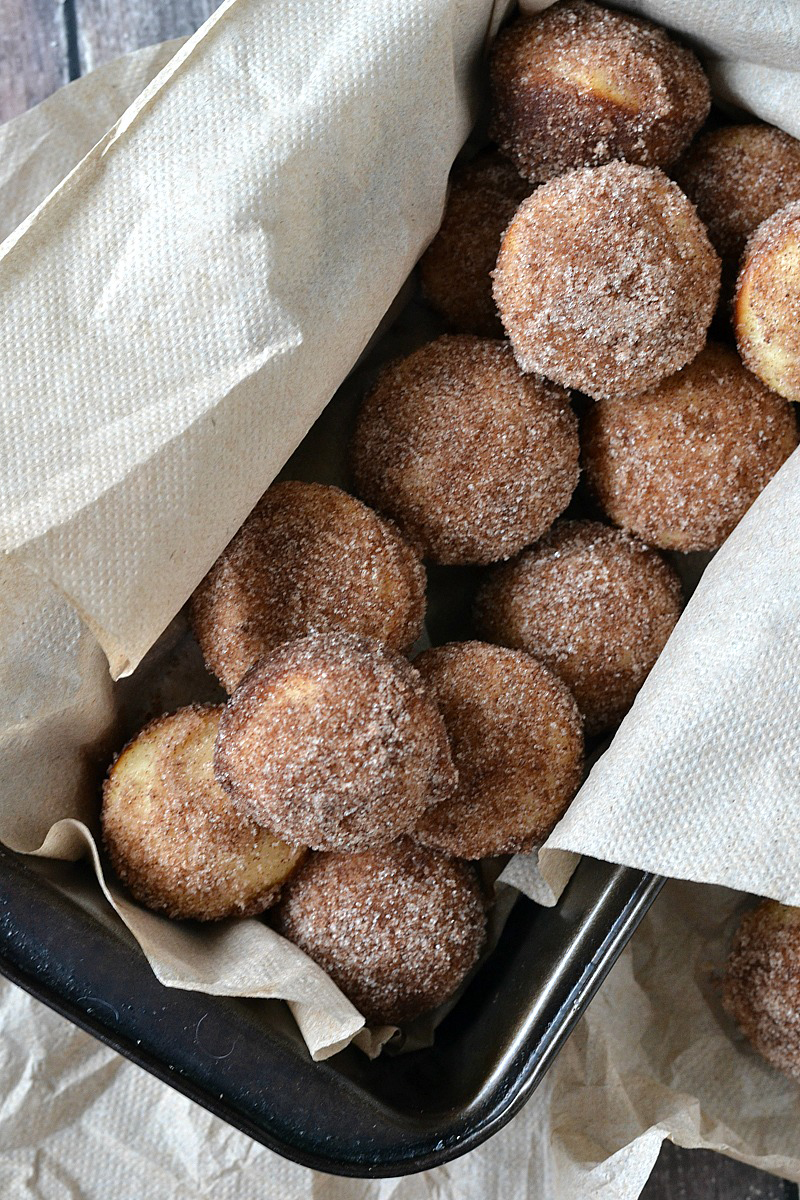
Mini Cinnamon Sugar Donut Muffins
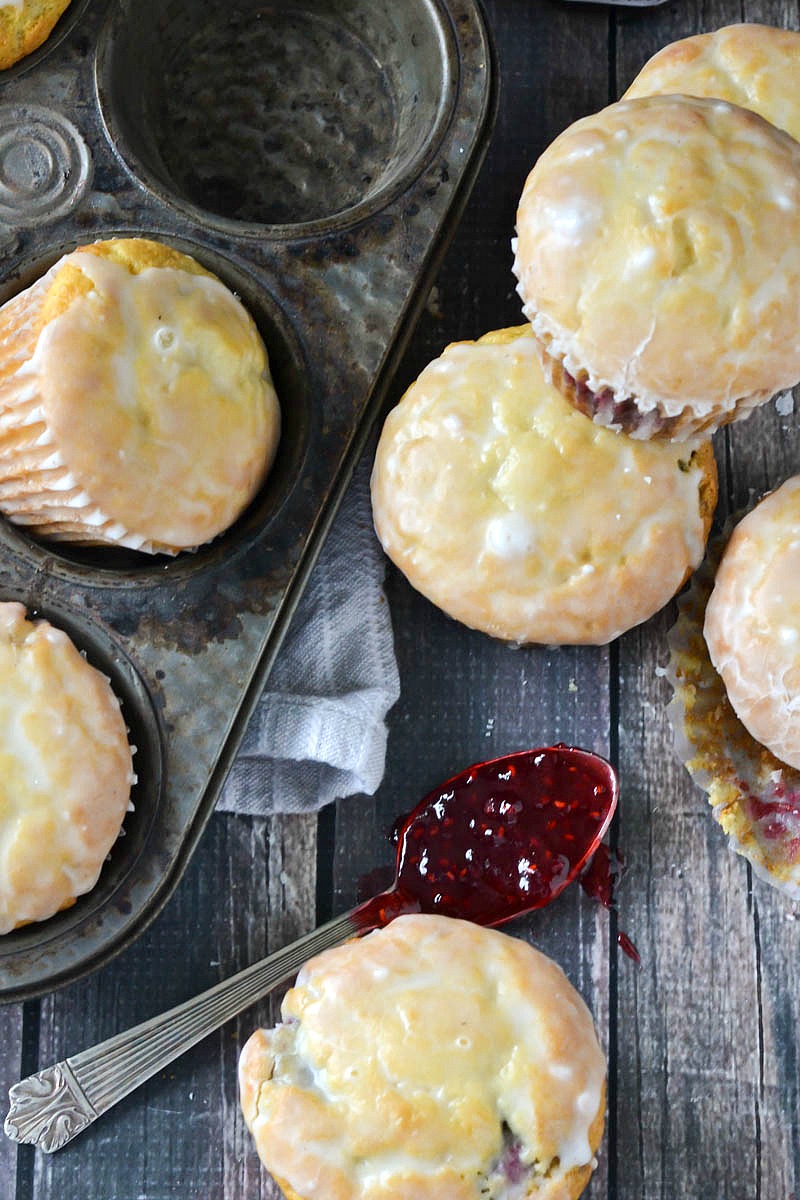
Jam Filled Almond Muffins
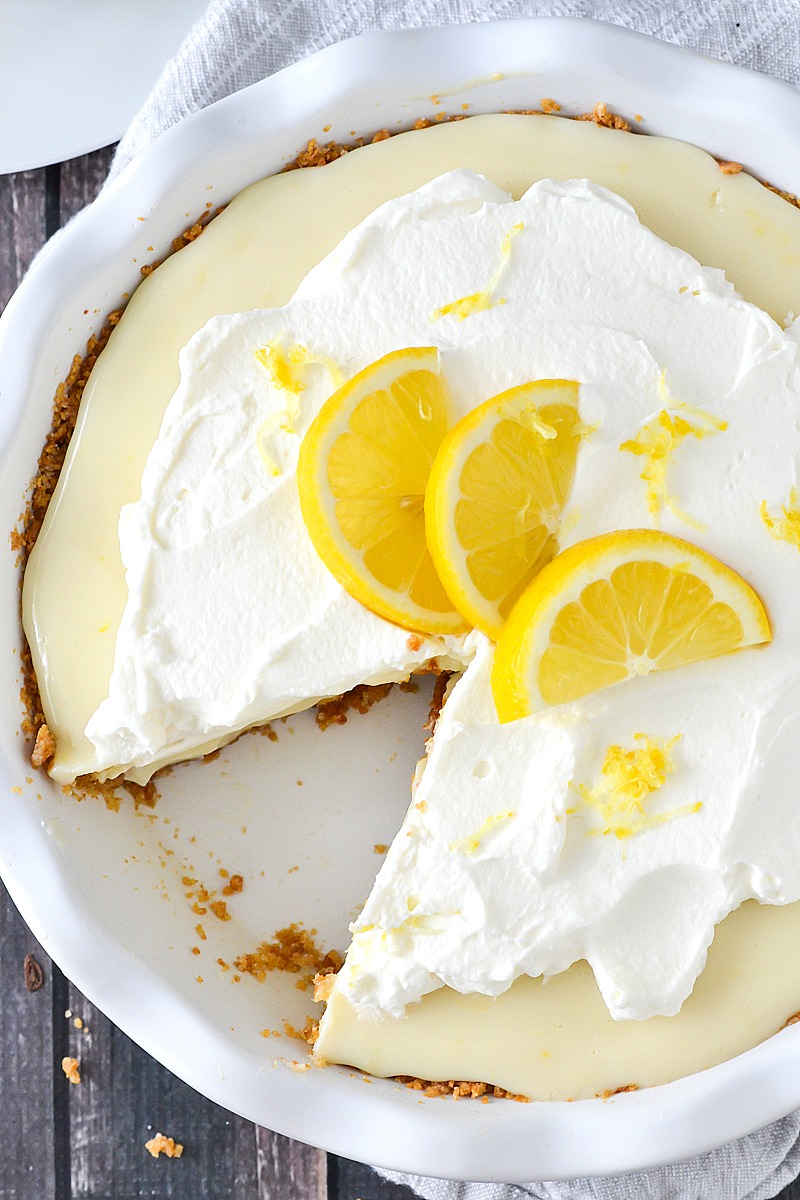
Lemon Pie
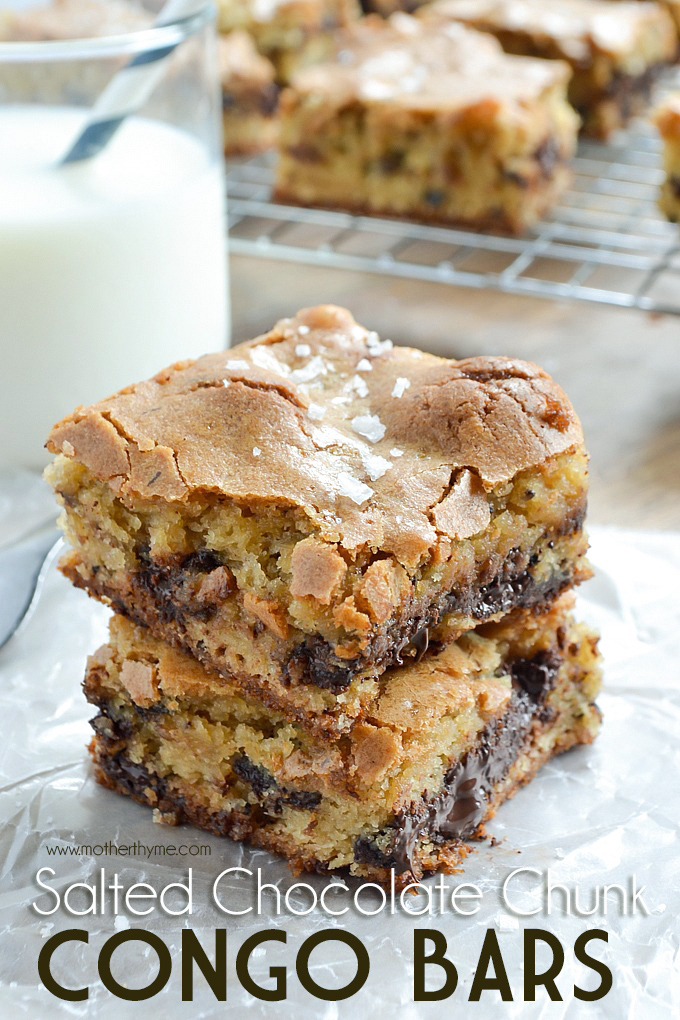
Salted Chocolate Chunk Congo Bars
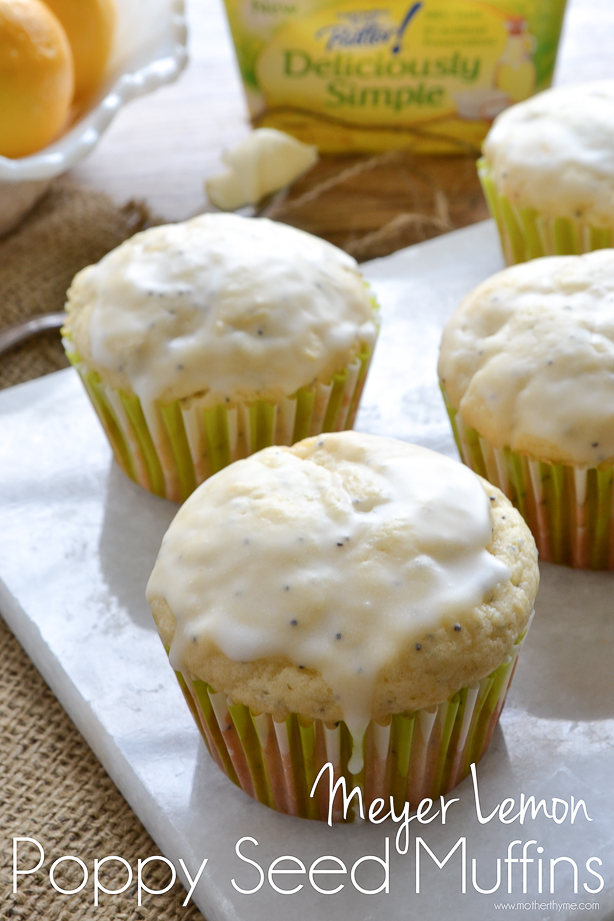
Meyer Lemon Poppy Seed Muffins
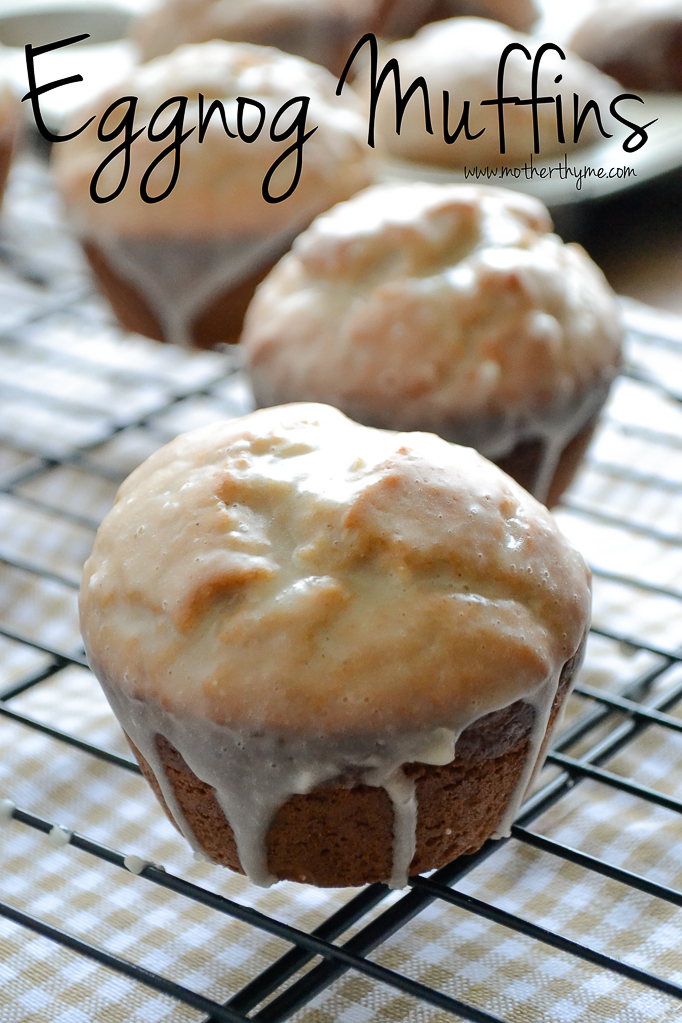
Eggnog Muffins
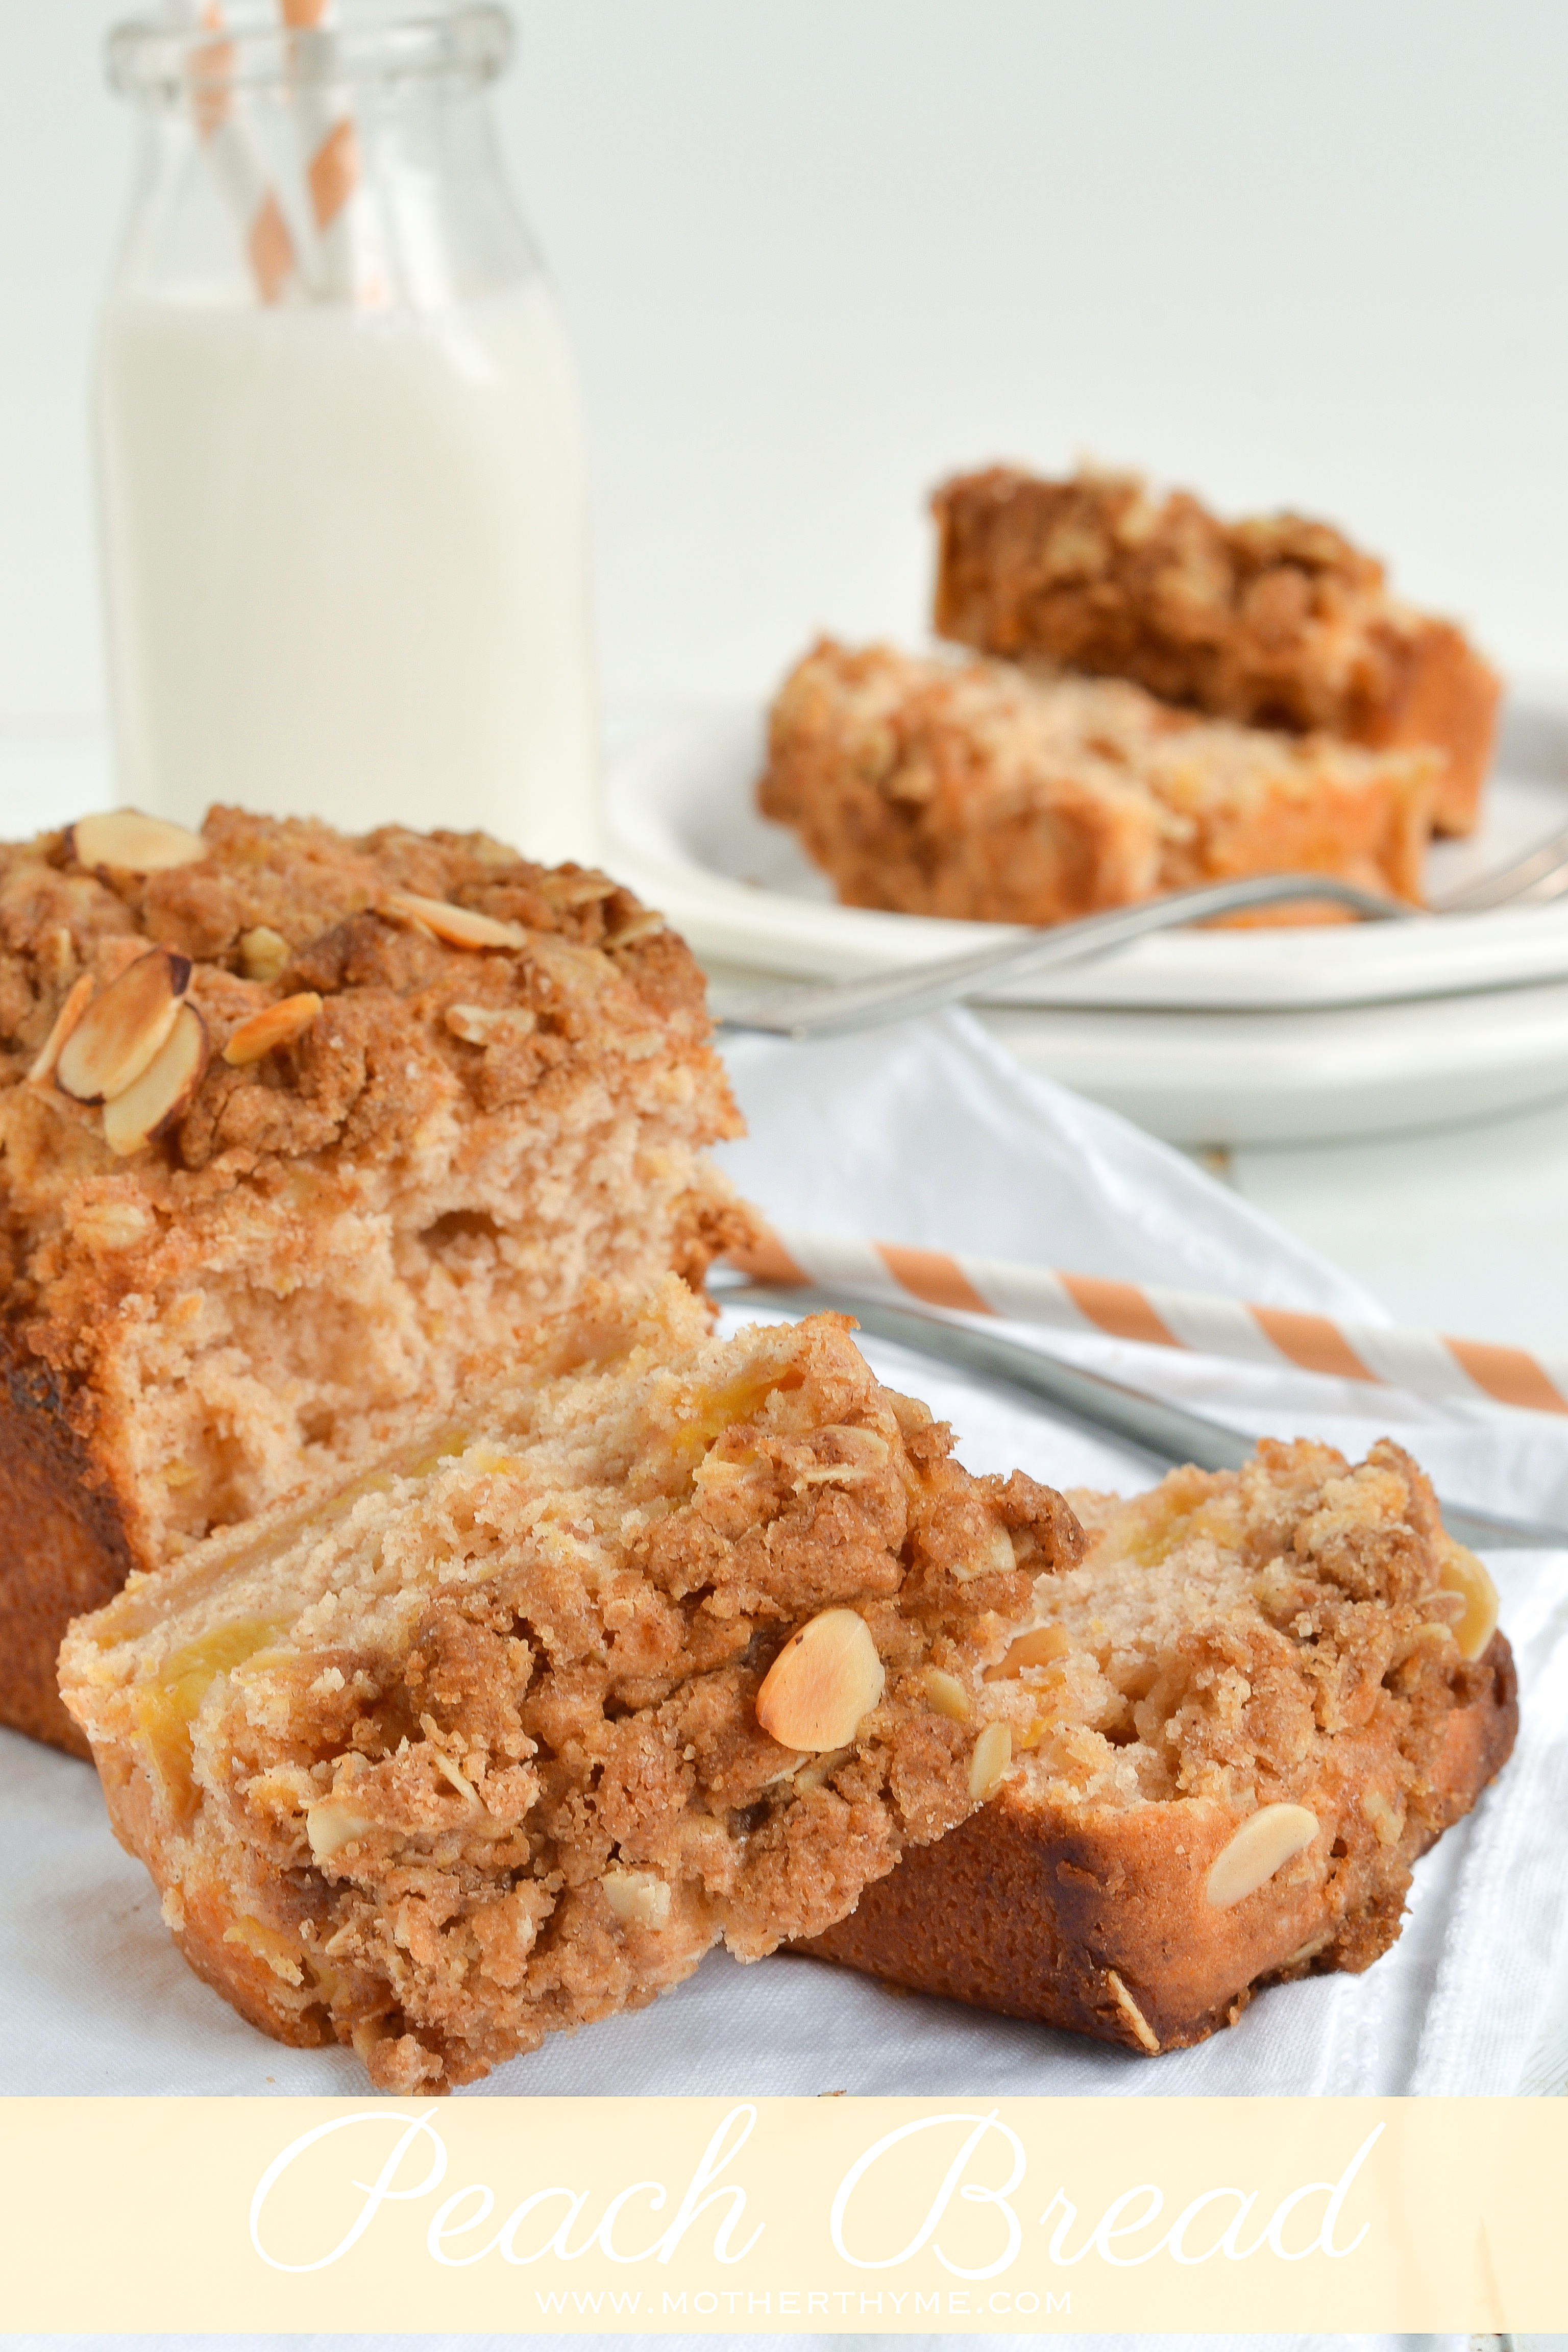
Peach Bread
Page navigation
1
2
3
4
Next Page
Next
Scroll to top
Scroll to top
HOME
YOUTUBE
BLOG
RECIPE INDEX
ABOUT
AMAZON
CHALK COUTURE
PRINT SHOP
Expand child menu
Expand
DIGITAL PRINT SHOP
FREE PRINTABLES
Toggle Menu Close
Search for:
Search