Skip to content
Facebook
Instagram
Pinterest
TikTok
Twitter
YouTube
Email
MOTHER THYME PRINT SHOP
HOME
YOUTUBE
BLOG
RECIPE INDEX
ABOUT
AMAZON
CHALK COUTURE
PRINT SHOP
Expand
DIGITAL PRINT SHOP
FREE PRINTABLES
Facebook
Twitter
Instagram
Search
Toggle Menu
Home
/
Countdown to Christmas Cookies
Countdown to Christmas Cookies
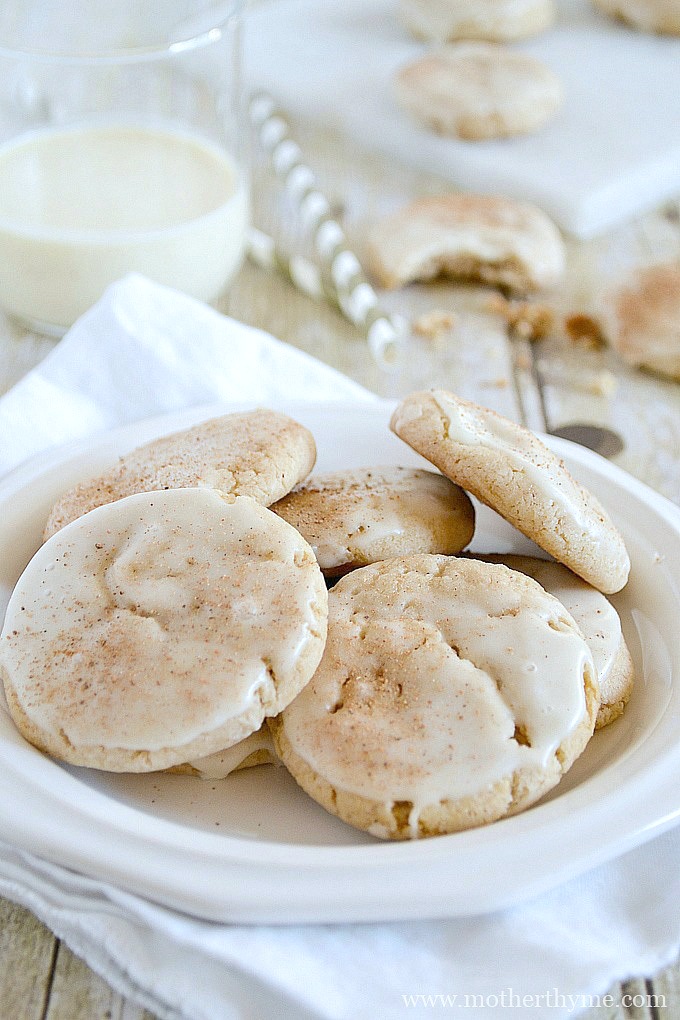
Eggnog Cookies
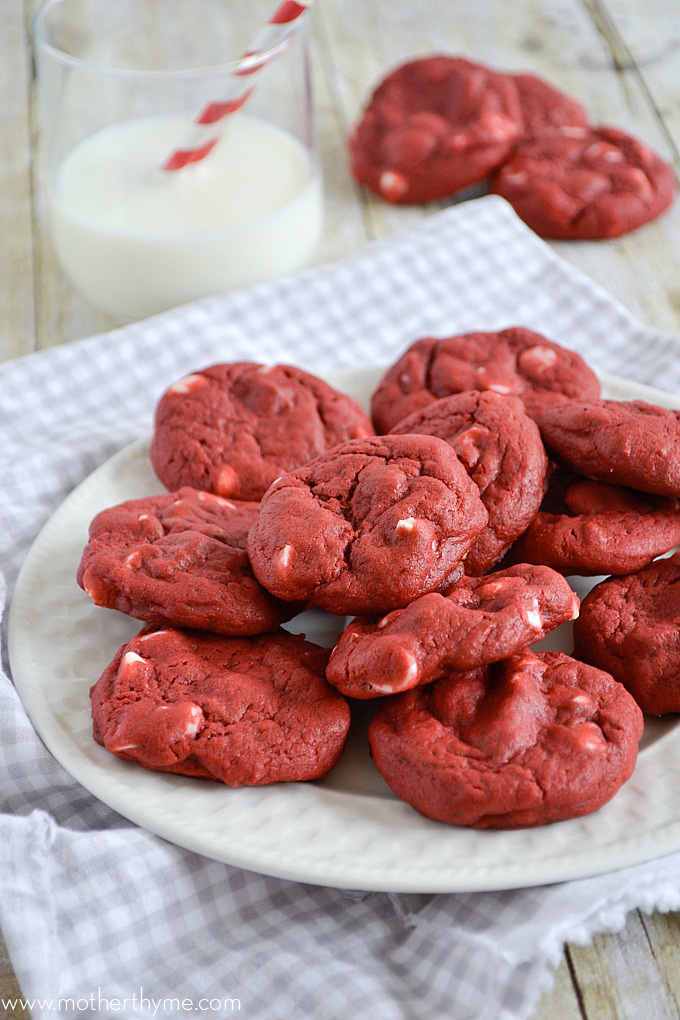
Red Velvet White Chocolate Chip Cookies
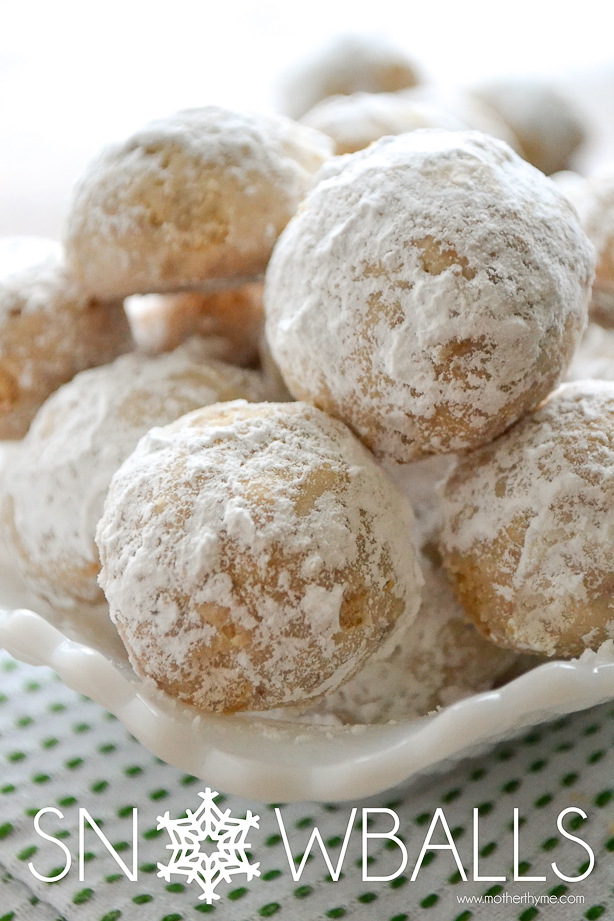
Snowball Cookies
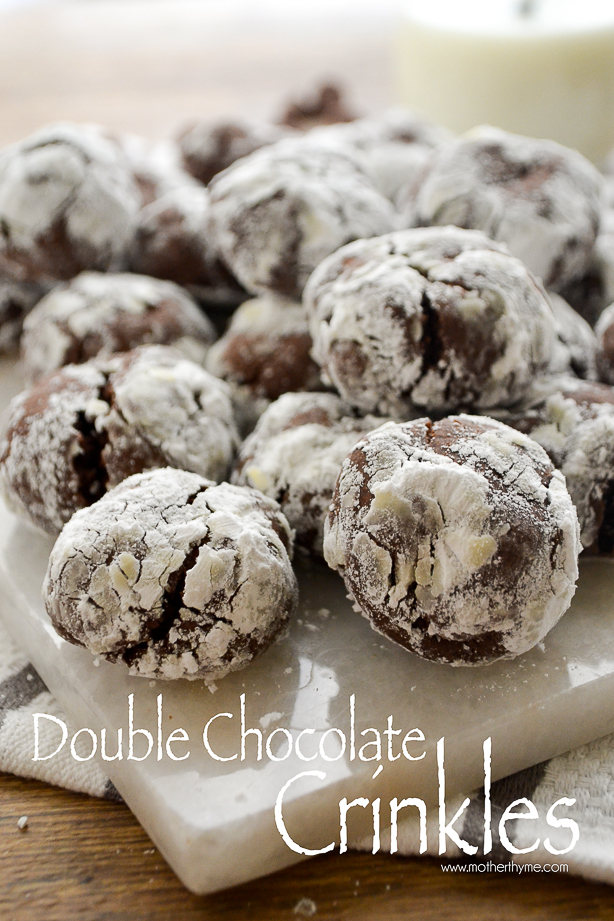
Double Chocolate Crinkles
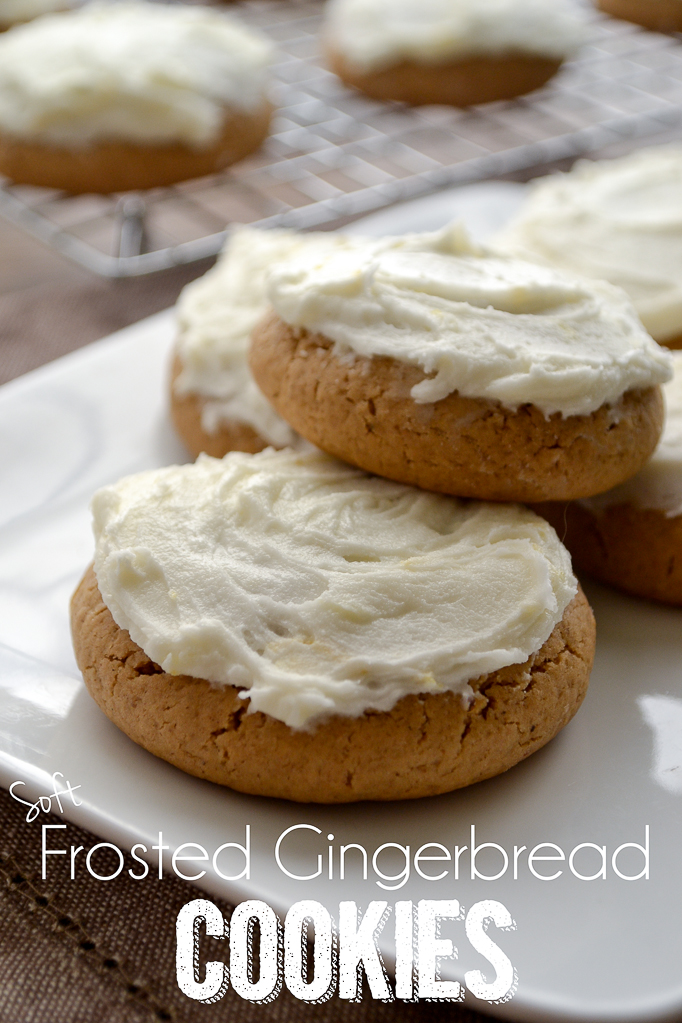
Frosted Gingerbread Cookies
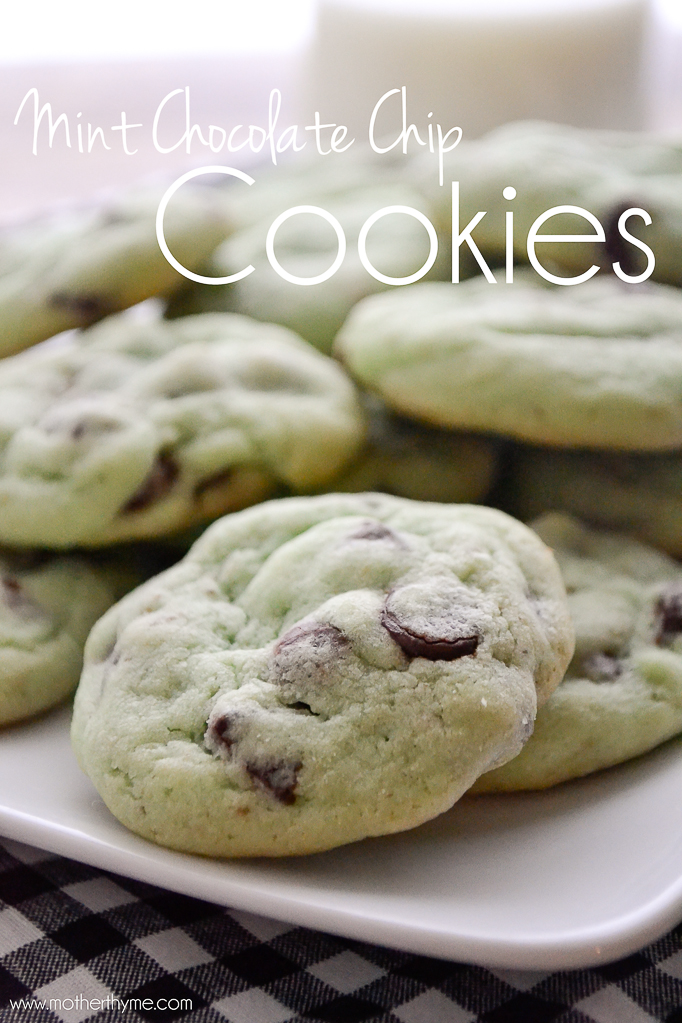
Mint Chocolate Chip Cookies
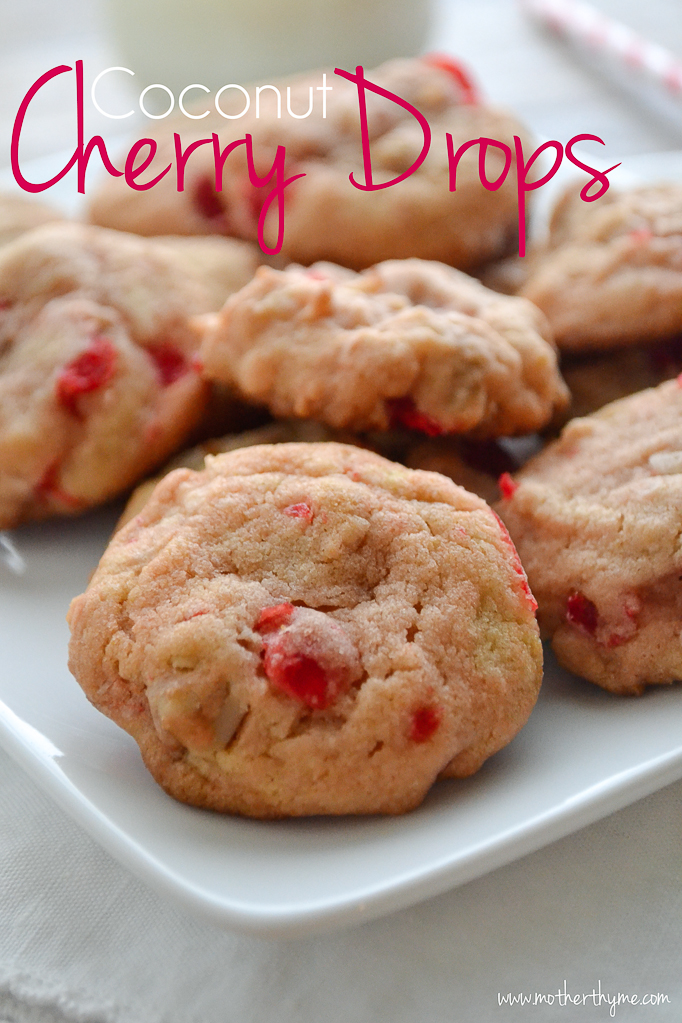
Coconut Cherry Drops
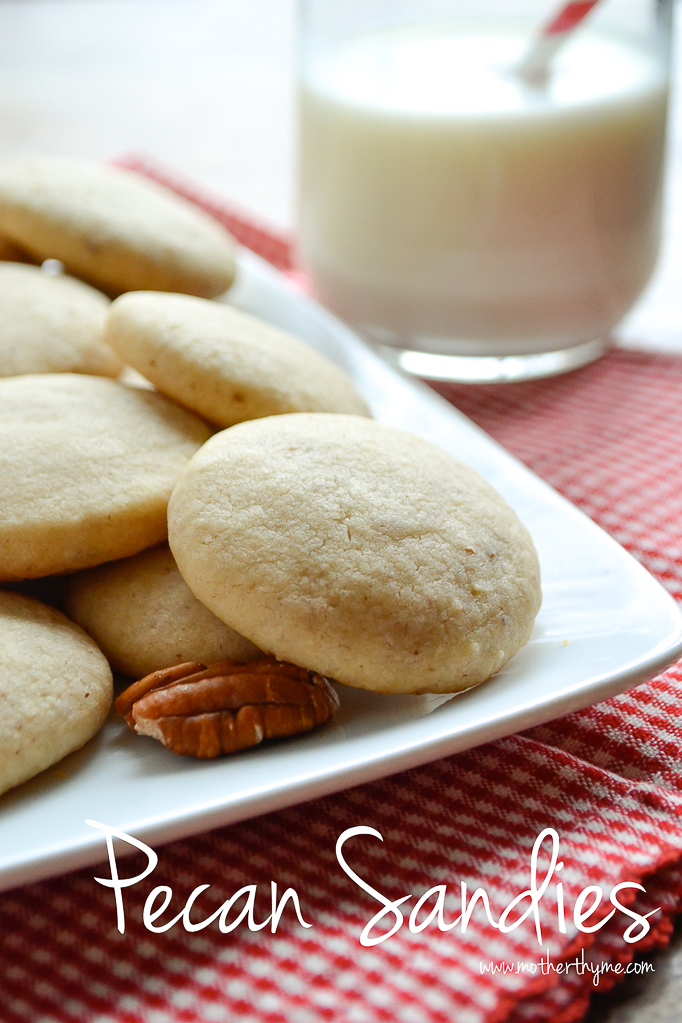
Pecan Sandies
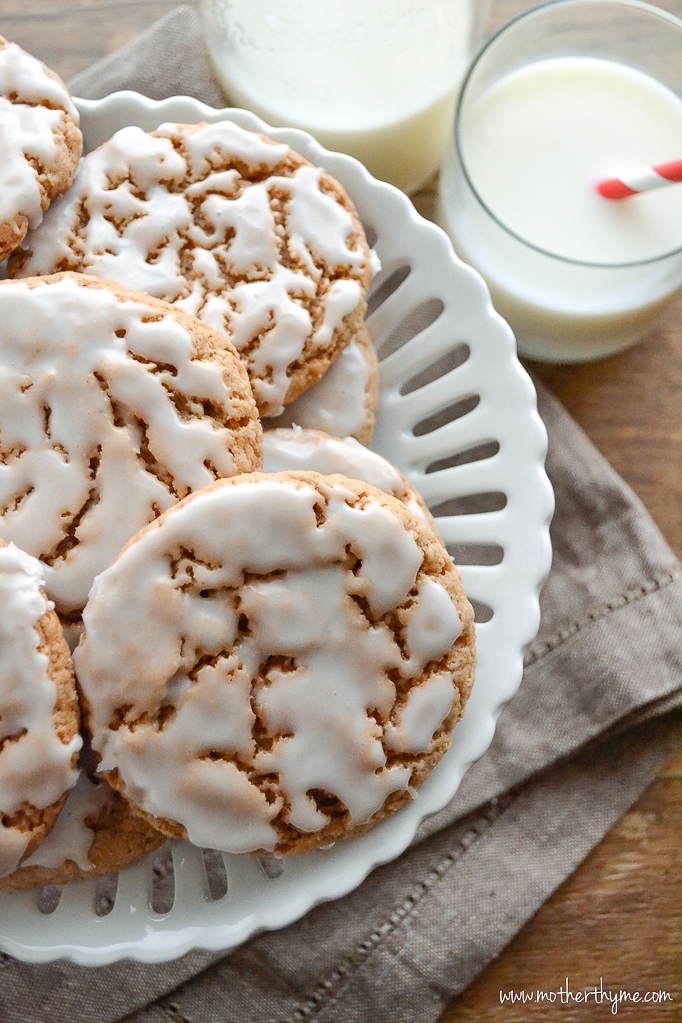
Iced Oatmeal Cookies
Page navigation
1
2
3
Next Page
Next
Scroll to top
Scroll to top
HOME
YOUTUBE
BLOG
RECIPE INDEX
ABOUT
AMAZON
CHALK COUTURE
PRINT SHOP
Expand child menu
Expand
DIGITAL PRINT SHOP
FREE PRINTABLES
Toggle Menu Close
Search for:
Search