Skip to content
Facebook
Instagram
Pinterest
TikTok
Twitter
YouTube
Email
MOTHER THYME PRINT SHOP
HOME
YOUTUBE
BLOG
RECIPE INDEX
ABOUT
AMAZON
CHALK COUTURE
PRINT SHOP
Expand
DIGITAL PRINT SHOP
FREE PRINTABLES
Facebook
Twitter
Instagram
Search
Toggle Menu
Home
/
holidays
holidays
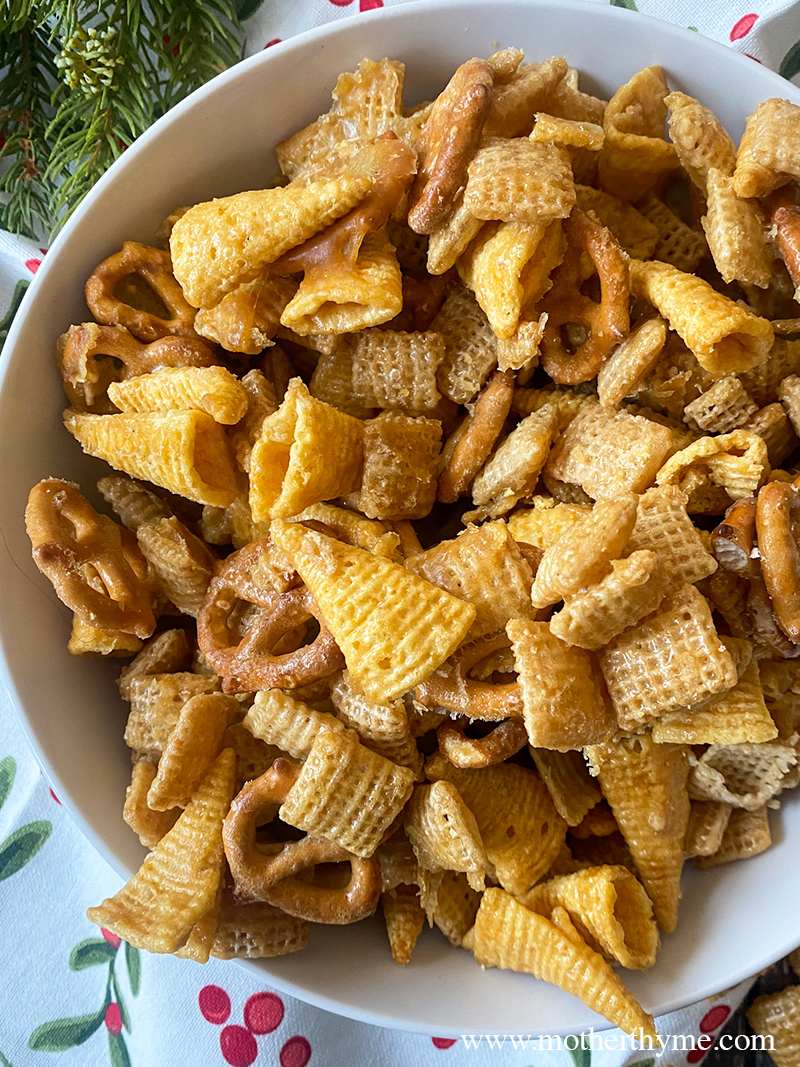
Easy Caramel Chex Mix – A Holiday Favorite
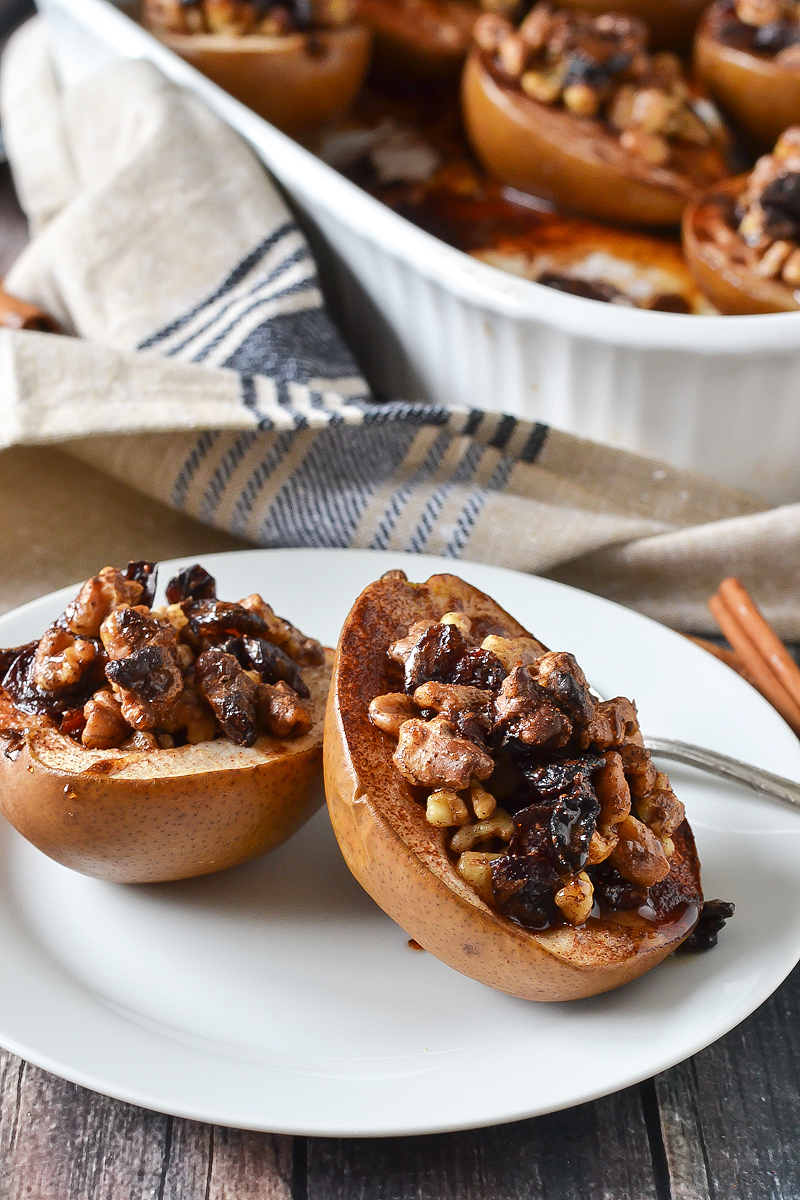
Maple Walnut Baked Pears
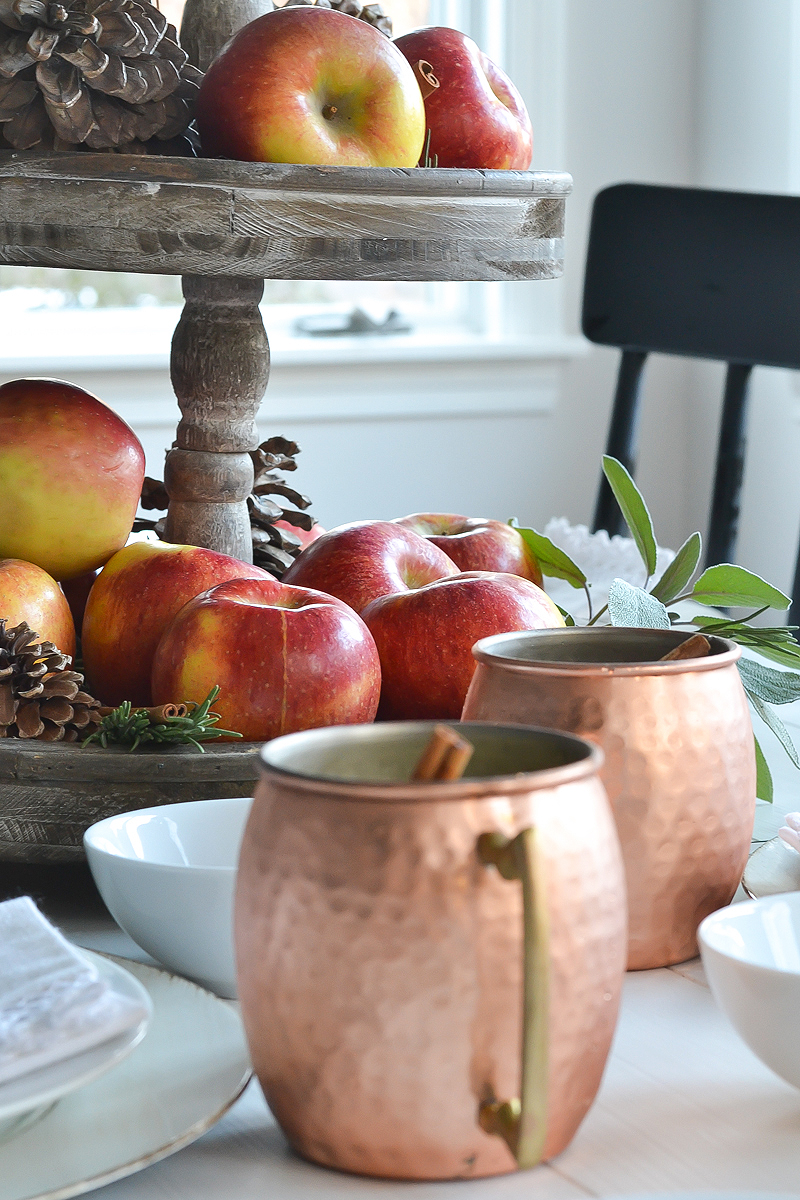
Holiday Apple Centerpiece and Apple Cider Moscow Mule
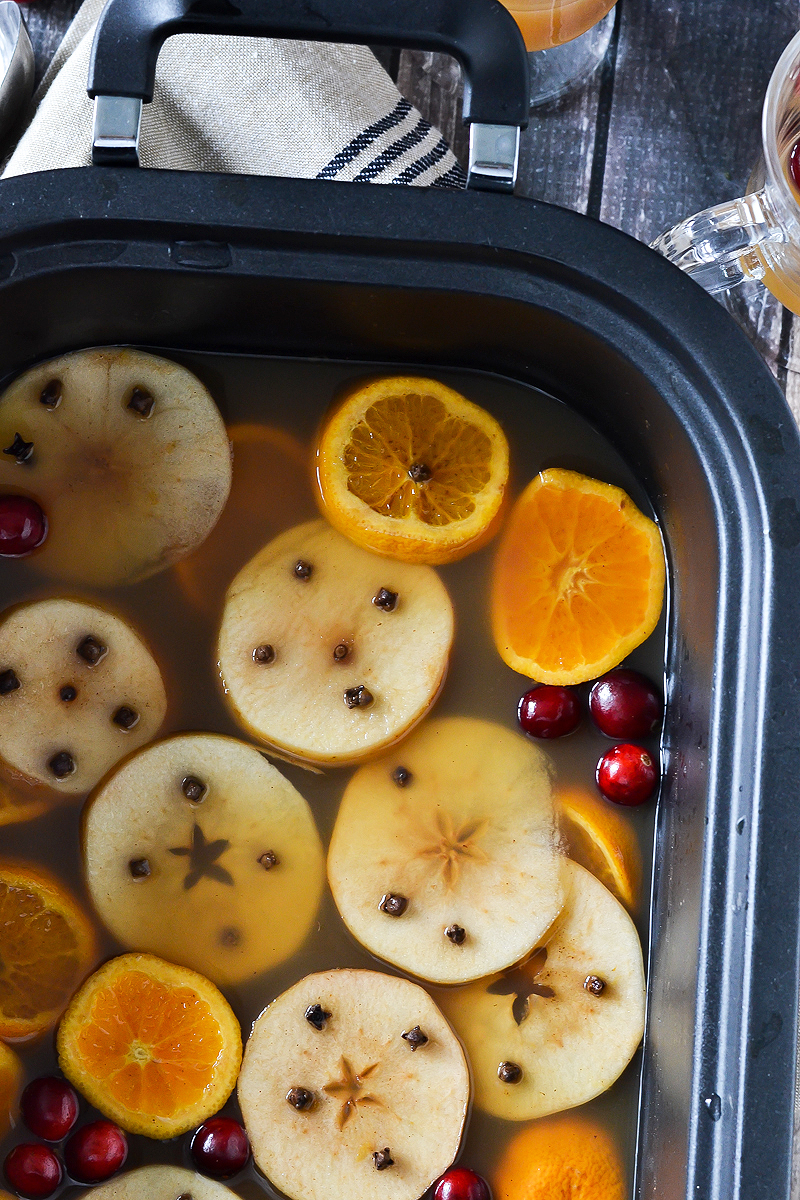
Hot Spiced Apple Cider
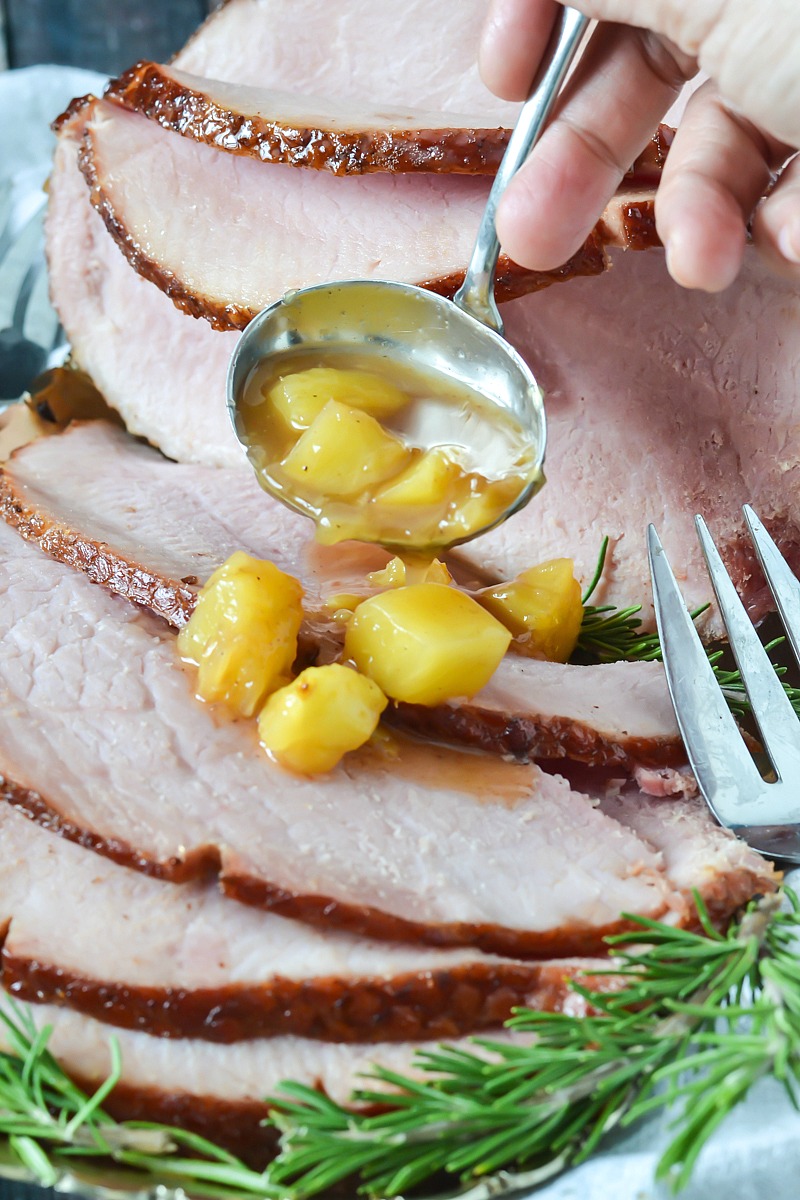
Baked Ham with Warm Pineapple Compote
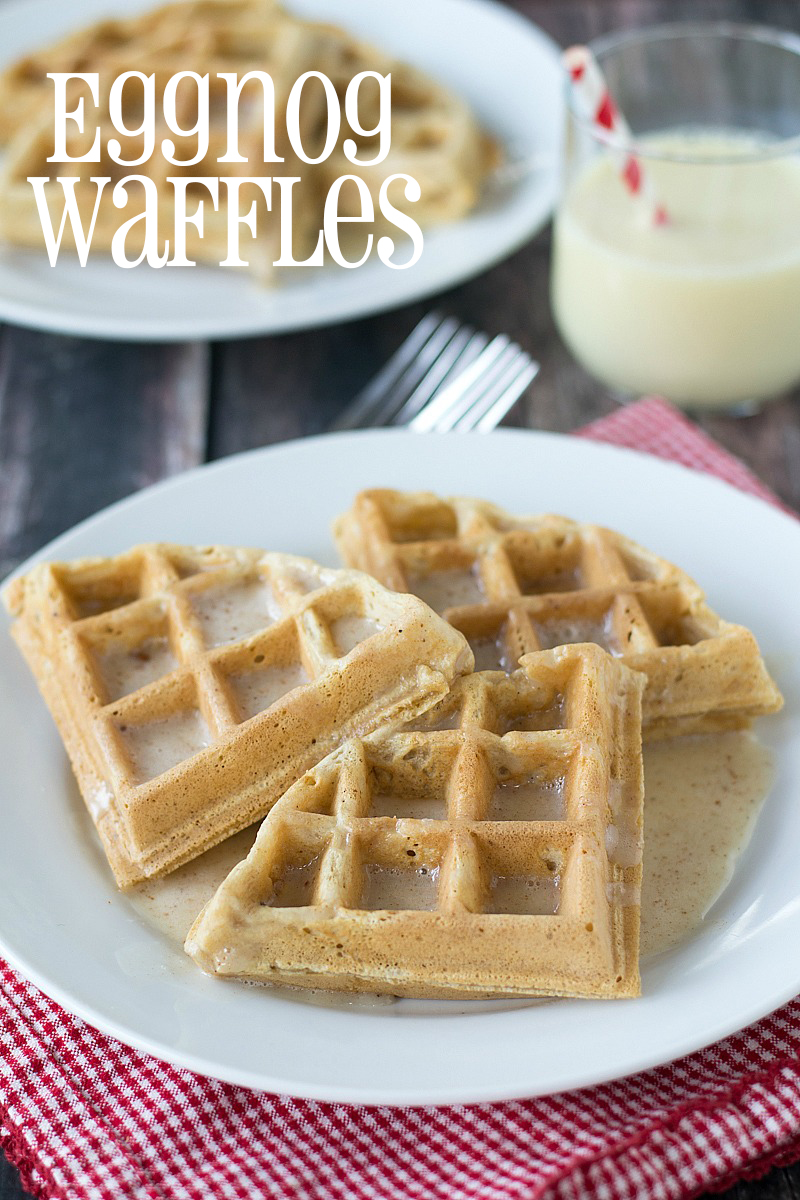
Eggnog Waffles
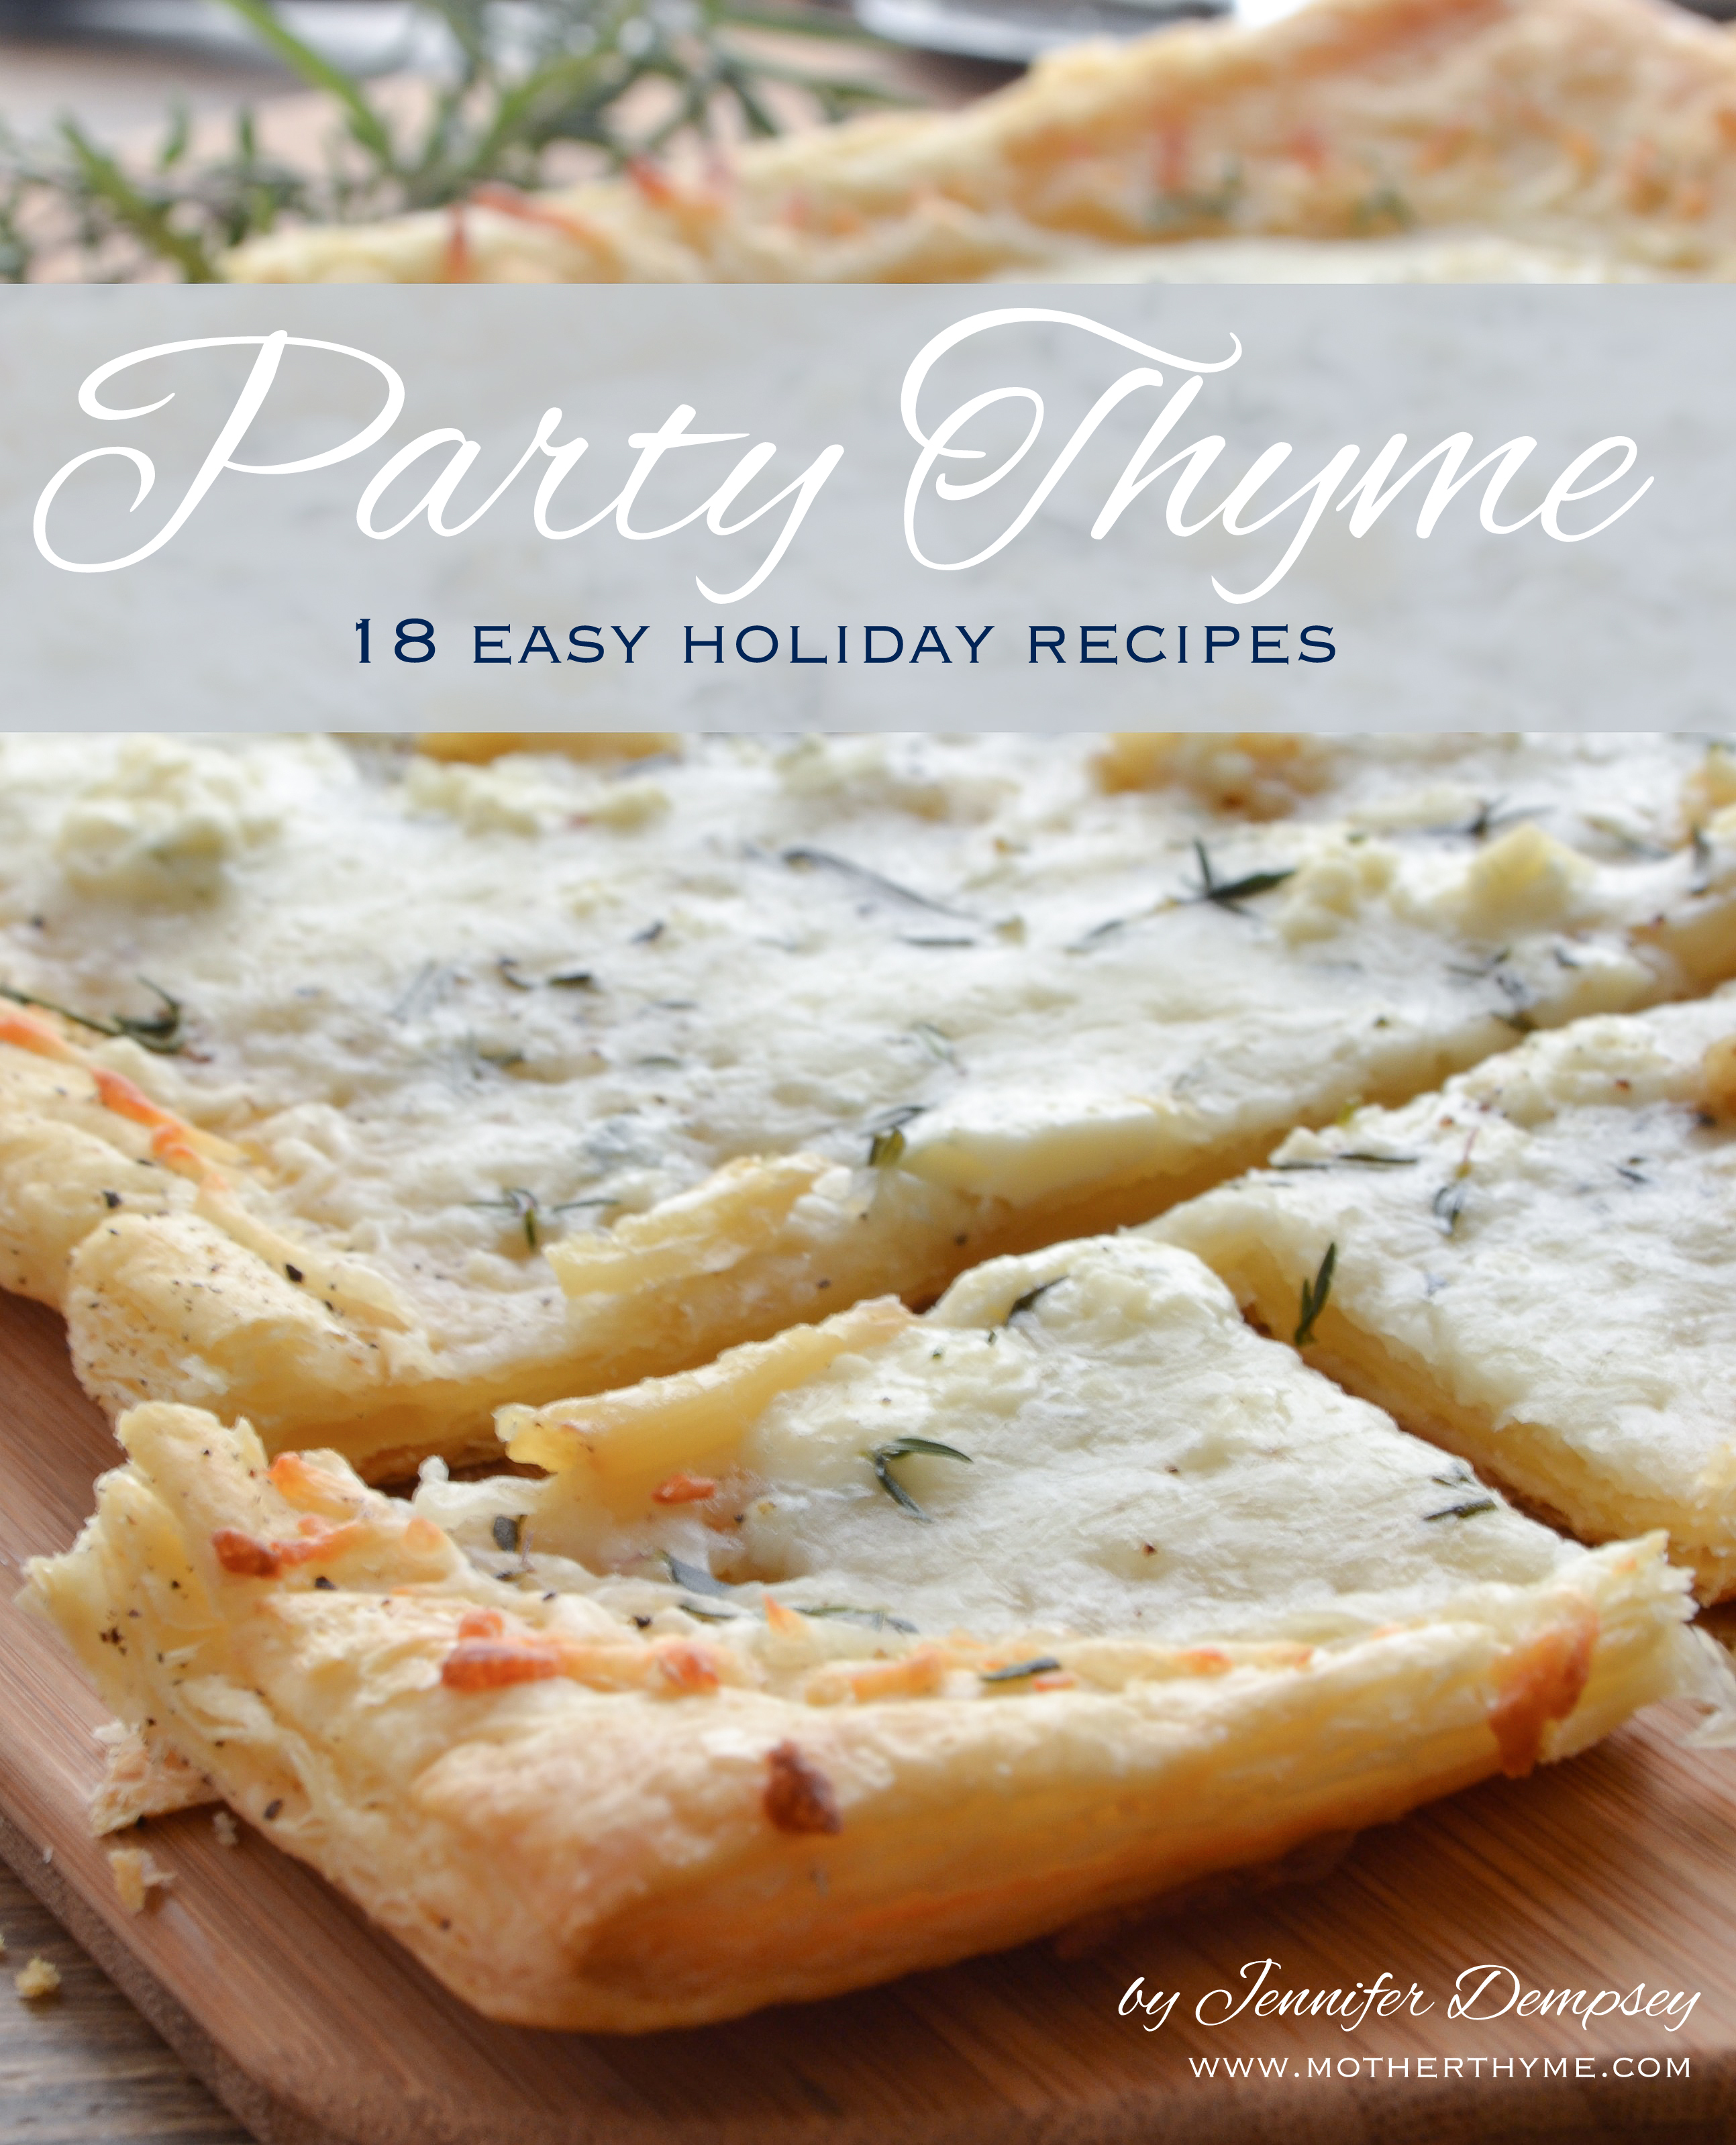
Party Thyme – 18 Easy Holiday Recipes (FREE eBook)
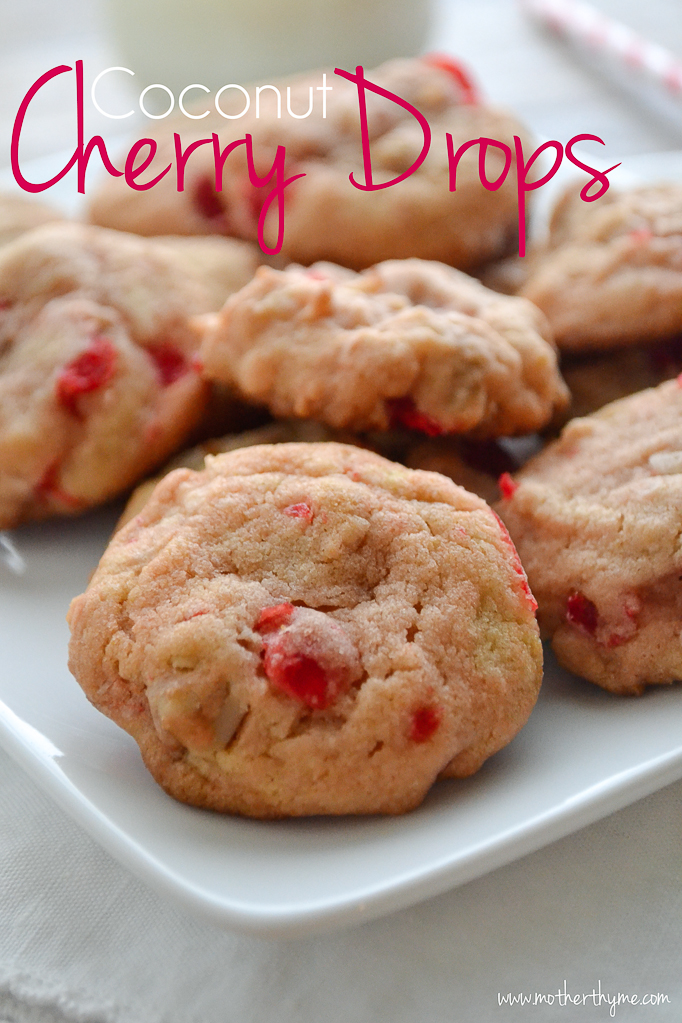
Coconut Cherry Drops
Gingerbread Muffins
Page navigation
1
2
Next Page
Next
Scroll to top
Scroll to top
HOME
YOUTUBE
BLOG
RECIPE INDEX
ABOUT
AMAZON
CHALK COUTURE
PRINT SHOP
Expand child menu
Expand
DIGITAL PRINT SHOP
FREE PRINTABLES
Toggle Menu Close
Search for:
Search