DIY Dollar Tree Halloween Bat Makeover
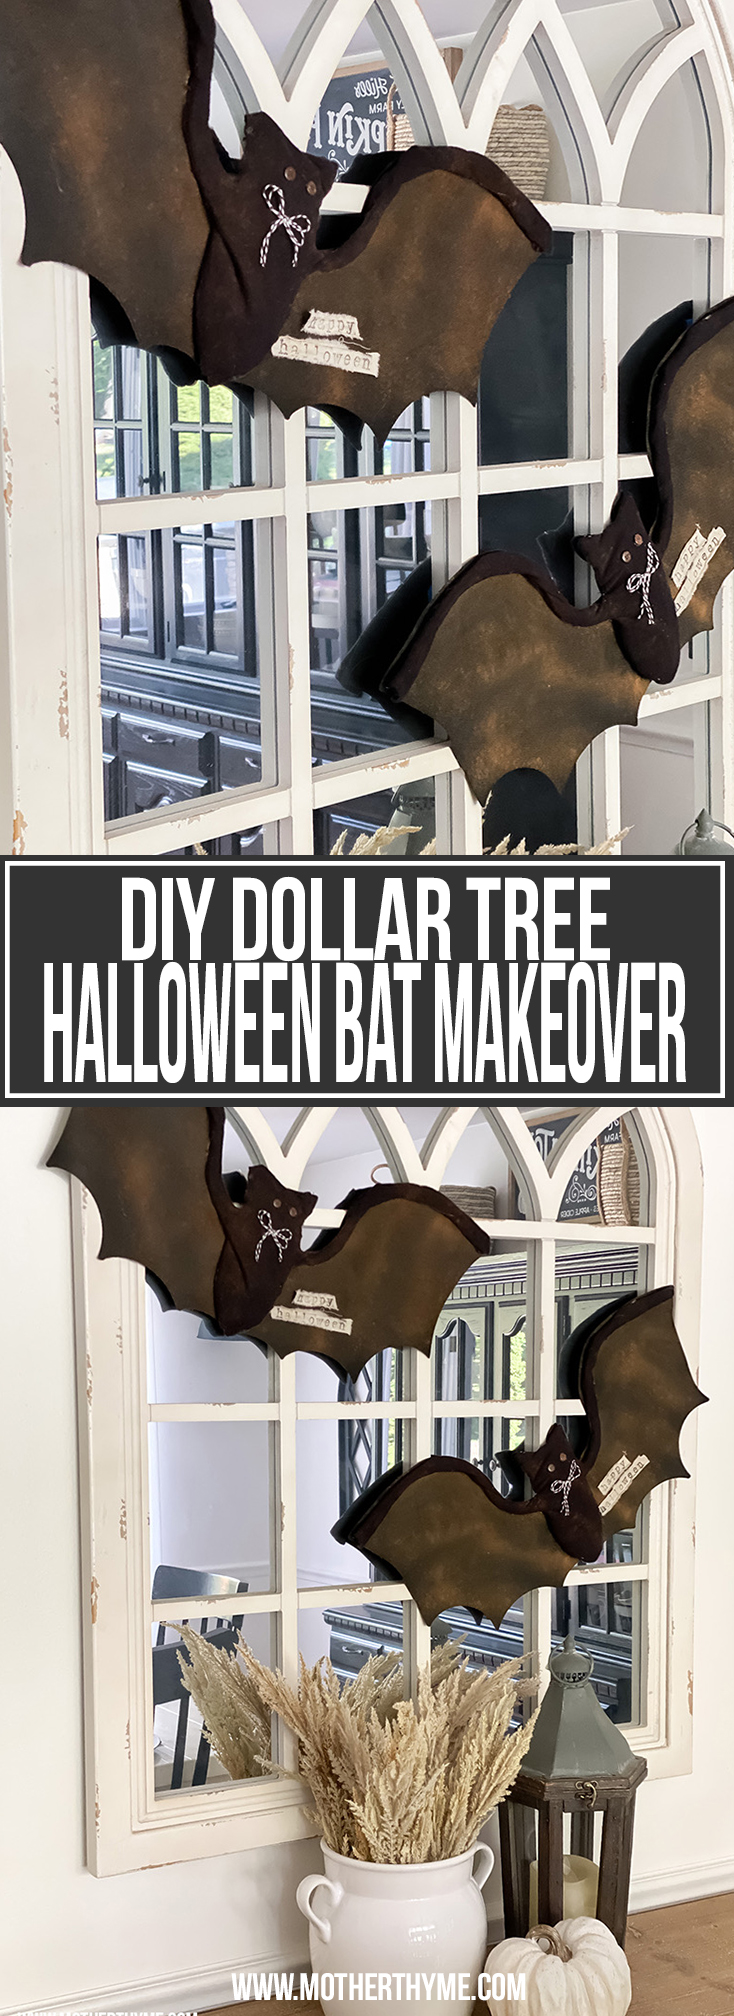
Looking for an easy Halloween craft? Then check out this DIY Dollar Tree Halloween bat makeover! What a difference, right? These bats look like they came from a craft show, not the Dollar Tree!
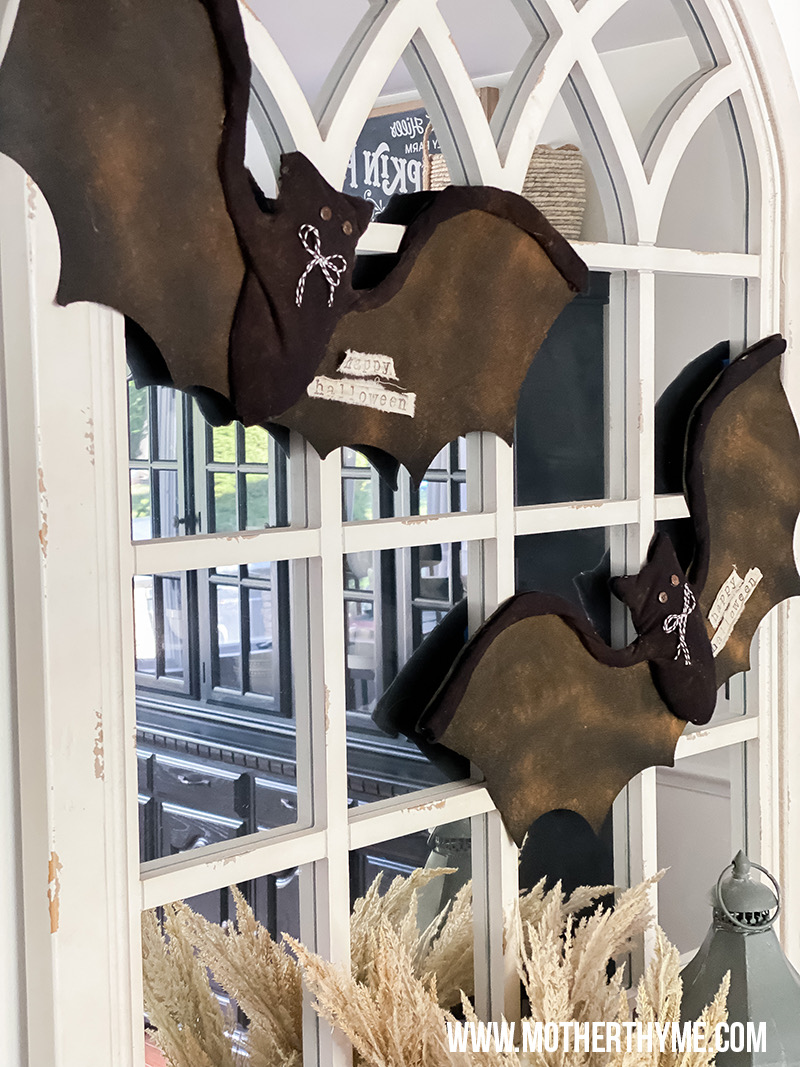
You can find a lot of cute things at the Dollar Tree that just need a little makeover, like these bats. I’m into cute not creepy Halloween decor and when I found these bats at Dollar Tree I knew I could give them a cute makeover!
I fired up my hot glue, cut out some flannel fabric and quickly transformed these into cute little bats!
These bats are a good size too! They measure about 23-inches wide. You can hot glue some floral wire on the back to hang. I hung mine with painter tape! These adorable bats would look super cute hung anywhere in your home.
Let me show you how I made them.
First up, the supplies…
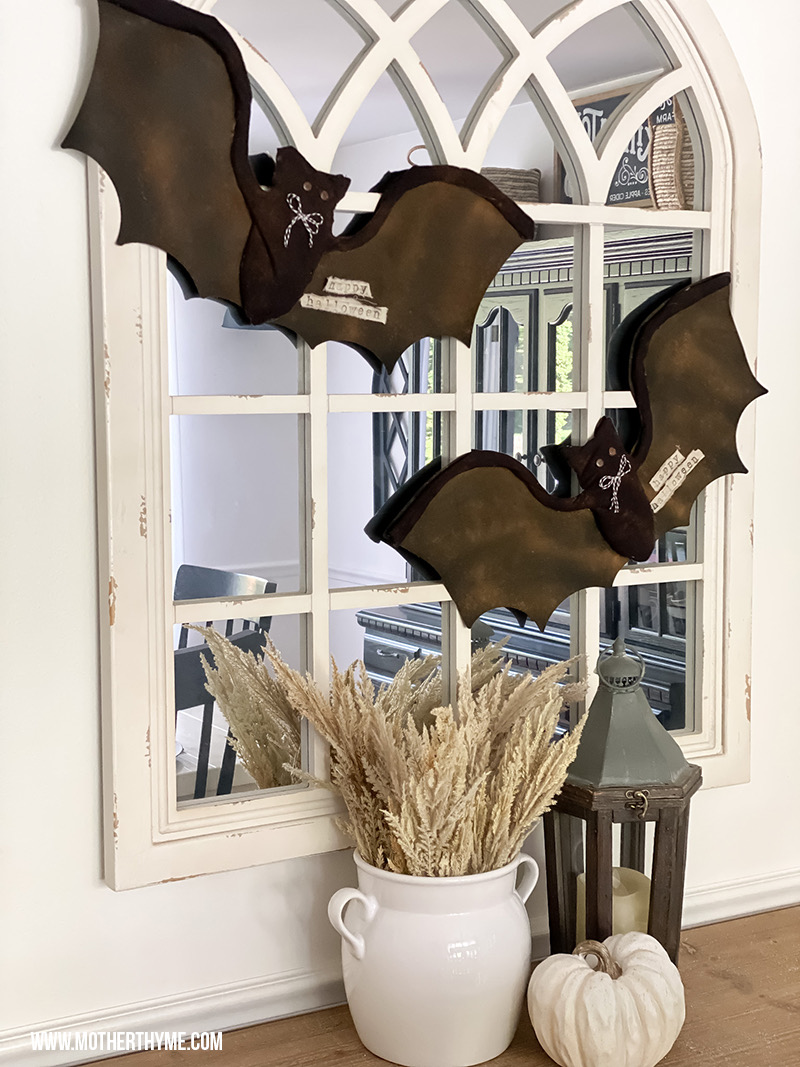
SUPPLIES
- Dollar Tree bat as pictured
- Black flannel fabric – mine is from Hobby Lobby
- Hot glue and glue gun
- Scissors
- Buttons for eyes
- A few pieces of torn muslin for tag
- Stamp set – I got my clickable stamps on Amazon and they are currently out of stock.
- Bakers twine for bow – I used brown
- Spray glue – mine is from Dollar Tree
- Cinnamon – also from Dollar Tree
Watch
Start off by removing the tinsel bat from the wing. It’s pretty easy to do. Once you get it pulled up, just gently pull it away from the wing until you got it removed.
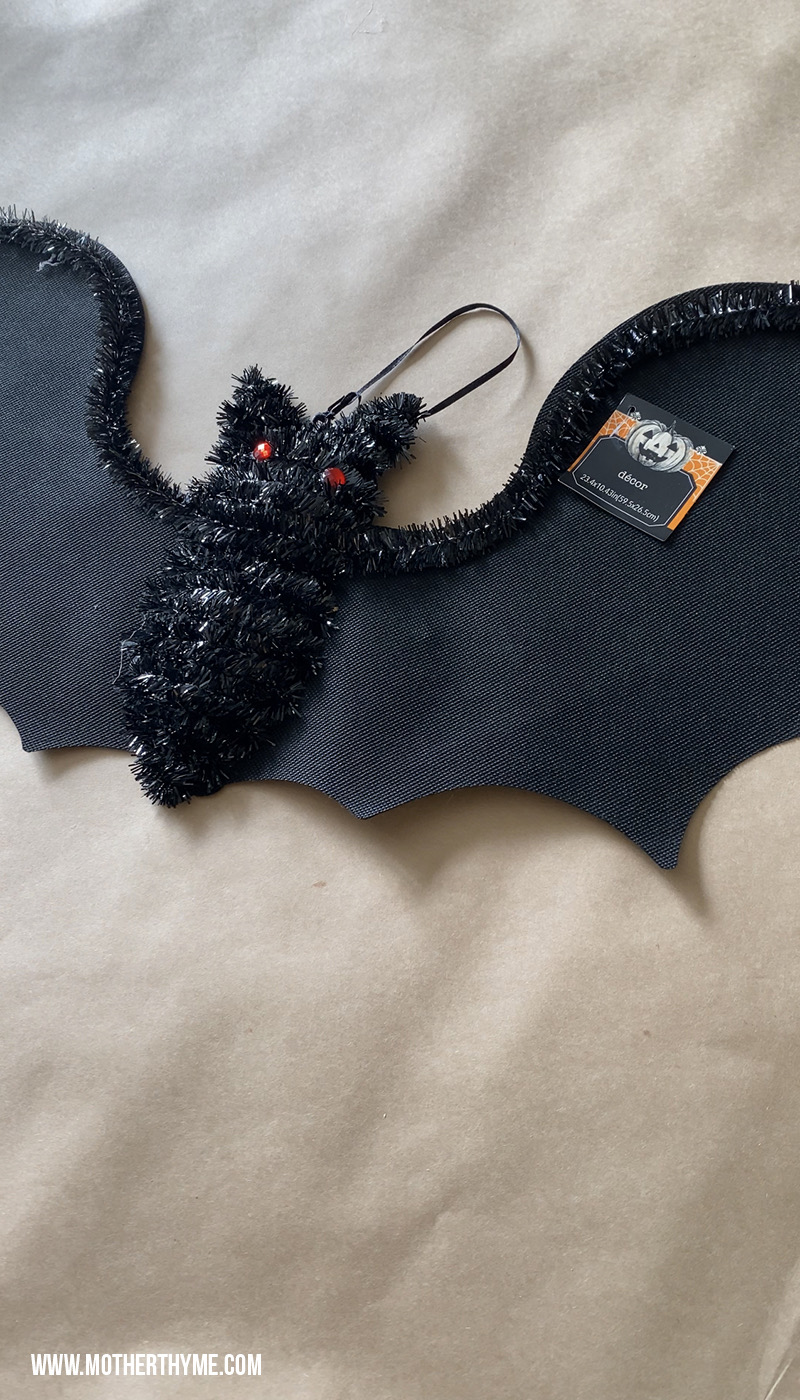
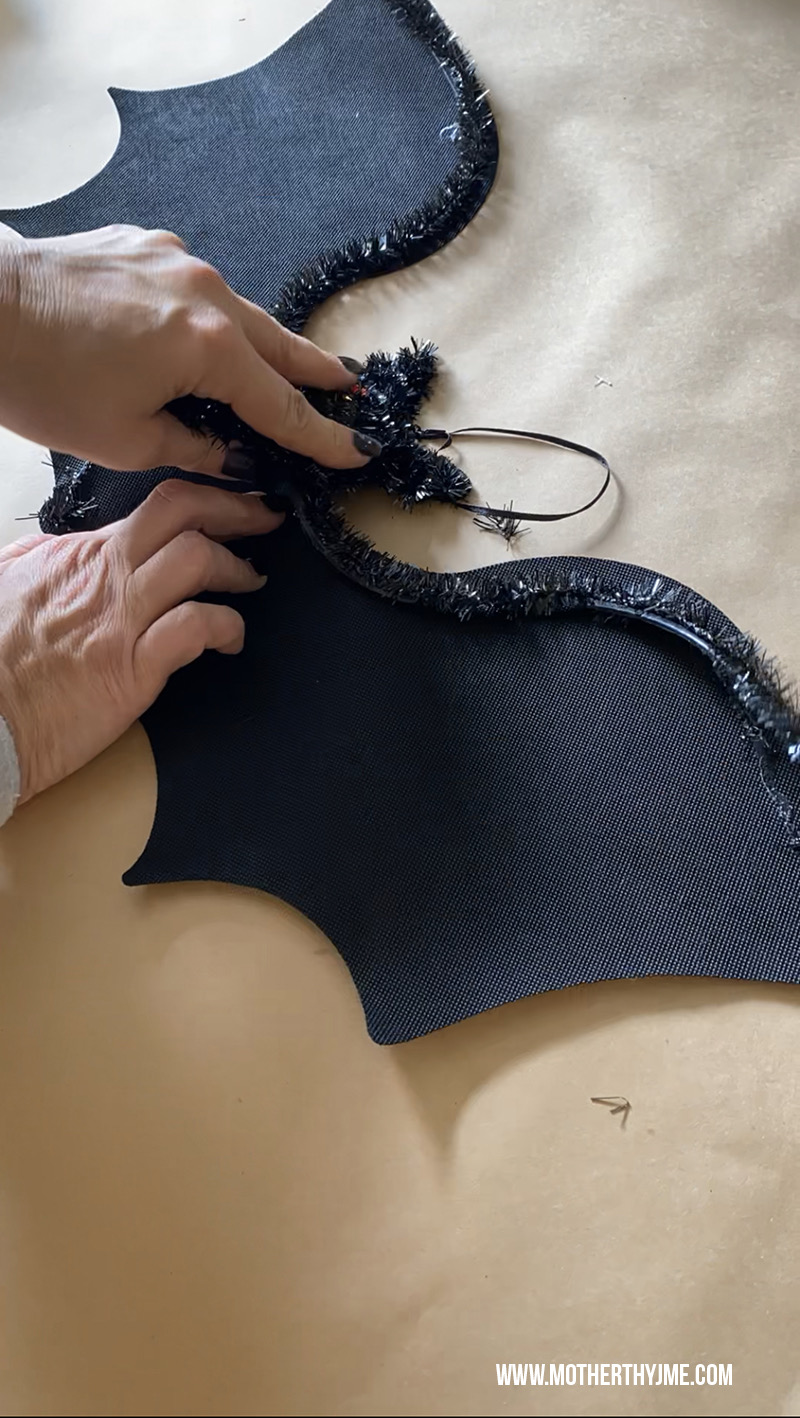
Set the wing aside.
Next, lay out the bat body on your fabric and cut around it, leaving a few inches around to fold fabric over. You can always the excess fabric.
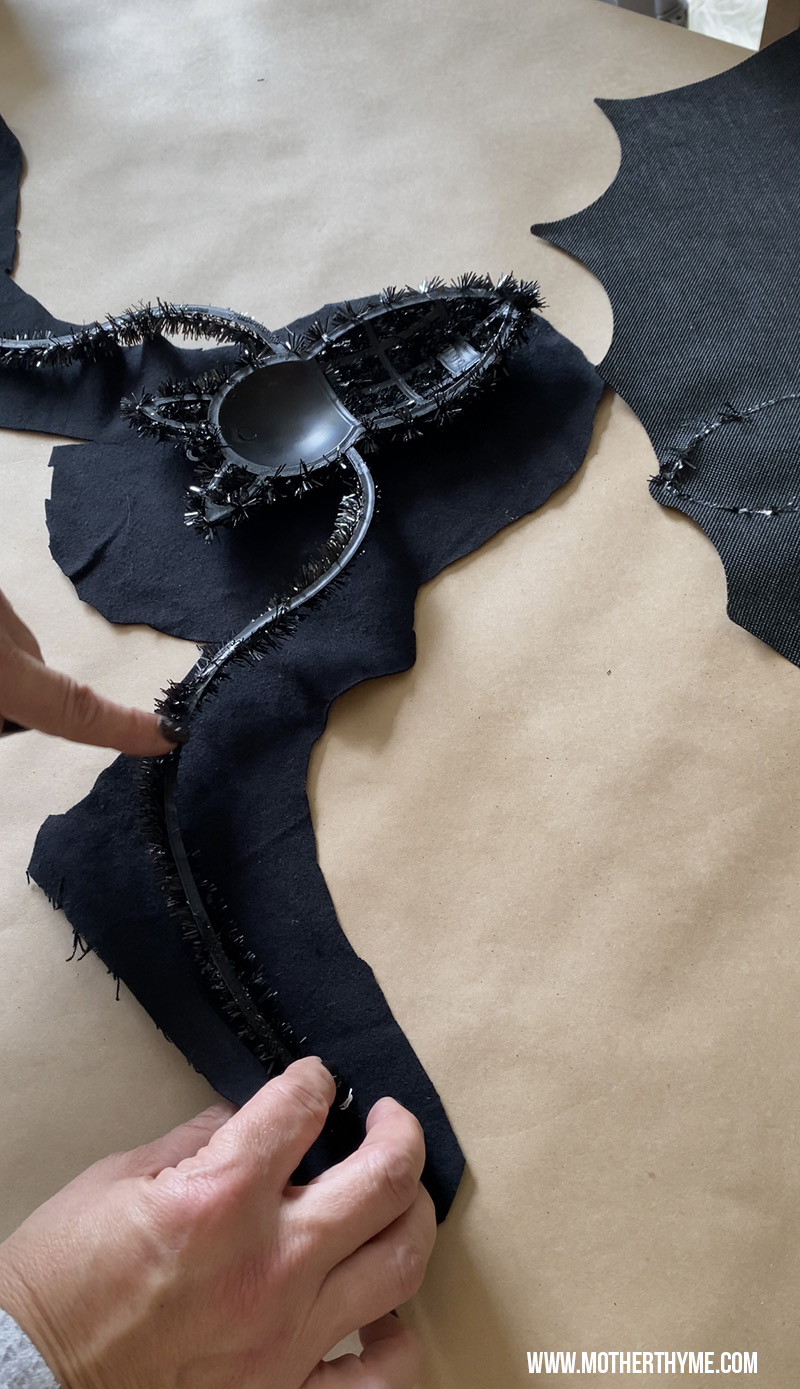
Working in sections with the bat body face down start by adding a little hot glue to the plastic and then wrap your fabric around it attaching it to the hot glue. Trim off any excess fabric.
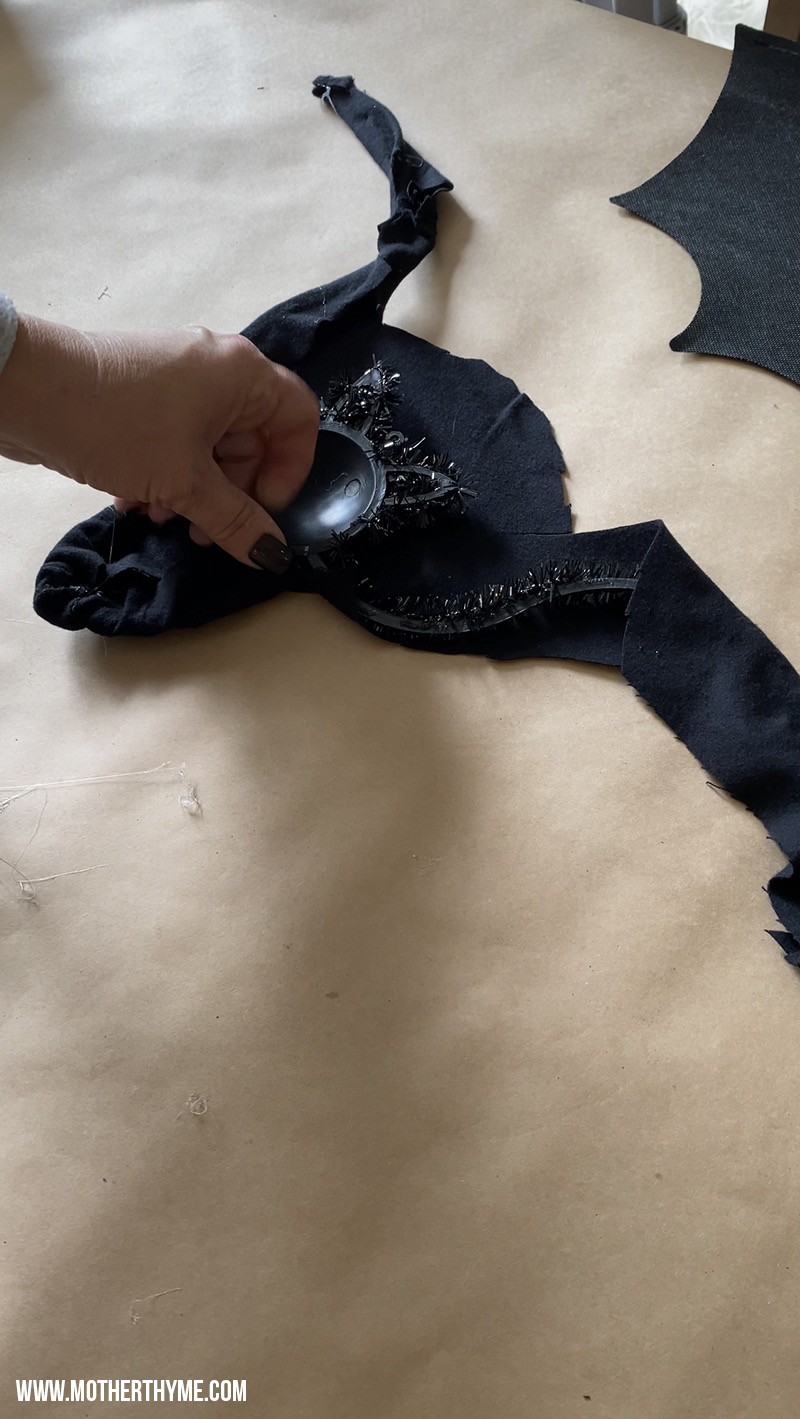
When you get to corners and around the ears you can cut a little slit to pull the fabric so it lays nicely.
Slowly wrap the fabric around the entire body and attaching it to the back with hot glue. It doesn’t need to look perfect as the back will be attached back on the wing.
Once you have it all covered, grab the bat wing you set aside. Add hot glue around the entire edge of the wing. I followed the line that was left from what I removed then place the fabric body face side up on top of the wing and gently press down to attach.
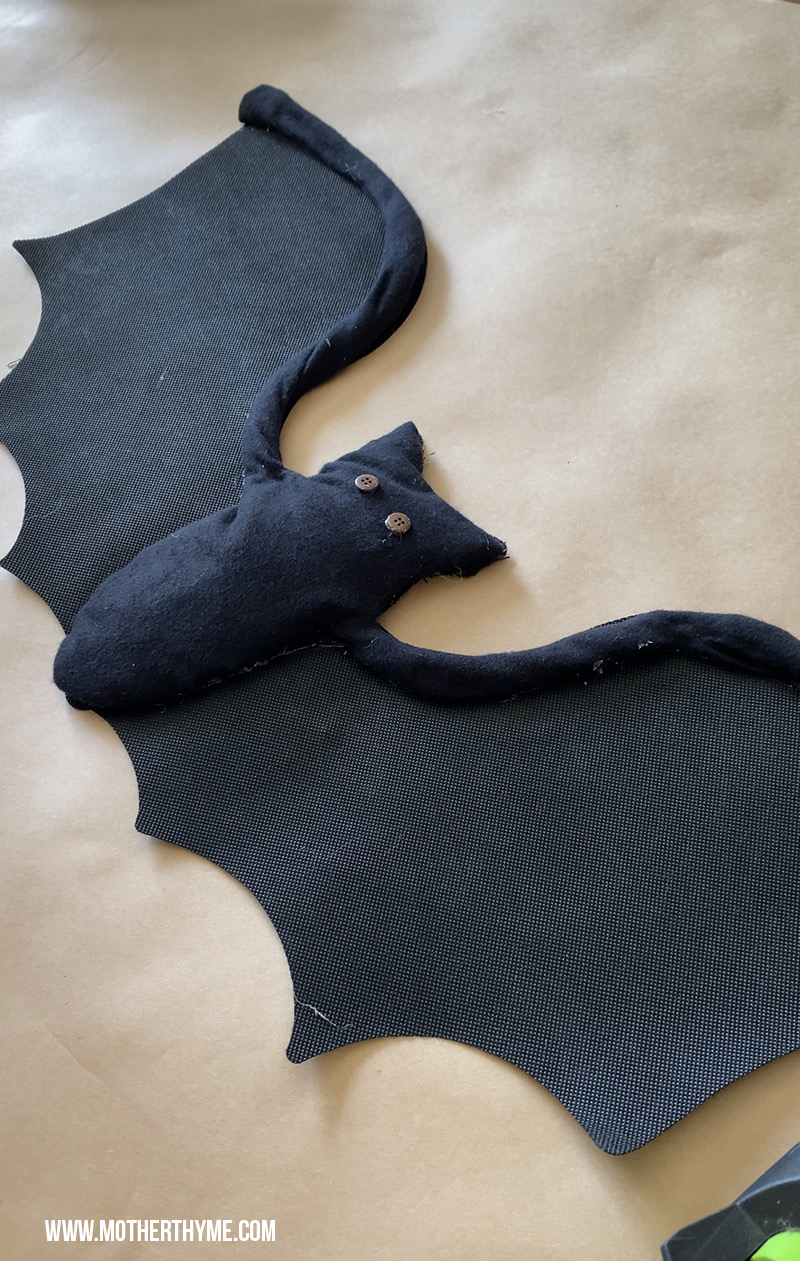
Now it’s time to give Mr. Batty some eyes! Grab some buttons and attach the eyes with hot glue.
Next I sprayed the bat with spray glue, sprinkled it with cinnamon then dusted it off with a large brush to get that primitive look. I then added some spray glue on top to seal it in.
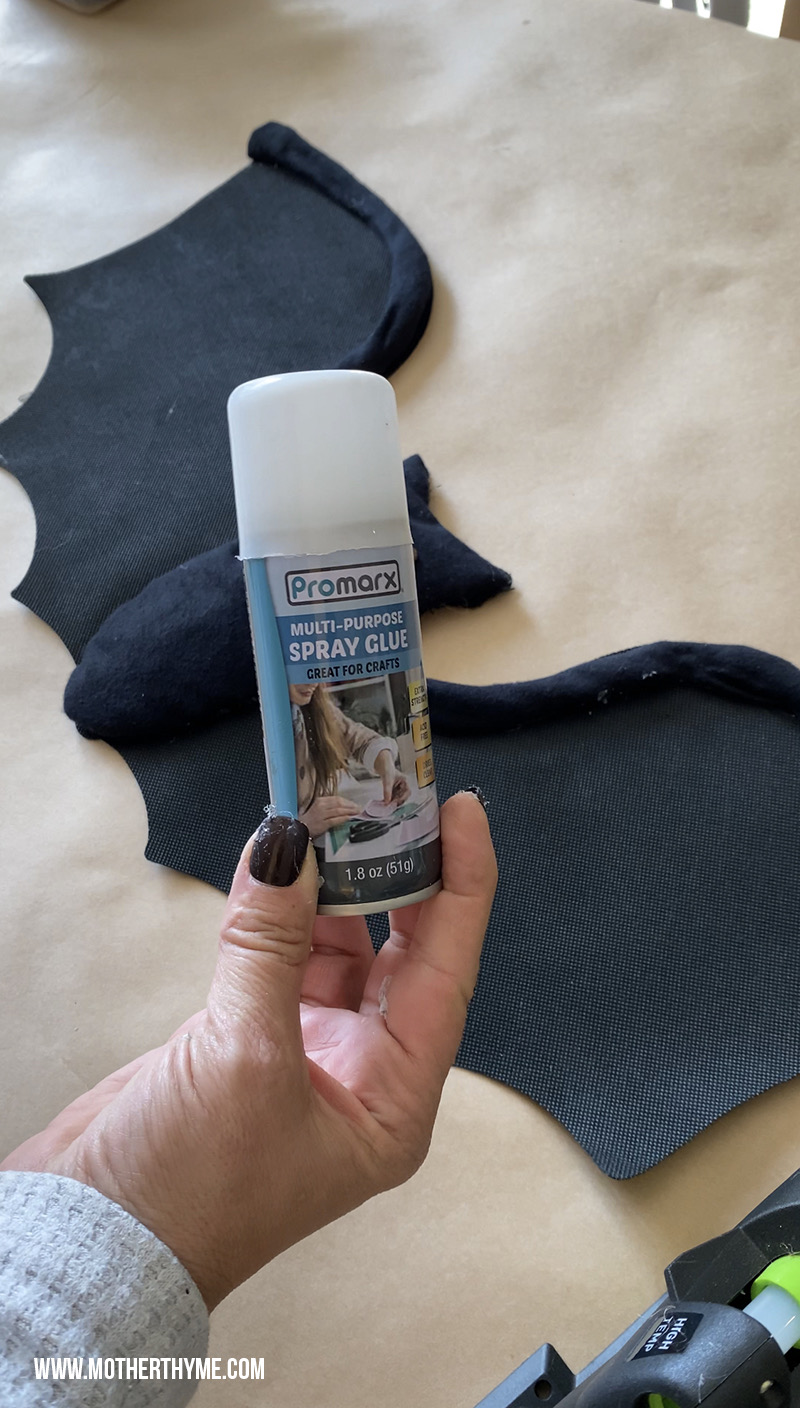
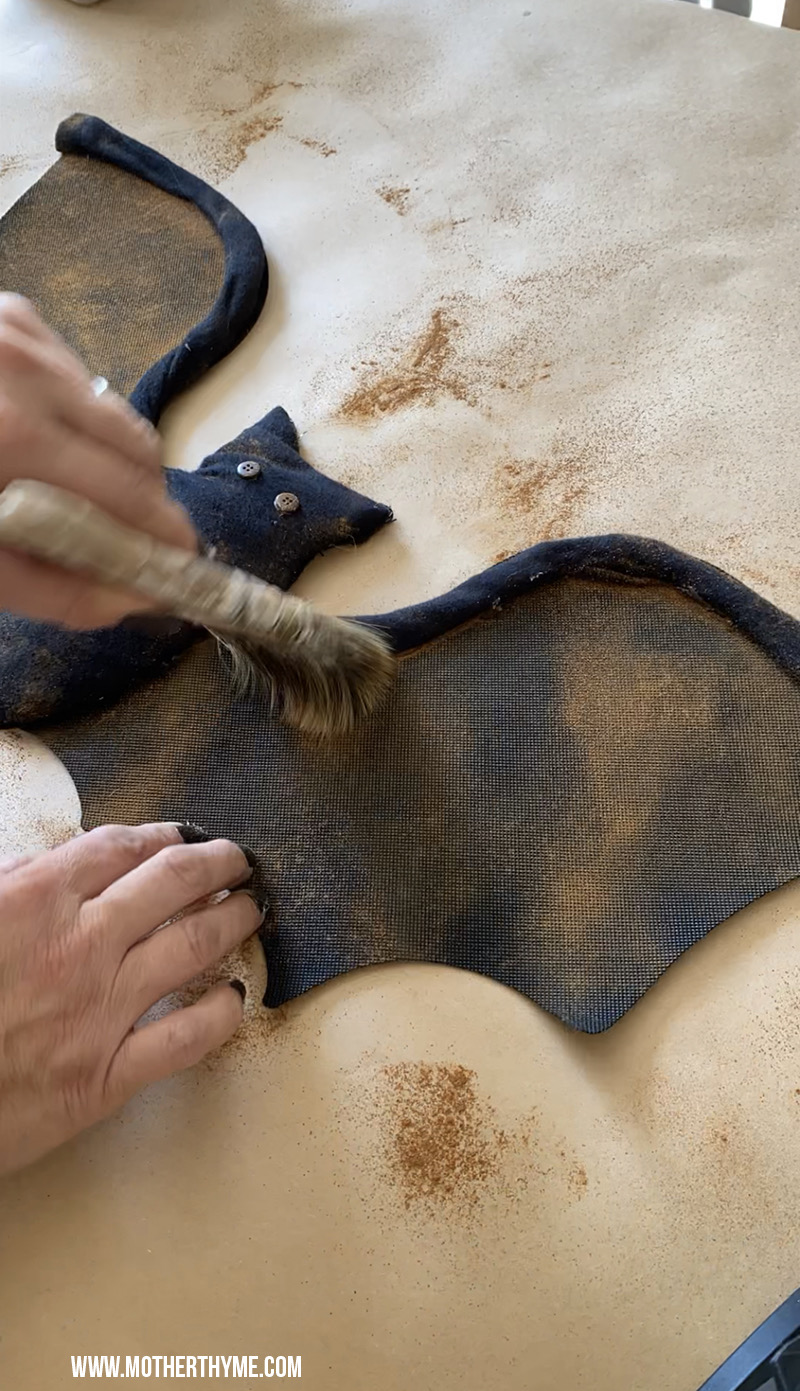
I love how something simple like doing this totally changes the look. You don’t have to do this part if you don’t want to, but that’s what I did to give mine that look.
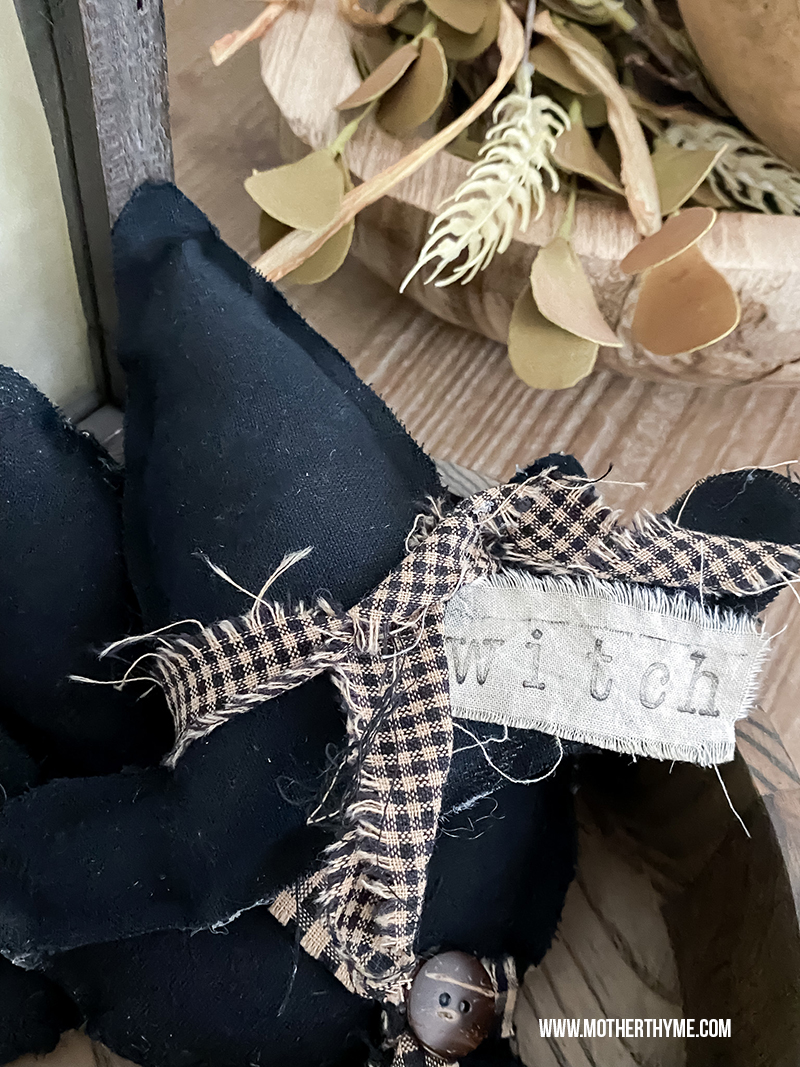
To finish Mr. Batty I made a double bow with bakers twine and attached it to the body. I then took a few pieces of torn muslin fabric and stamped on each piece HAPPY HALLOWEEN and attached that to the wing with hot glue.
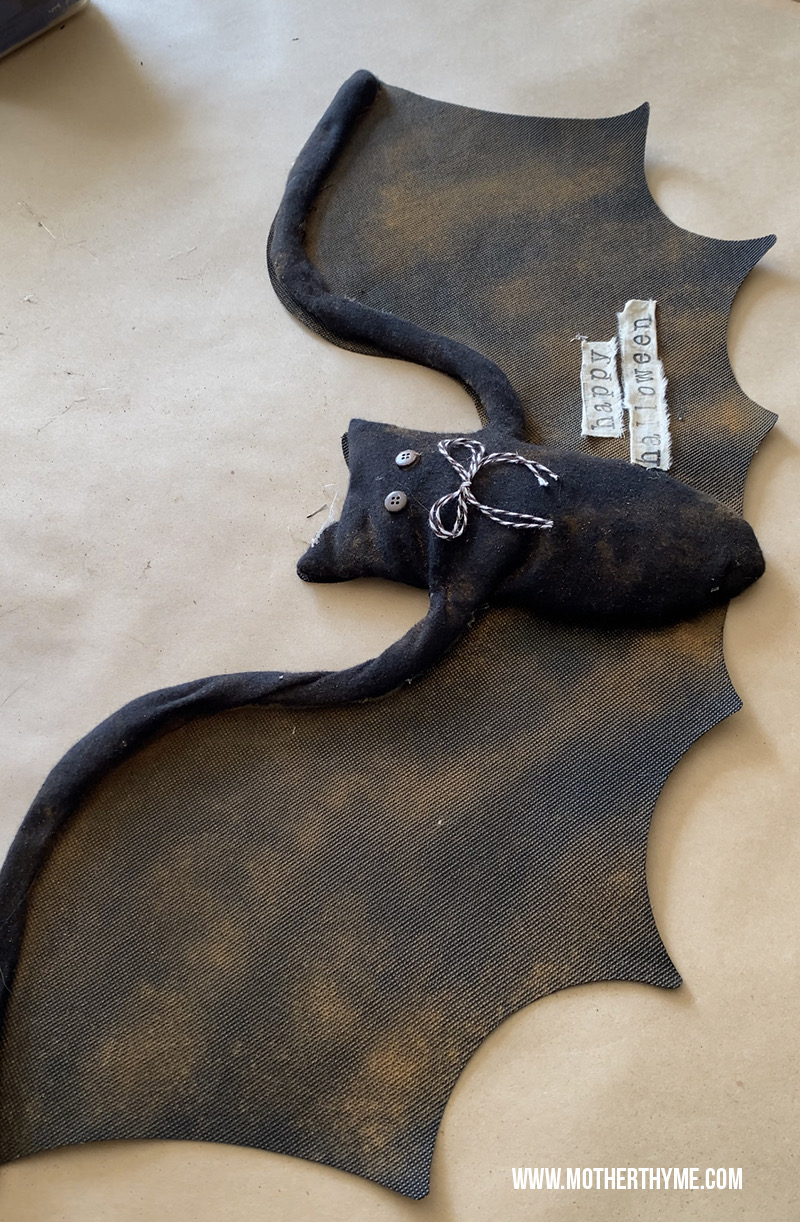
The clickable stamps I use I got awhile ago on Amazon. At this time they are out of stock but any stamps will work!
If you make this cute bat too I’d love to see! Snap a picture and tag me over on Instagram @motherthyme!

I love this this year they had similar bats but not quite the same so I impervious they came out great with thin cardboard covered in fabric. Plus I covered the ghost and the spider in the same fashion. I spotted a which hat there too and it calling for a makeover. Thank you so much for the inspiration wish I could post photos for you to see!