Primitive Christmas DIYs | Create a Cozy Old-Fashioned Christmas Cupboard + Free Printables
There is just something about a cozy, old-fashioned Christmas kitchen that I absolutely love.
I love creating a primitive, collected Christmas throughout our home, warm woods, aged finishes, old crocks, pewter, greenery, handmade touches, and pieces that feel as though they’ve been gathered over time rather than purchased all at once.
And one of my favorite little areas to decorate this season has been my kitchen cupboard.
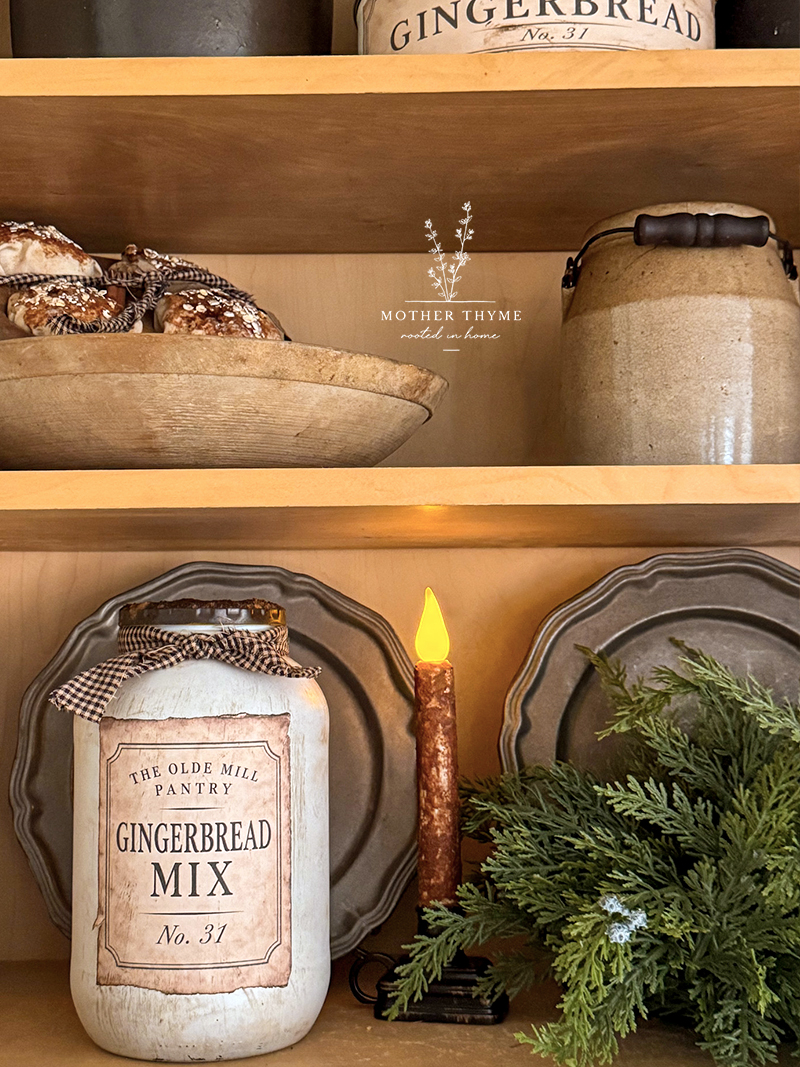
Instead of filling it with brand-new Christmas decorations, I wanted to create pieces that looked like something I might have found tucked away in an adorable primitive shop, old pantry jars, aged tins, spice containers, and simple Christmas pantry pieces that look worn, weathered, and collected.
The best part?
Most of these projects started with inexpensive or recycled containers I already had on hand.
Old spaghetti jars, salsa jars, tins, cans, and containers can be completely transformed with a little paint, cinnamon, antique wax, and the free primitive Christmas printables I created to go along with these projects.
And I’m sharing those printables with you too!
Free Primitive Christmas Pantry Printable’s
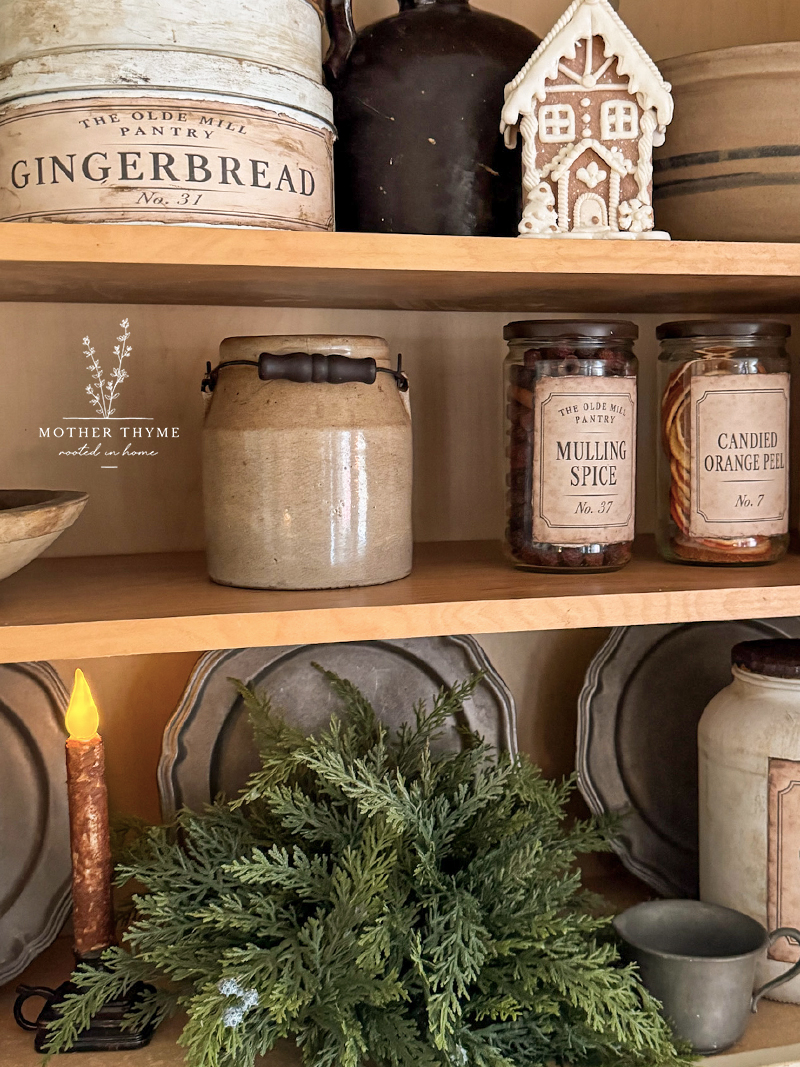
I created a collection of primitive inspired Christmas pantry labels that can be used on jars, tins, cans, containers, and so much more.
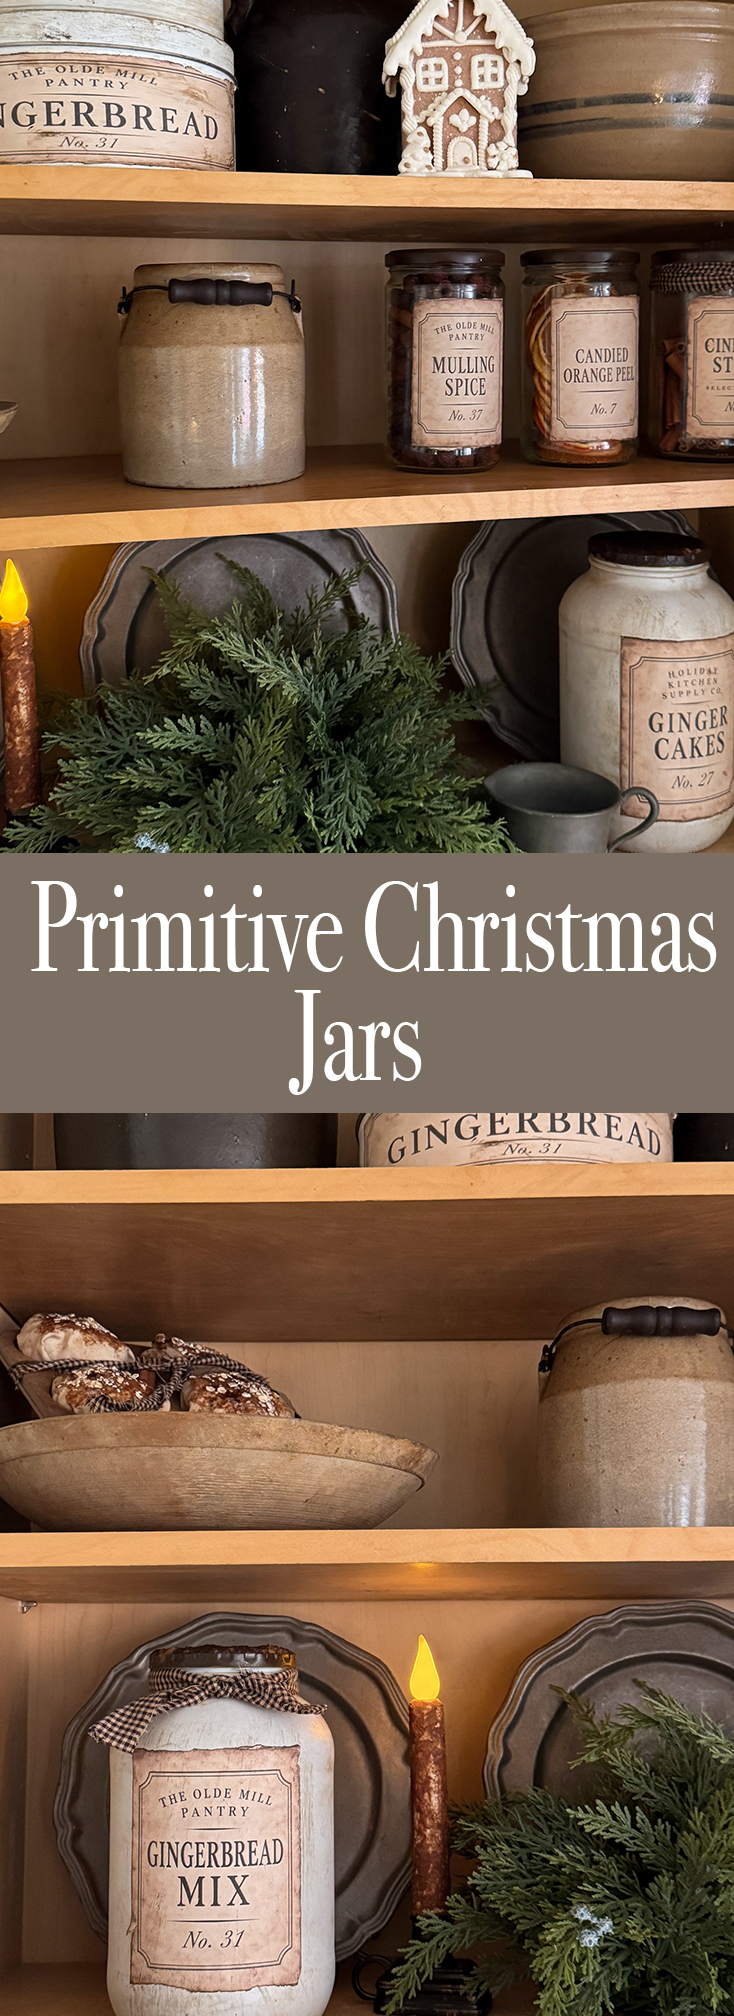
Some of the labels include old-fashioned pantry favorites such as gingerbread mix, gingerbread spice, mulling spice, Christmas tea, cinnamon sticks, ginger cakes, candied orange peel, and more.
The designs have an aged, primitive look with distressed lettering and worn parchment backgrounds so they coordinate beautifully with rustic and old-fashioned Christmas decor.
You can use them exactly as I did in my cupboard, or come up with your own ideas.
They would be adorable:
- on open kitchen shelves
- grouped together on a kitchen island
- displayed on a tray
- styled in a pantry
- tucked into a hutch
- used in a coffee or cocoa station
- displayed as part of a small Christmas vignette
- or simply used one at a time around your kitchen
You definitely do not need three shelves or an entire cupboard to recreate this look.
Even just one jar, tin, or little group of pantry containers can add such a cozy primitive Christmas touch.
Get the Free Printables
Add your name and email below and the printable collection will be sent directly to your inbox.
These printables are for personal use only.
Watch the Primitive Christmas Cupboard DIY Video
In the video, I walk through several different projects and show how I use these printables to transform simple jars, containers, and tins into pieces that look old, weathered, and full of primitive charm.
I also share how I styled everything together to create my finished Christmas cupboard.
Rather than making every jar exactly the same, I like mixing several different finishes together.
That is what helps the final display feel collected rather than overly coordinated.
Some pieces are painted. Some are left as glass. Some are grubby. Some have rusty-looking lids. And some are simply filled with things like cinnamon sticks or other pantry ingredients.
Once everything is grouped together, the different textures and finishes create that wonderful old-fashioned look.
Supplies You May Need
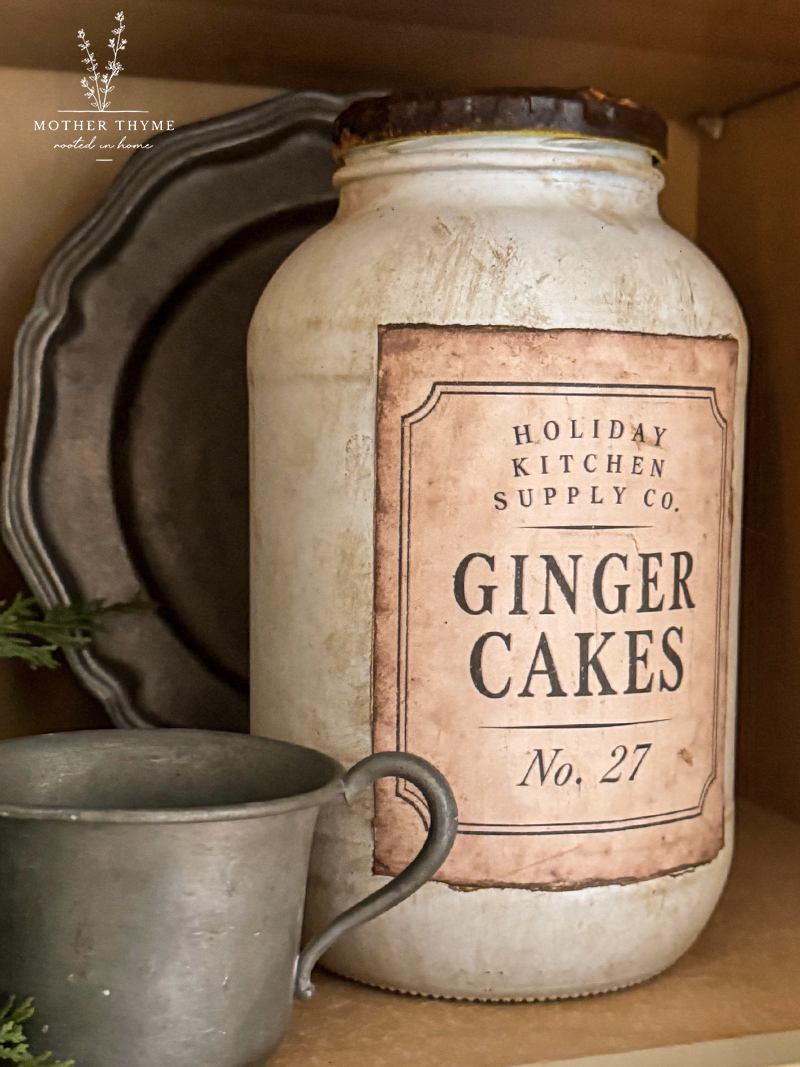
You can absolutely use what you already have, but here are some of the supplies I reach for again and again when making these kinds of primitive projects:
- recycled glass jars
- old tins or cans
- white or off-white spray paint
- brown spray paint
- Waverly Antique Wax
- brown craft paint
- cinnamon
- Mod Podge
- spray adhesive
- matte clear sealer
- sticker paper
- regular printer paper
- baby wipes or damp paper towels
- paintbrushes or foam brushes
You do not need every supply on this list for every project.
Pick a few techniques you like and use them on whatever containers you have.
How I Give Jars and Tins an Aged Finish
One of my favorite techniques for primitive projects is taking something that looks a little too clean or new and giving it an aged finish.
I often start by spray painting a tin, jar, or container white or off-white.
Once the paint is completely dry, I use a little brown paint or, most often, Waverly Antique Wax.
I thin the antique wax with a small amount of water to create an antique wax wash.
Then I apply it using a damp paper towel or baby wipe.
I like to dab it onto the surface rather than brushing it on perfectly.
That helps create the uneven, timeworn finish I’m looking for.
You can customize the look depending on how light or dark you want the piece to be.
Start with a small amount.
You can always add more.
I especially like working the wax around the edges, corners, seams, and anywhere a piece might naturally have aged over time.
Once I’m happy with the finish, I let it dry and spray everything with a matte clear sealer.
That helps protect the finish and takes away any unwanted shine.
How I Make Rusty-Looking Lids with Cinnamon
Another technique I use often is creating rusty-looking lids.
This works beautifully on jars and tins, especially when you want the finished piece to have a more primitive or aged appearance.
I usually begin with a brown spray paint.
My favorite color is Rust-Oleum Espresso.
While the spray paint is still slightly damp, I sprinkle cinnamon directly onto the lid.
Then I spray it with adhesive.
I like using Elmer’s Spray Adhesive.
From there, I keep layering.
A little more brown spray paint.
A little more cinnamon.
Another light coat of spray adhesive.
I repeat the process until I get the texture and finish I want.
There really is no exact formula.
Some lids I leave fairly subtle, while others I make much heavier and grubbier.
That uneven texture is what makes it look so good.
The cinnamon gives the surface a wonderfully rusty, weathered appearance without needing any special rusting products.
How I Make Grubby Jars
Grubby jars are another favorite primitive DIY of mine.
They are so easy to make and work perfectly with these Christmas pantry printables.
I simply brush or dab Mod Podge onto the outside of the jar.
Then I sprinkle cinnamon over the Mod Podge.
Once I have the coverage I like, I gently dab another layer of Mod Podge over the cinnamon.
I do not brush too hard because I want to preserve all that wonderful texture.
Once everything dries, the cinnamon is sealed in and the jar has that dark, aged, grubby finish that works so beautifully with primitive decor.
You can leave the entire jar grubby or use the technique more selectively.
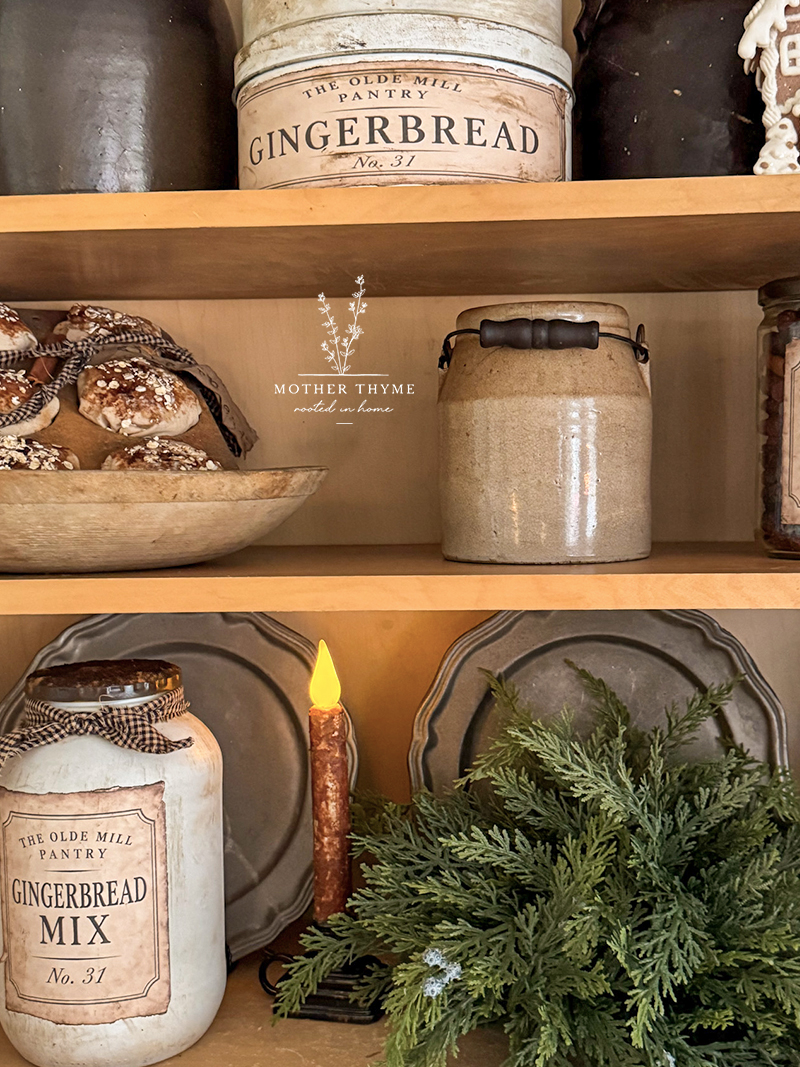
And once you add one of the vintage labels, the jar suddenly looks like something you might have picked up in a primitive shop.
Using the Printable Labels
My favorite way to use these printables is with sticker paper.
It makes the process quick and easy.
Just print, cut, peel, and stick.
But you definitely do not need sticker paper.
You can print the labels on regular paper and attach them with Mod Podge as well.
If you want the label itself to look a little older, you can also lightly distress the edges or add a small amount of antique wax before attaching it.
And remember, the labels do not need to be used only on fancy jars.
One of my favorite things about these projects is recycling containers that would normally end up in the trash.
Spaghetti sauce jars, pickle jars, salsa jars, coffee containers, cans, cookie tins, look around your kitchen before buying anything.
You may already have exactly what you need.
Mix Different Finishes Together
One of the biggest tips I can give you is not to make every piece identical.
If every jar is painted the same color, has the same finish, and uses the same technique, the display can start to look too coordinated.
Instead, mix things up.
Use a clear jar filled with cinnamon sticks next to an aged ivory jar.
Add a darker grubby jar.
Mix in a rusty lid.
Place a vintage-style tin nearby.
Then bring in other textures like pewter, crocks, greenery, candles, baskets, or old wooden pieces.
That is what makes the finished display feel collected over time.
And you can keep the Christmas details subtle.
A little greenery, a few dried orange slices, warm candlelight, cinnamon sticks, or a small gingerbread accent can be enough.
Create Your Own Primitive Christmas Cupboard
The thing I love most about these projects is that you can make them completely your own.
You do not need to recreate my cupboard exactly.
Maybe you only have one shelf.
Maybe you want to create a little grouping on your kitchen counter.
Maybe you have an old hutch, a pantry shelf, or a tray on your island.
Use whatever space you have.
The printables are meant to give you a starting point.
From there, add your own jars, your own containers, and your own favorite primitive touches.
I think that is what makes decorating this way so much fun.
Nothing has to be perfect.
In fact, I think the pieces look better when they are a little imperfect.
Uneven staining, worn edges, rusty-looking lids, faded labels, all those little imperfections help create that wonderful old-fashioned charm.
A Cozy Christmas Kitchen on a Budget
Creating a beautiful Christmas kitchen does not have to mean buying an entirely new collection of decorations.
Sometimes the most charming pieces are made from things we already have.
An old jar.
A forgotten tin.
A can headed for recycling.
A little paint.
Some cinnamon.
And a vintage-inspired label.
Put them together and suddenly you have something that looks like it came from a cozy primitive shop.
I hope these ideas inspire you to look around your own home and see what you can repurpose this Christmas.
Grab the free printables, watch the video, and have fun creating your own primitive Christmas cupboard.
And most importantly, make it your own.
Disclosure: This post contains affiliate links. There is no cost to you as the consumer to use these links. Thanks for using these links that support my website!