No-Sew Mini Bunny Pillow
Whip up this adorable no-sew mini bunny pillow in minutes! Simply download, print, and cut out the free pattern. These are fun to make, so plan on making more than one and have fun with mixing up the patterns for cute little groups of bunnies! These make sweet little gifties too!
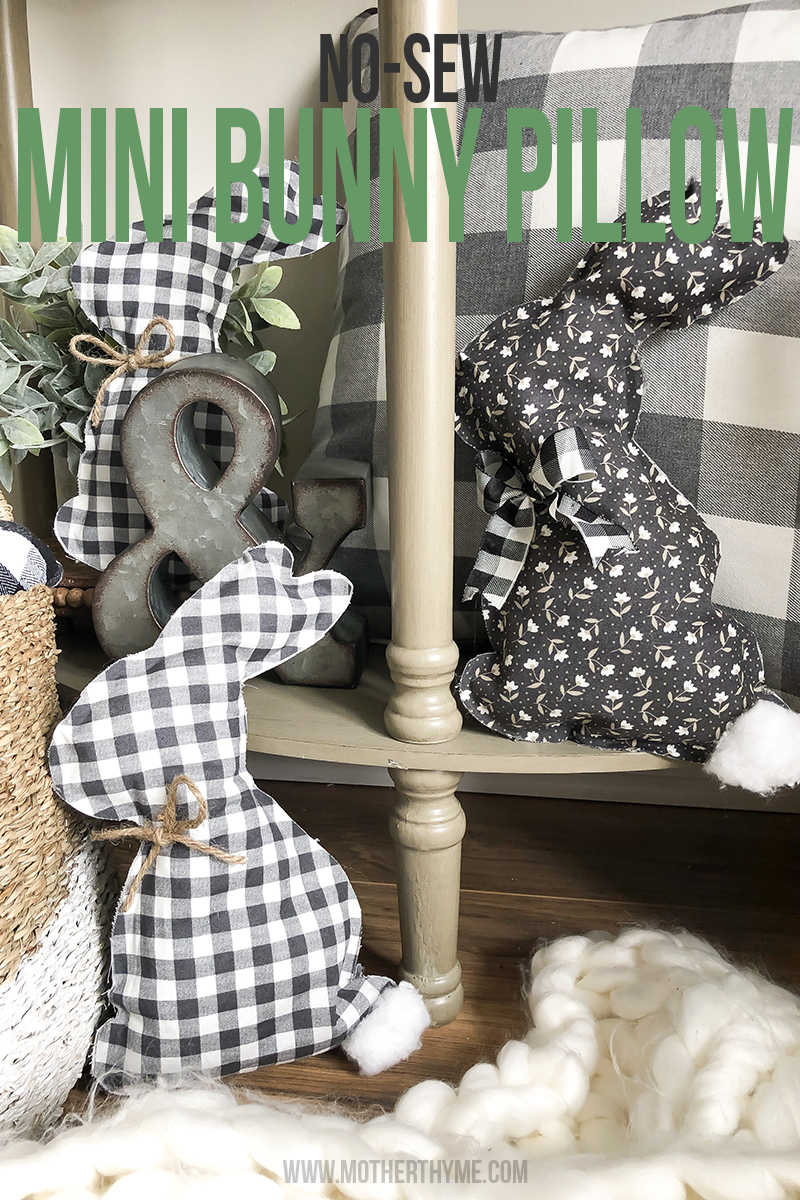
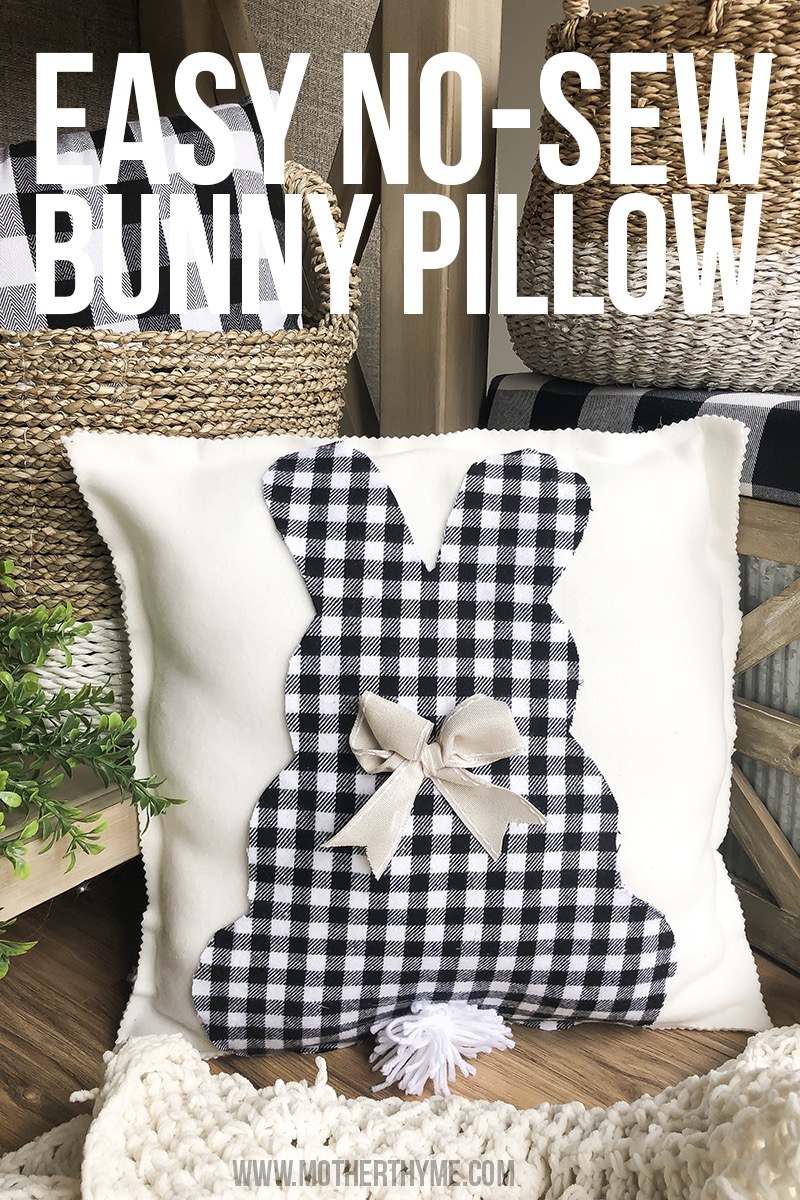
How cute is are these bunny pillows? Yes, I will admit I am obsessed with bunny silhouettes! How can you not? Especially with the cute little tails! I’ve made a few different bunny pillows already, and this is the latest addition to the bunny silhouette pillow collection.
These sweet little bunnies measure out about 10-inches tall and are perfect to tuck in baskets, next to a pillow, on a shelf, you name it! Not only are these cute to decorate with, but they make sweet gifties too! And the best part is you can customize it with any pattern and style of fabric you like.
You know I’m a fan of buffalo check, so of course I couldn’t resist making a few buffalo check. And believe or not, I didn’t have any buffalo check already, so these are new additions to my collection as well.
WHAT YOU NEED
- Fabric (roughly 2 pieces measuring 12×12)
- Pattern (HERE)
- Good scissors (I love my Gingher scissors)
- Stuffing
- Hot glue and glue gun
- Pom Pom or cotton ball for tail
- Ribbon for bow
WATCH
To make these pillows, simply download, print and cut out the FREE PATTERN HERE. Once you have the pattern cut out, you’ll trace it on your fabric. I like to cut both pieces of fabric out at once, so I lay both pieces together so I only make one cut and they are both the same. Pinning your pieces helps from the fabric shifting. I also like to starch and iron my fabric ahead of time as well. The starch makes the fabric nice and crisp!
You can save a step by pinning your fabric right side out so you only have to pin and cut once. Just make sure you use a marking pen that will dissolve so you can’t see the tracing marks.
I trace the pattern on the back side of the fabric, then I remove the pins, flip the fabric so the right side is out, then repin so right side of the fabric on both sides is facing out.
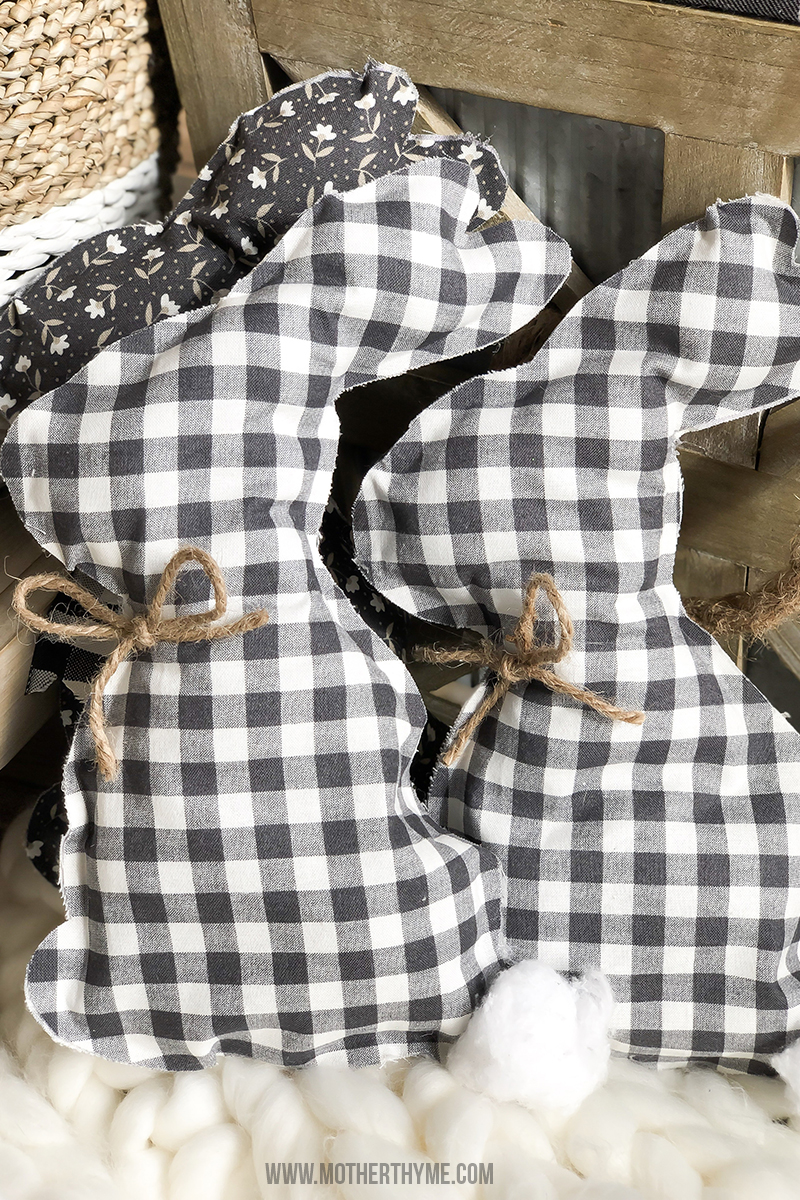
Once my fabric is pinned right side out, it’s time to go around the edges of the fabric with a thin ribbon of hot glue. Do little sections at a time, leaving a pocket on the bottom, or at the tail to be able to stuff. Don’t worry if you miss some, you can always go back after you have added the stuffing and hot glue anything that has popped open or was missed.
Once it’s stuffed, seal it up around the edges with hot glue. Add a pom pom or cotton ball for a tail, and jazz it up with some coordinating ribbon of choice. So easy!

❤️ your stuff and it’s easy plus affordable!
I’ve been looking for a bunny pattern. Thank you so much. On my way to buy fabric! Happy Spring.
I printed out the bunny.I watched your video,now I can make a bunch of bunnies.thank you.I hope one come out as cute as yours.