DIY NO-SEW MITTEN ORNAMENT/BOWL FILLER – FREE PATTERN
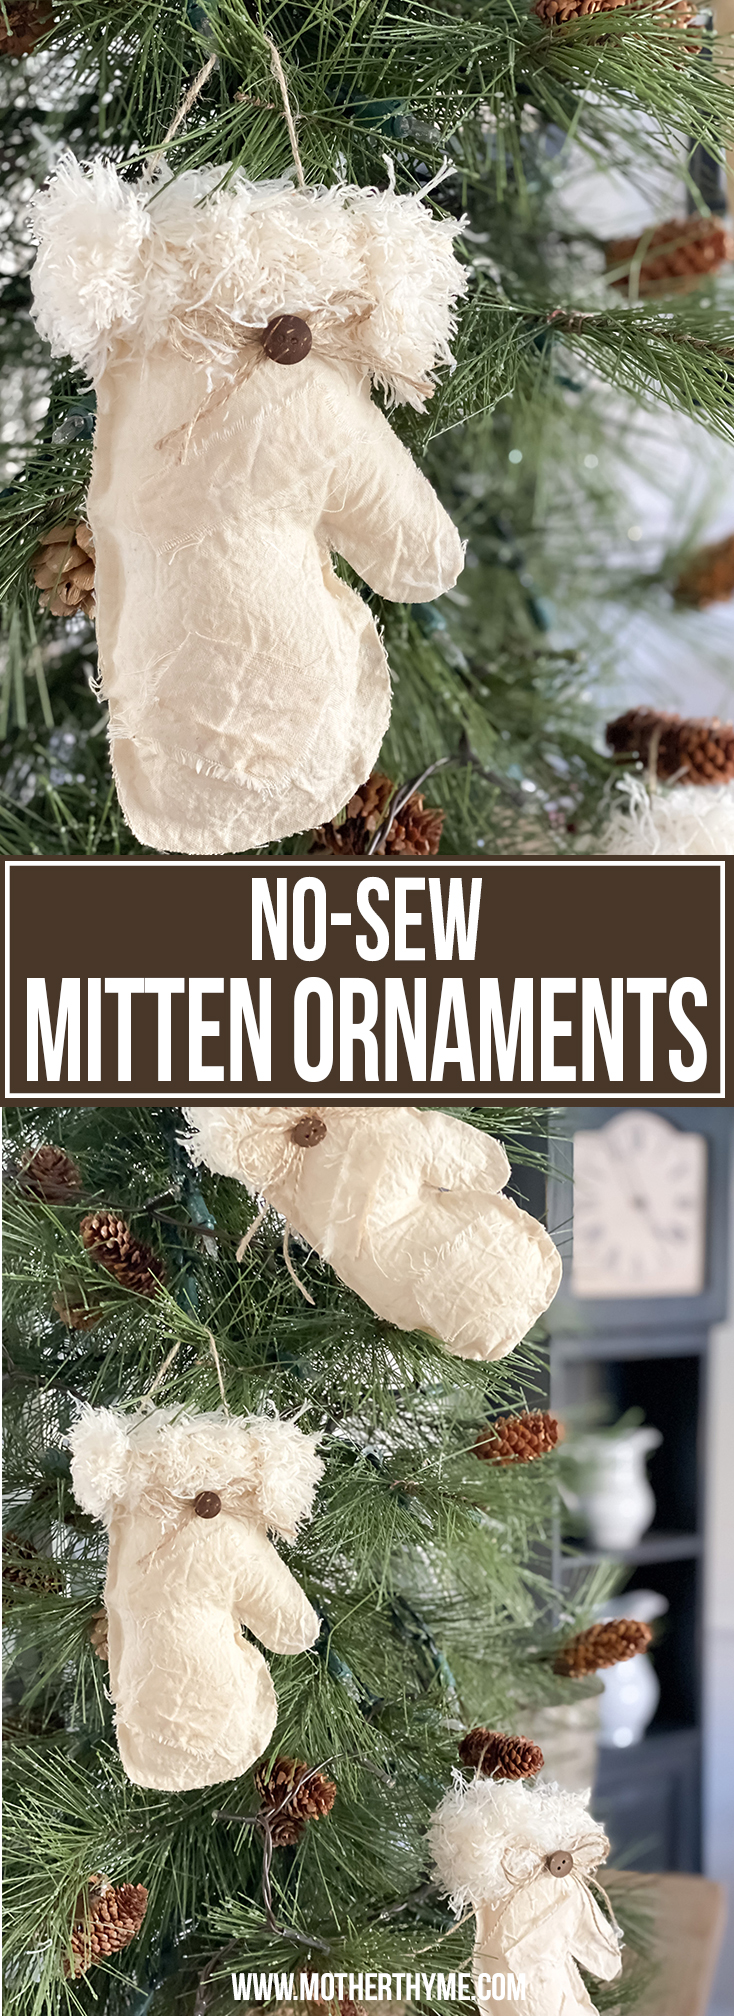
How cute are these little mittens! They are so easy to make and look great hung on the tree or to use as bowl filler!
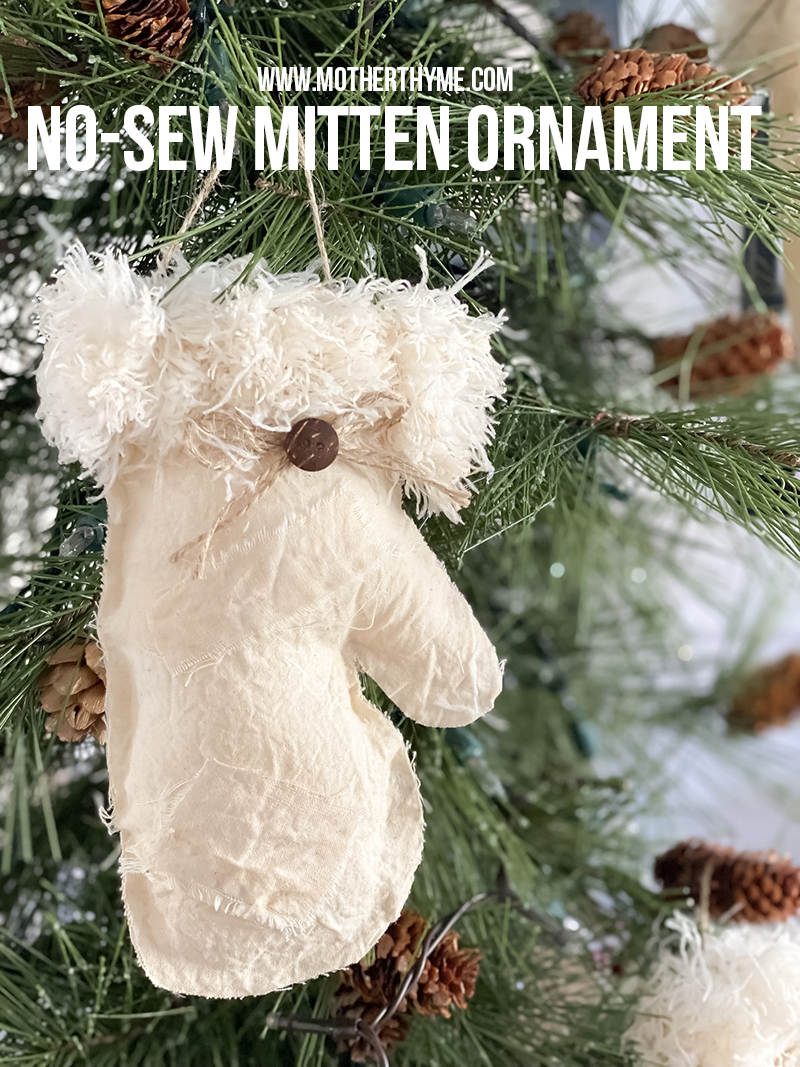
Looking to make some easy, no-sew ornaments? Then you are you going to love these darling mitten ornaments! They look great hung on the tree or to use as bowl filler!
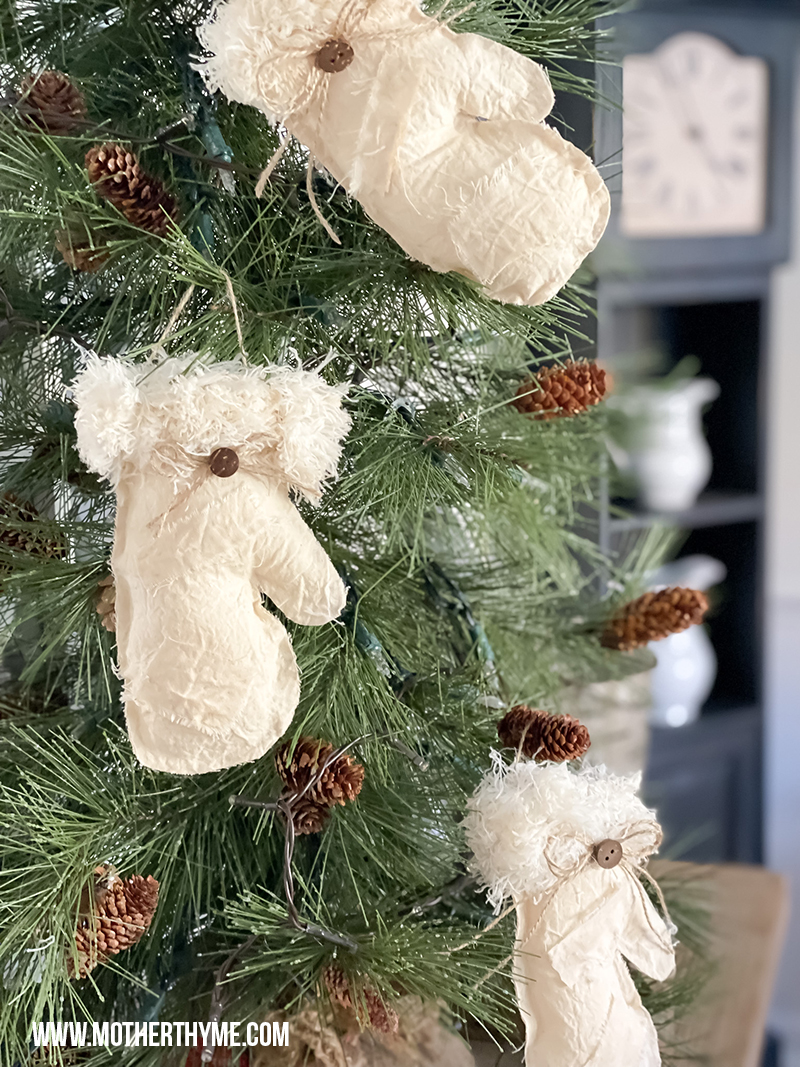
I’ve had this idea since last Christmas that I wanted to do a small tree filled with mitten ornaments. I thought it would look so cute!
These are so fun and easy to make and look so cute on a tree!
I’ve designed 2 mitten patterns that you can use. I made on slightly larger, perfect for bowl filler, or if you’d like 2 different sizes or mitten ornaments hung on the tree.
SUPPLIES
- Download free pattern HERE (for personal use only)
- Fabric
- Mop head or microfiber cloth from Dollar Tree for cuff
- Polyfil or filling from old pillow to fill mittens
- Hot glue and glue gun
- Scissors
- Accents for on top of mittens (I used buttons and a twine bow)
- Marking pen to trace pattern
- Pins
DOWNLOAD PATTERN HERE
STEP BY STEP
Download and cut out pattern(s). For the mitten pattern shown here I used the small mitten pattern. Make sure you use ACTUAL SIZE when you print so your printer doesn’t shrink the pattern.
Trace the pattern onto your fabric. You could pin the pattern and cut around it too. I like to put two pieces of fabric together, trace the pattern on the top piece, then pin the fabric together and cut both pieces at once.
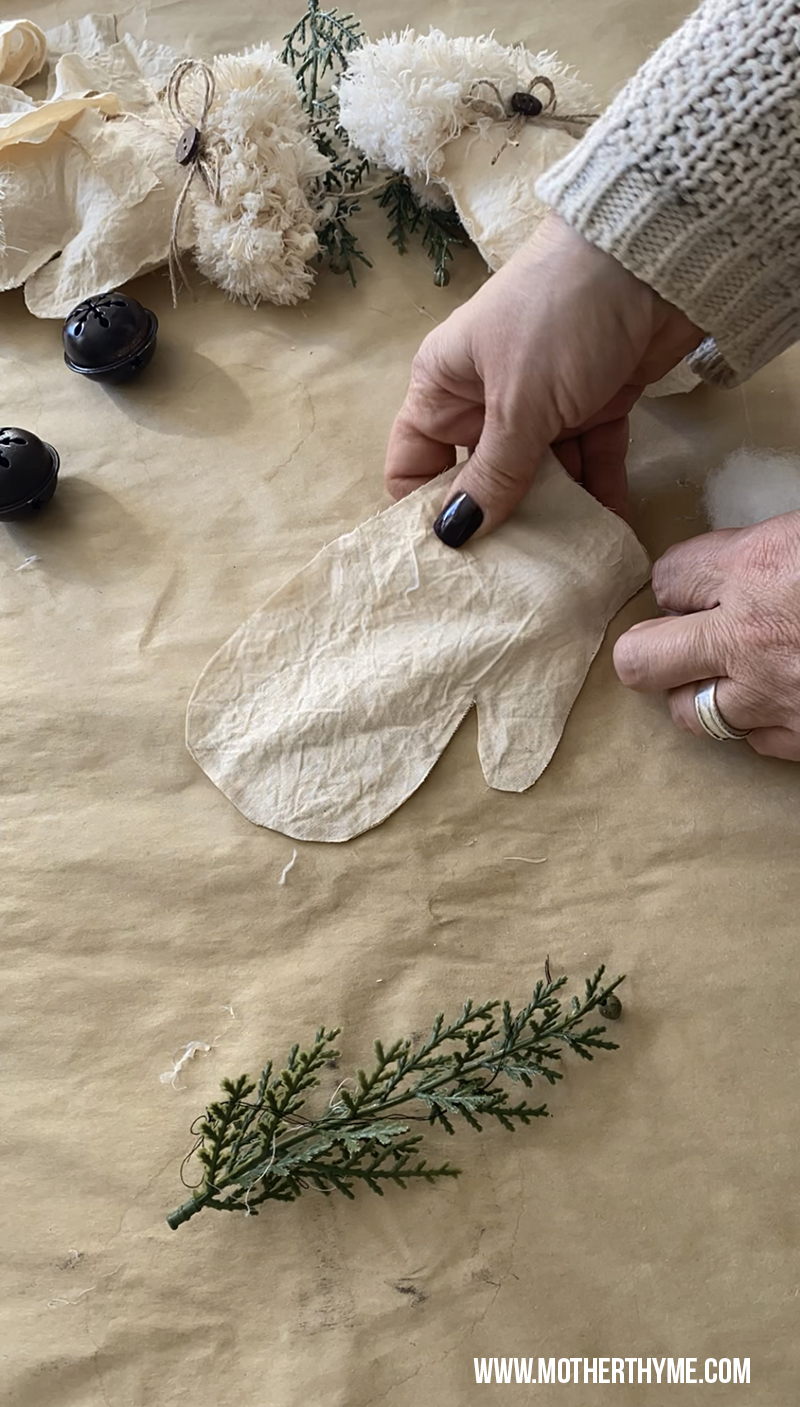
Next add a ribbon of hot glue around the edge of the fabric, leaving an opening on top to add stuffing.
Add stuffing.
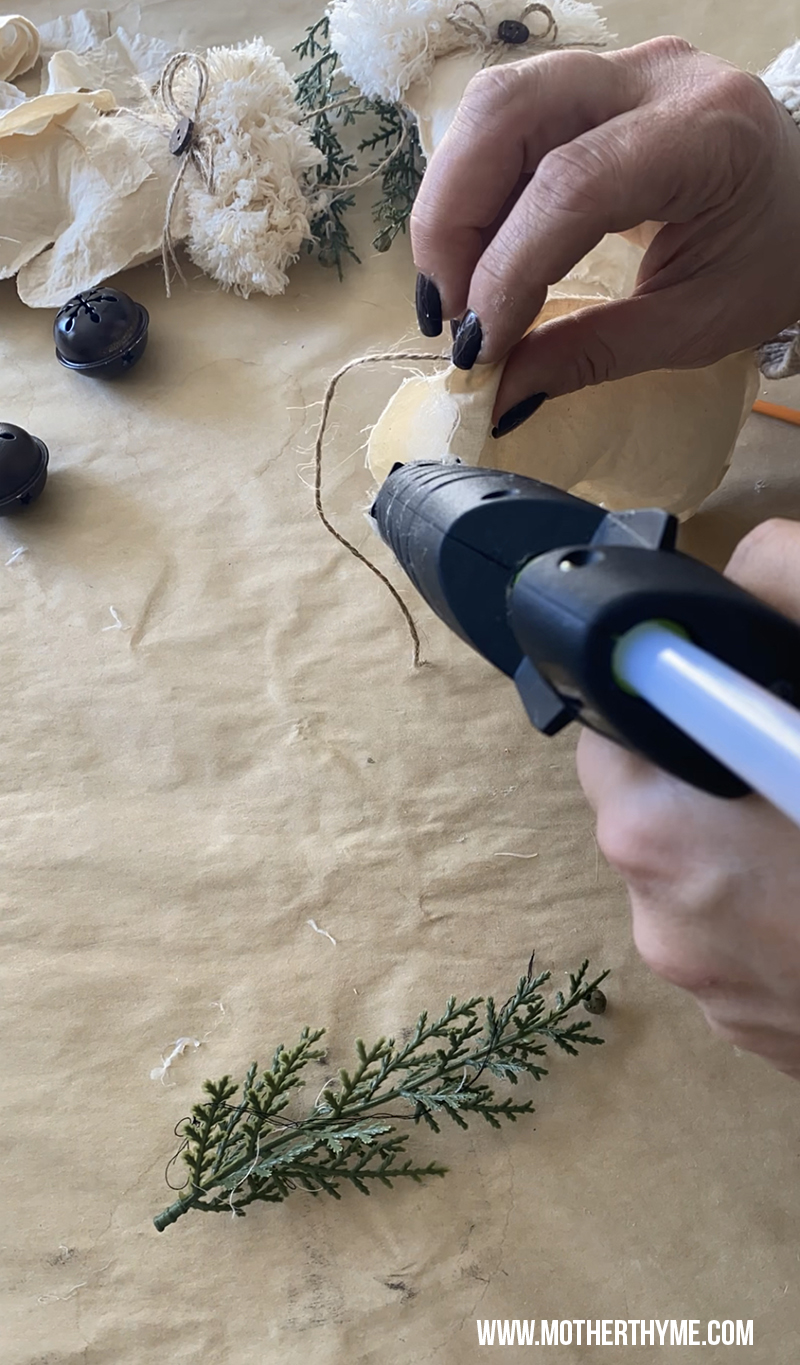
If you are making these as ornaments to hang, add twine in between the two pieces of fabric to make a hanger before gluing it closed.
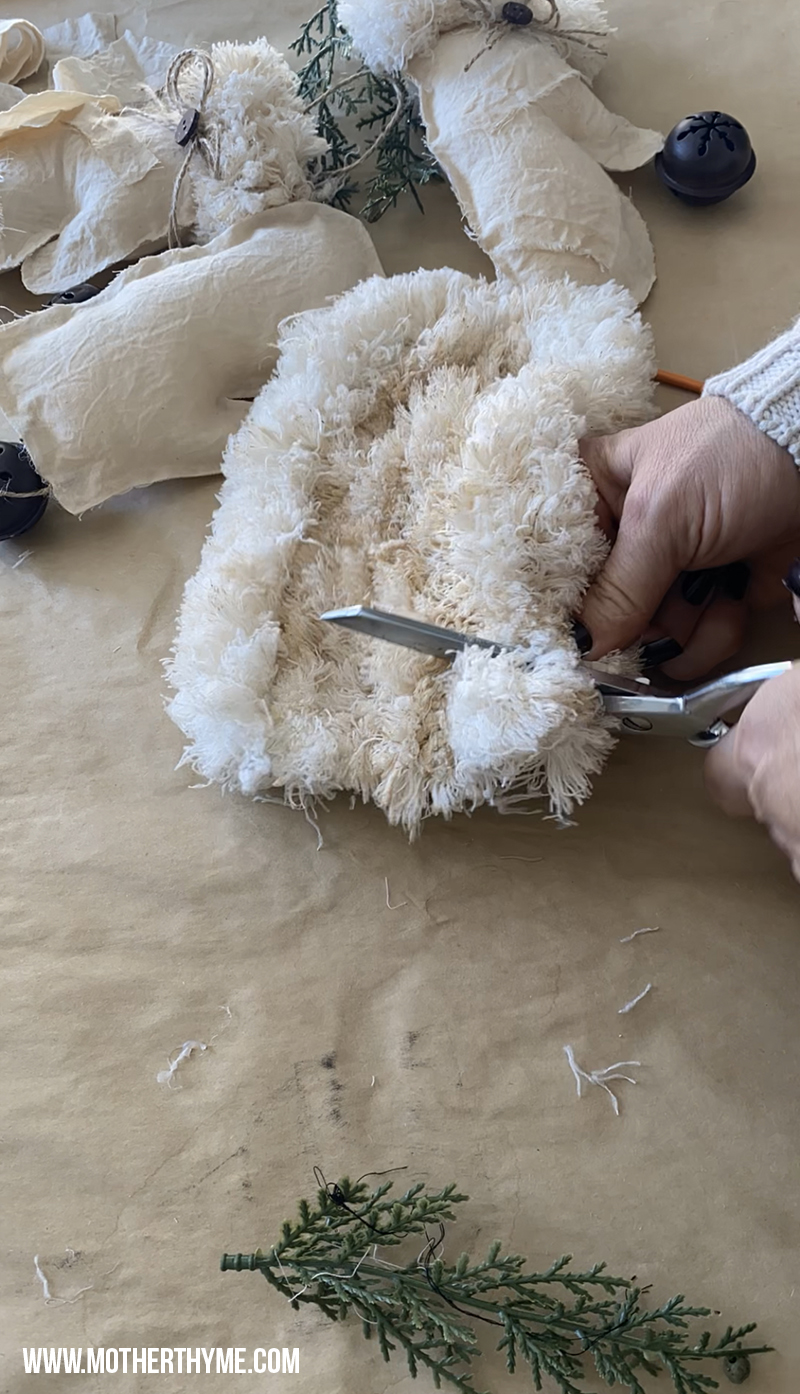
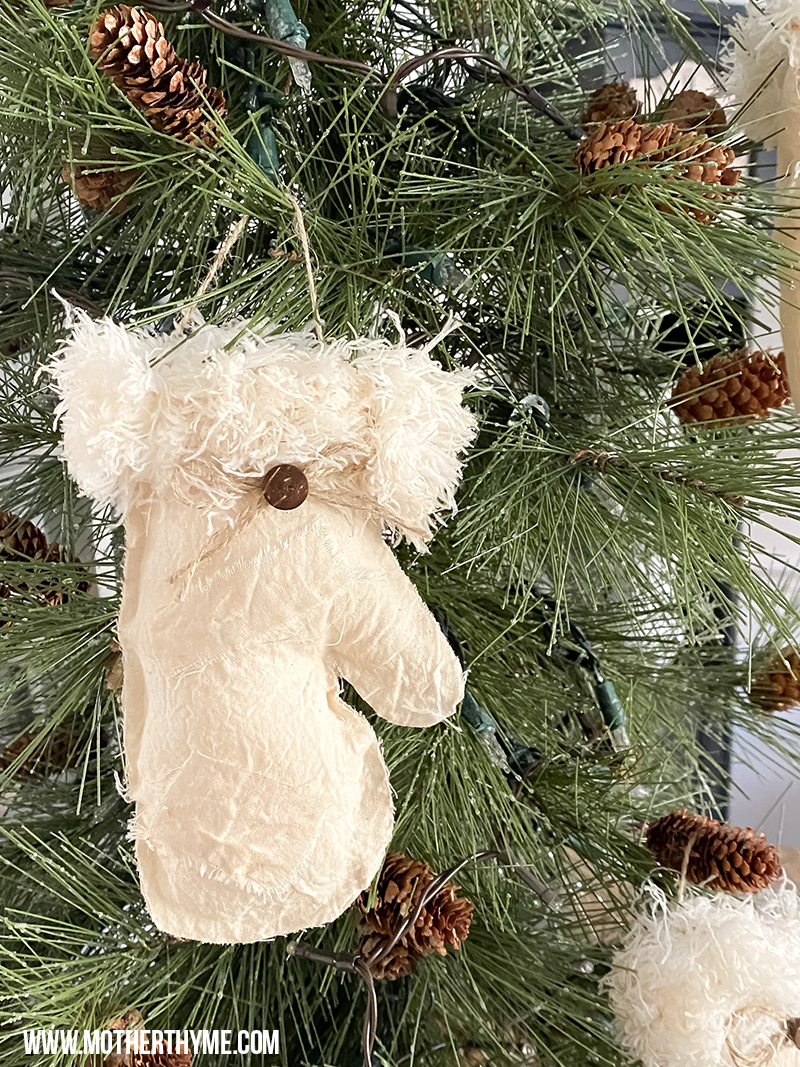
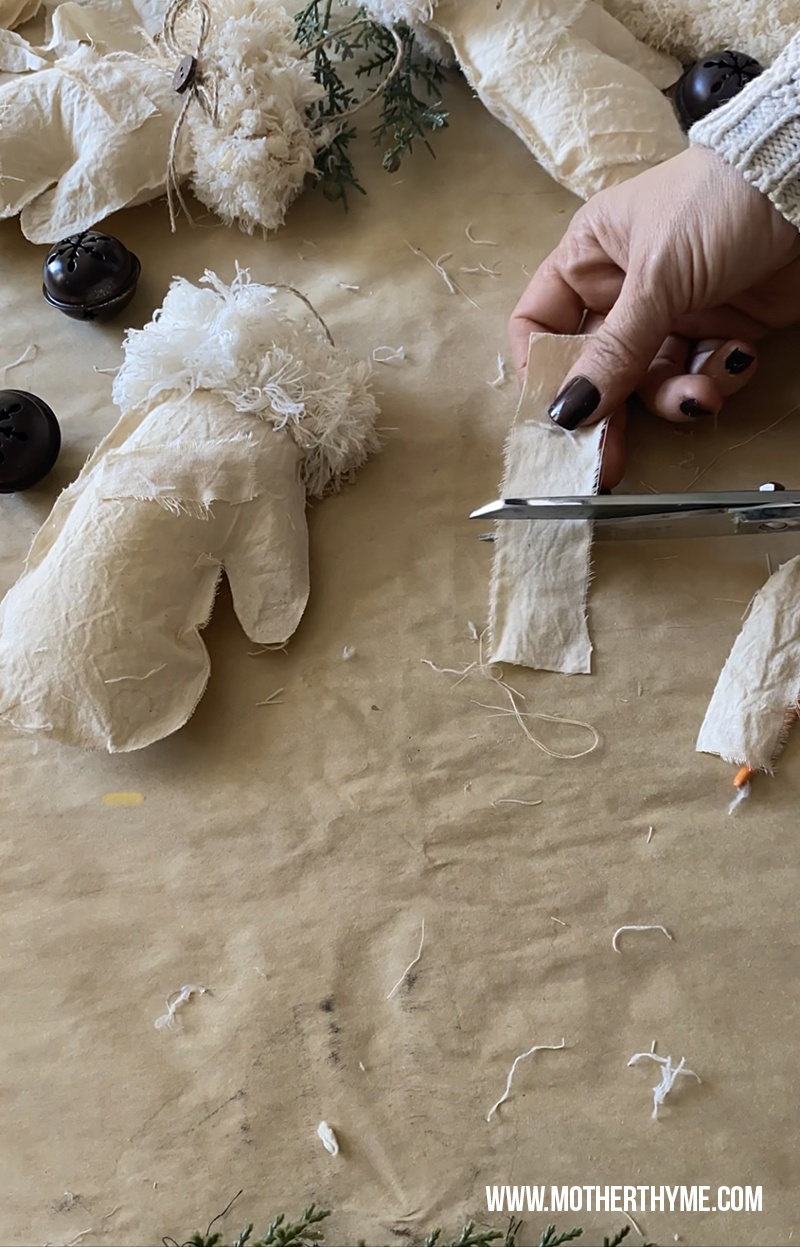
Next cut a piece of the mop head or cloth and hot glue that around the top to make a cuff. I also hot glued some torn pieces on the glue to look like patches.
Now add your accents. I kept mine simple with a twine bow and button. Use whatever you’d like that goes with your decor.
HOW TO COFFEE STAIN
I stain my muslin in coffee to give it more of a primitive/rustic look. To do this, I take 2 quarts warm water plus 1 cup instant coffee in a large bucket and mix it until dissolved.
Next I dip my muslin in the coffee mixture and then ring it out. I do this a few times until I get the desired look. Then I set it aside to dry.
I take the left over coffee mixture and pour it into a spray bottle and use that to spray on fabrics to make them look grungy.
Another way to do it is take 2 cups warm water with 1/2 cup of instant coffee, mix it together and pour into a spray bottle. Then I’ll spray it on fabric. Let it absorb for a few minutes then dab it off. I’ll do this a few times until I get the desired look.
NOTE
If you aren’t staining a lot of fabric you can divide this recipe. Sometimes if I’m in a rush and I’m just staining a half yard of fabric I’ll add a few cups warm water to a bowl and sprinkle in some instant coffee. Once it’s dissolved I’ll dunk my fabric until I get the desired look.
If you make these too I’d love to see! Make sure you snap a picture and tag me on Instagram @motherthyme!

Beautiful! Thanks for all of the specific instructions- grateful!