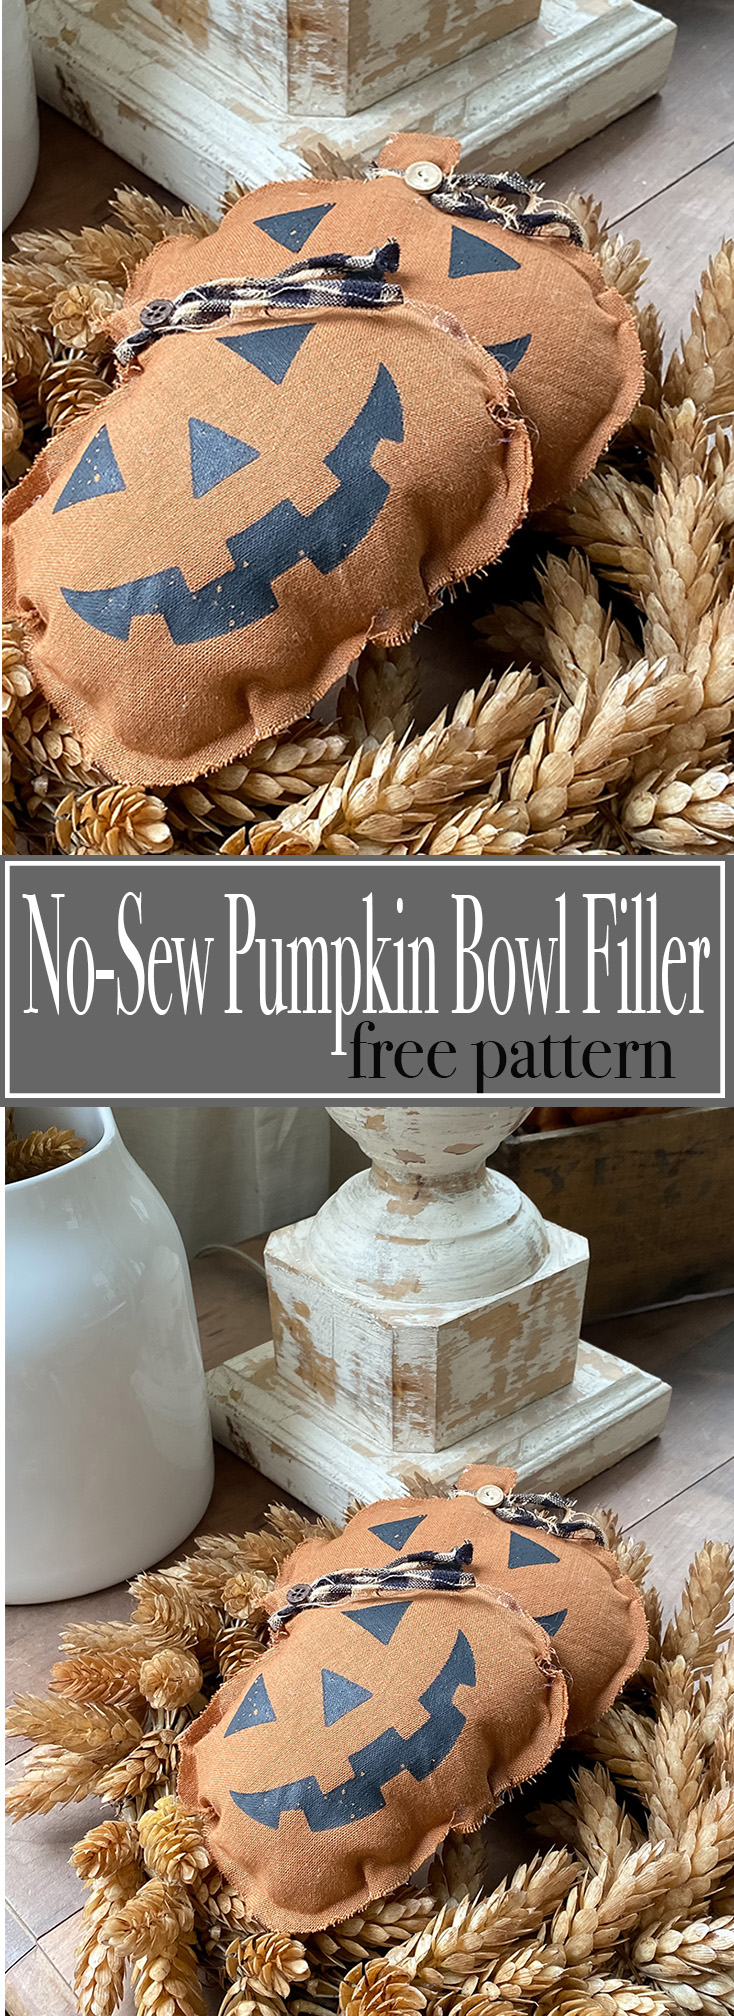
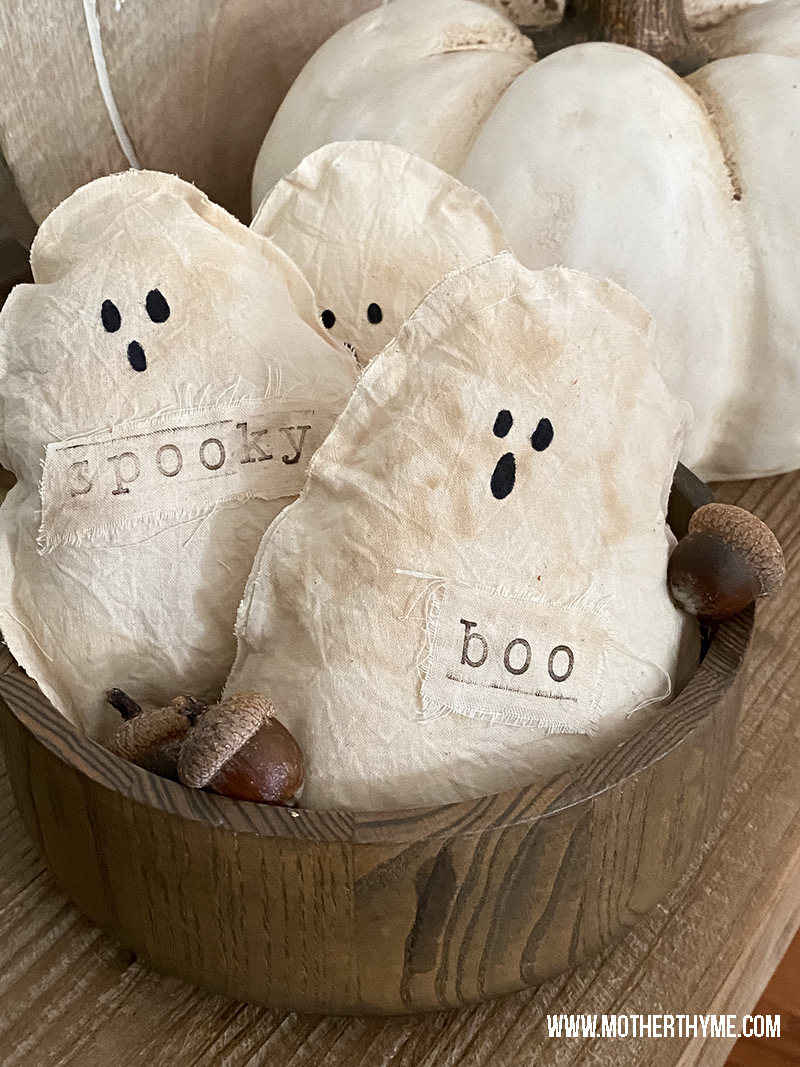
No-Sew Pumpkin Bowl Filler – Free Pattern
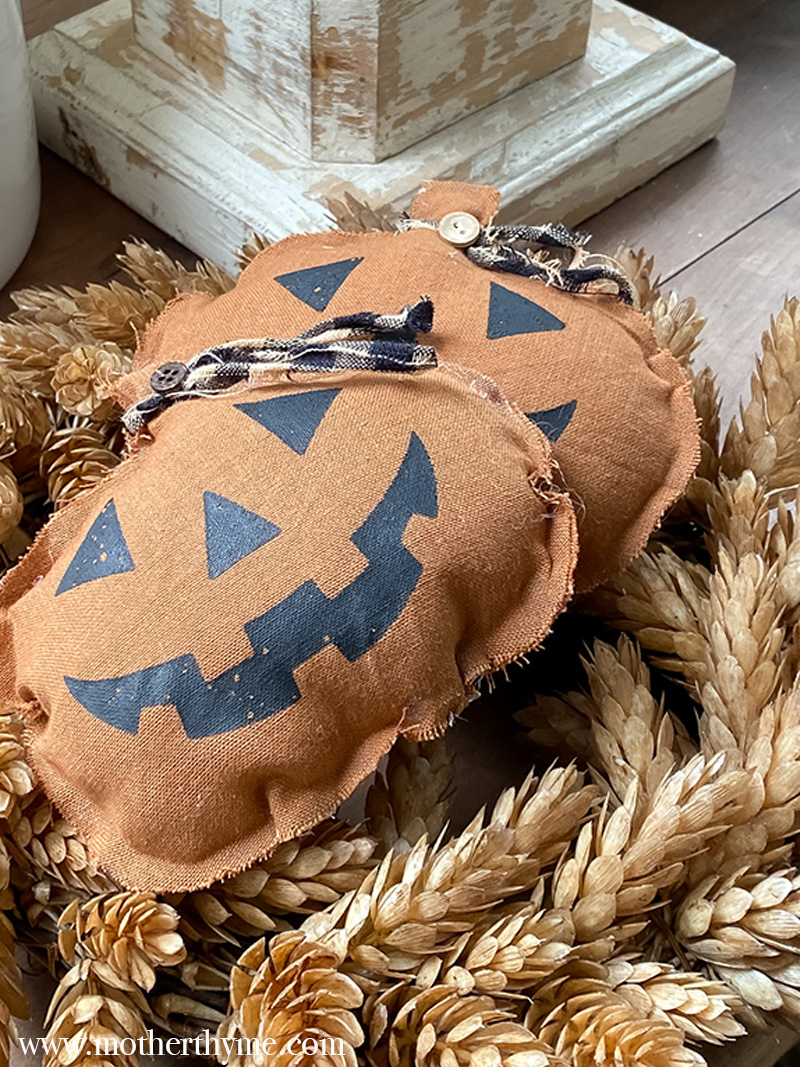
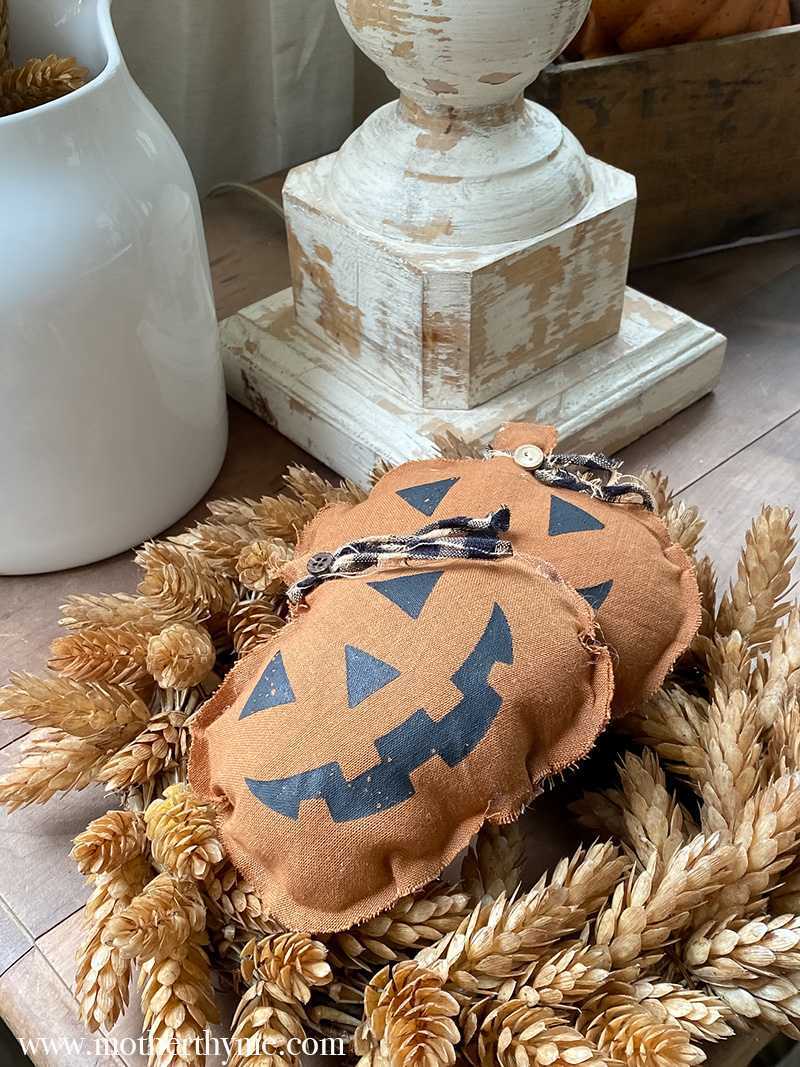
These adorable No-Sew Pumpkin Bowl Fillers are so fun and easy to make! Add a bunch to a bowl, use on a tiered tray or tuck anywhere in your home to add to your fall decor!
It’s time for another no-sew pattern! I love making these! There are so many uses for them, not to to add to a bowl. You can add some twine to the back to hang, for a tiered tray or tuck here and there throughout your home.
Check out these no-sew bowl fillers
For the pumpkin bowl filler you can add a cute jack o lantern face or not. You can even have fun and use a variety of fabrics. I love the combo of using fall solid colors and even plaid or homespun fabric. Whatever matches your decor.
This is a great way to use up scrap fabric. If you have some fabric laying around that you want to use, whip up some of these cuties.
WATCH HOW I MAKE THEM IN THIS VIDEO
Coming Soon…
Here’s what you need
- Fabric – the fabric I used is from Hobby Lobby
- Stuffing – you can grab some at the craft store or use stuffing/polyfil from an old pillow
- Pattern – download for free below
- Hot glue and glue gun
- Scissors
- Pins
- Accents – I used a thin piece of torn homespun and a button
- Jack O Lantern pattern – I use a reusable transfer. I’ll include a link for it below. You could even draw it on with a sharpie or paint pen.
DOWNLOAD FREE PATTERN
Download the pattern above. Print it at ACTUAL SIZE so it’s the size of mine. If you don’t adjust your print settings, your printer may shrink the pattern slightly.
Next cut the pattern out.
Trace the pattern out on the fabric. I place 2 piece of fabric and pin them together and then cut them out both at once. I like to use a Frixon pen for marking my fabric. It disappears with heat. You can also pin the pattern directly on fabric and cut around it.
If you want to make plain pumpkins you don’t need to remove the pins. Just proceed to gluing the pieces together leaving an opening to add stuffing.
If you want to add a Jack O Lantern face, take one of the cut out pumpkins and draw on the face using a sharpie or paint pen.
If you want to do it like mine. I used a transfer. What I love about these is I can wash and reuse it.
I simply place the transfer on top of my pumpkin, add the paste and then remove the transfer. So easy and I love the detail on this face.
I wash my transfer and place it on the backing to reuse again.
LINK FOR PUMPKIN FACE TRANSFER
LINK FOR SINGLE PACKET OF CHALK PASTE
Next add a ribbon of hot glue around the fabric, leaving an opening on the bottom to add stuffing. You can even add a few drops of essential oil to a cotton ball and add that into the stuffing.
Remove pins, and add stuffing so it’s nice and stuffed, then seal the opening with hot glue.
Finally I tie a thin piece or torn homespun around the stem and hot glue on a button.
So cute and easy!
If you make these I’d love to see! Snap a picture and tag me on Instagram at motherthyme.
And for daily decor and DIY inspo follow me on Instagram!

Your fabric choice is perfect. You said hobby lobby. Is it s homespun cotton or a home decor fabric. It looks like it had texture which I love !