Skip to content
Facebook
Instagram
Pinterest
TikTok
Twitter
YouTube
Email
MOTHER THYME PRINT SHOP
HOME
YOUTUBE
BLOG
RECIPE INDEX
ABOUT
AMAZON
CHALK COUTURE
PRINT SHOP
Expand
DIGITAL PRINT SHOP
FREE PRINTABLES
Facebook
Twitter
Instagram
Search
Toggle Menu
Home
/
desserts
desserts
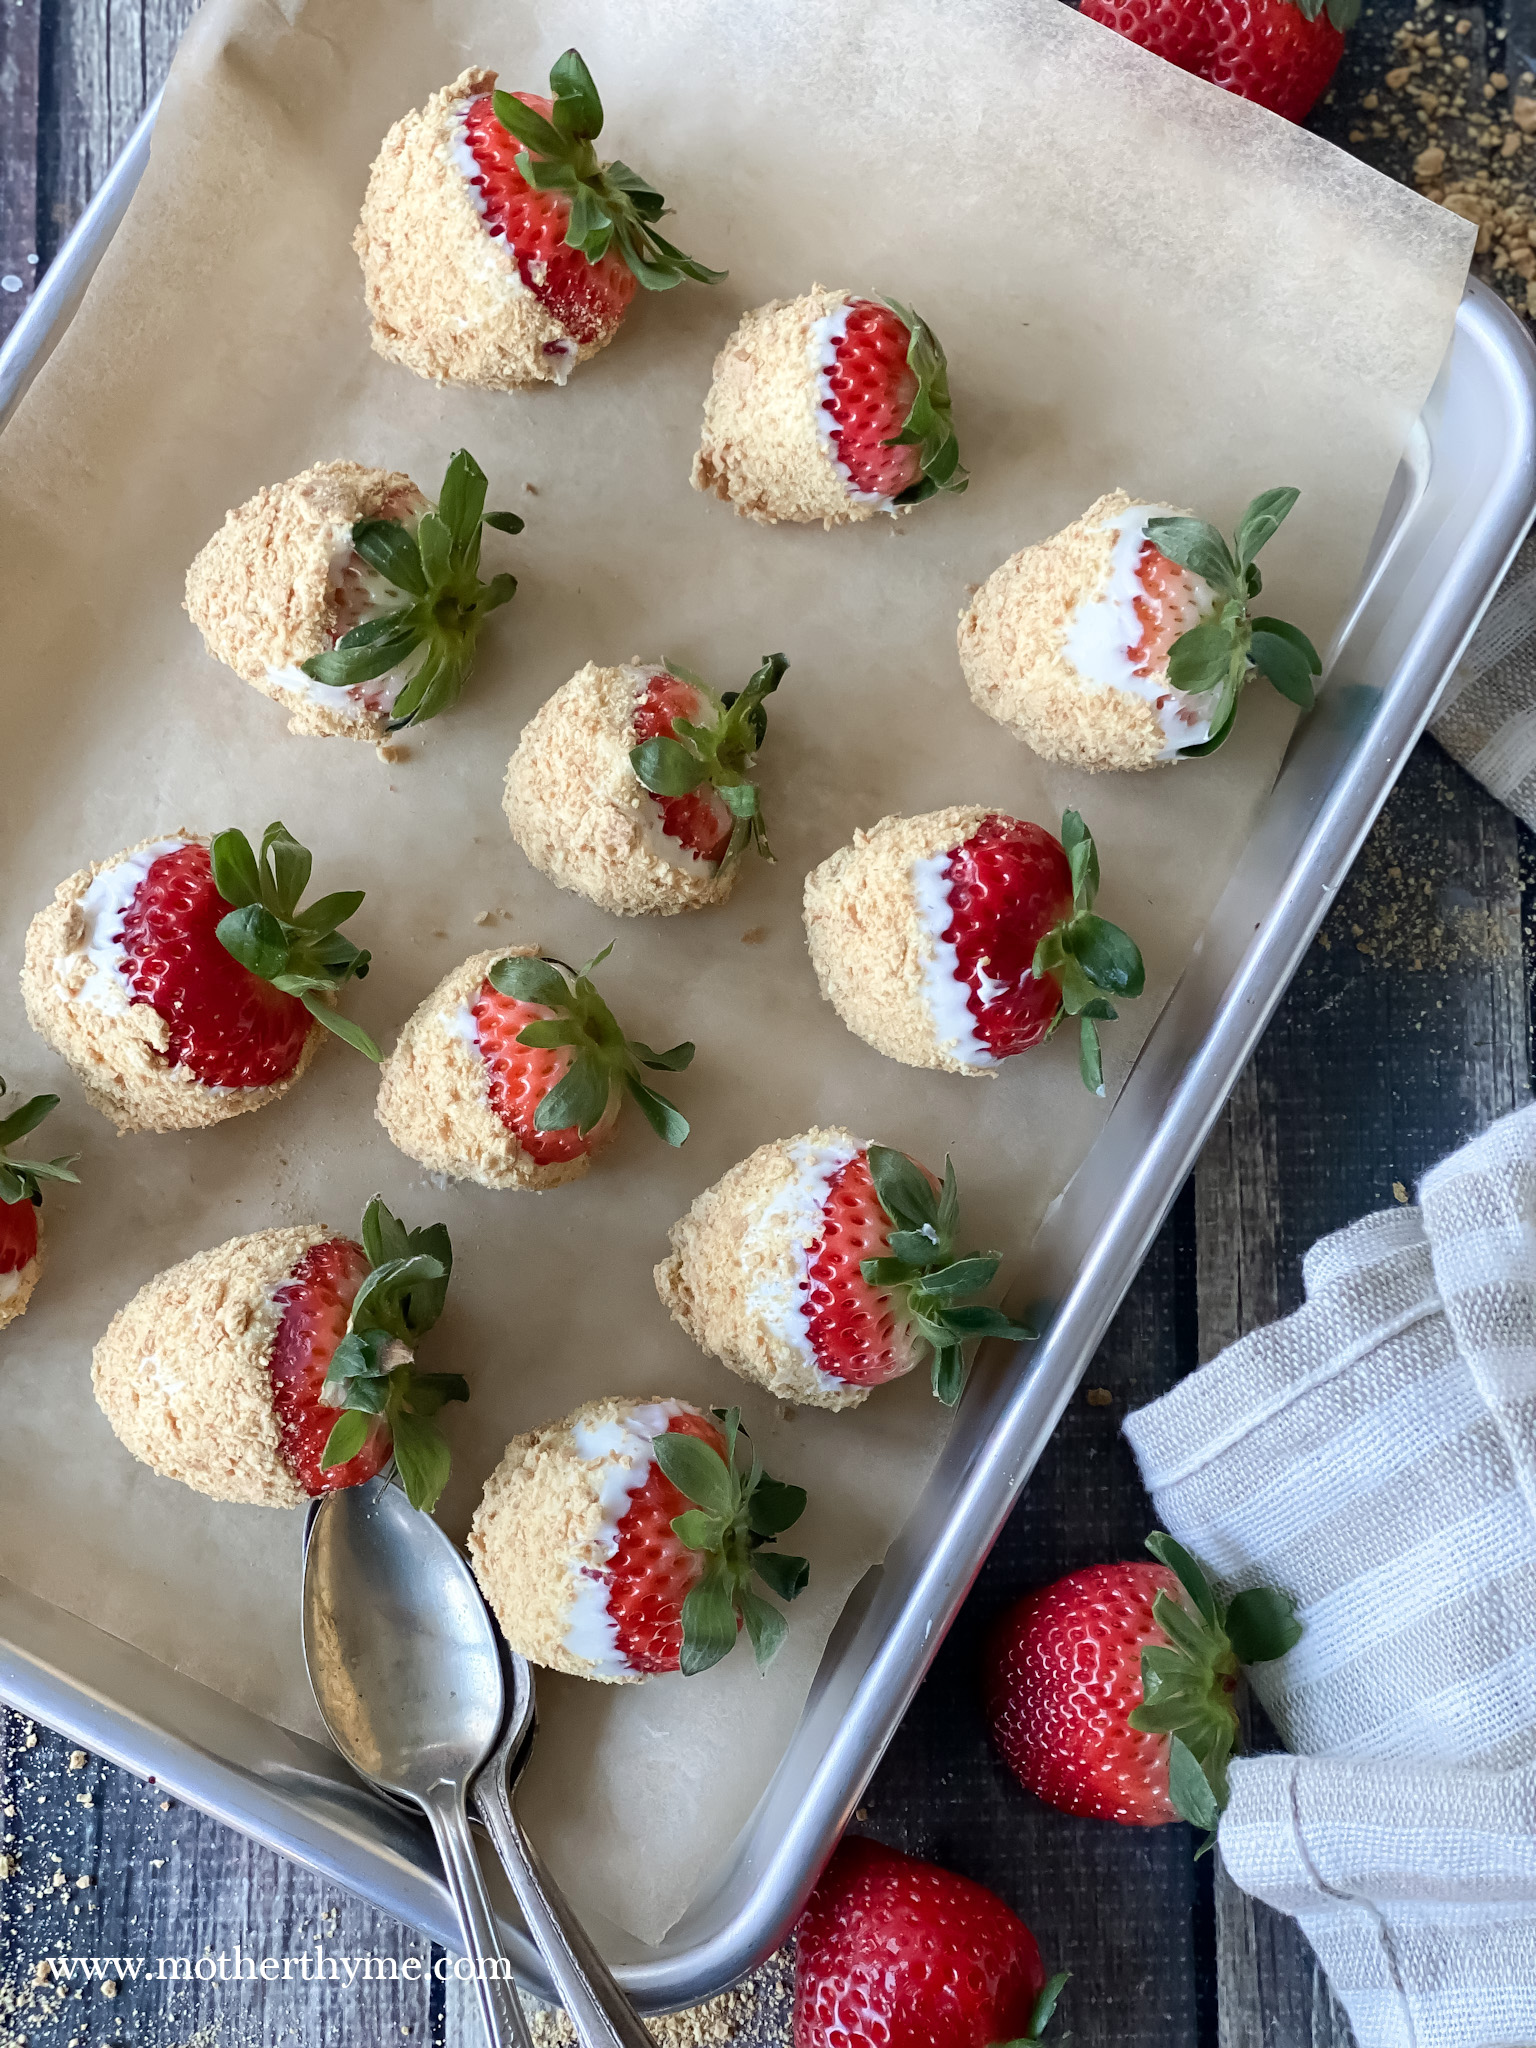
Easy Cheesecake Dipped Strawberries
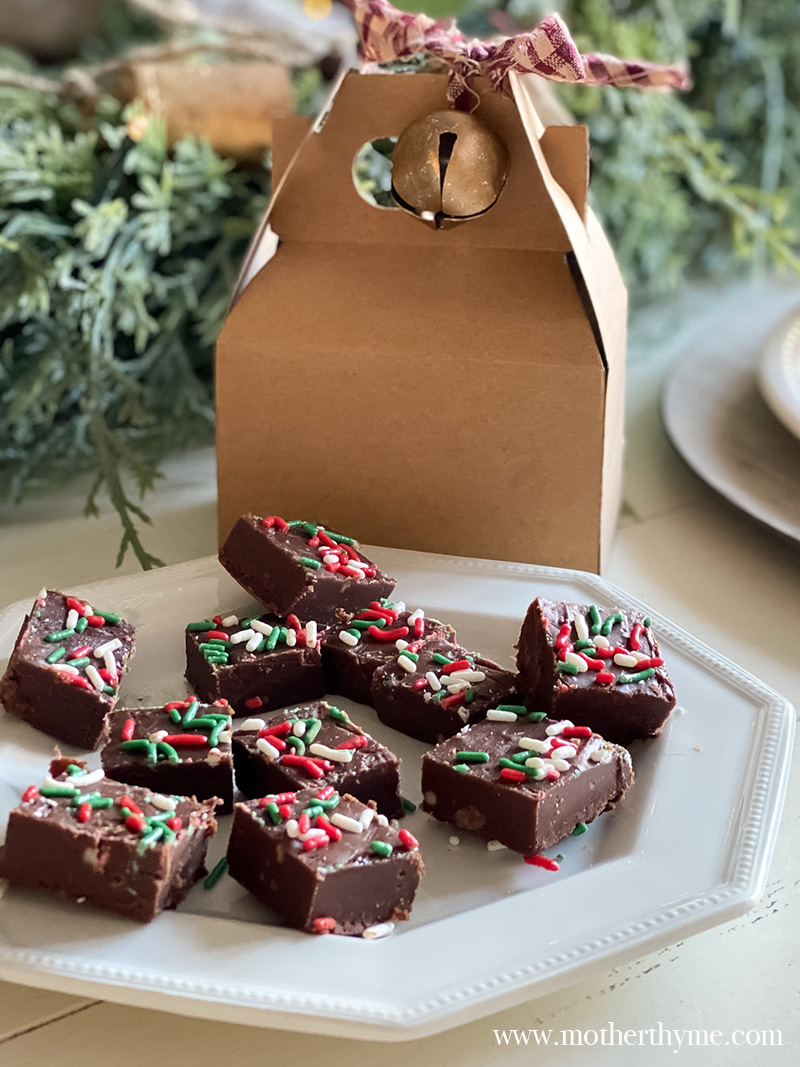
Easy Chocolate Fudge
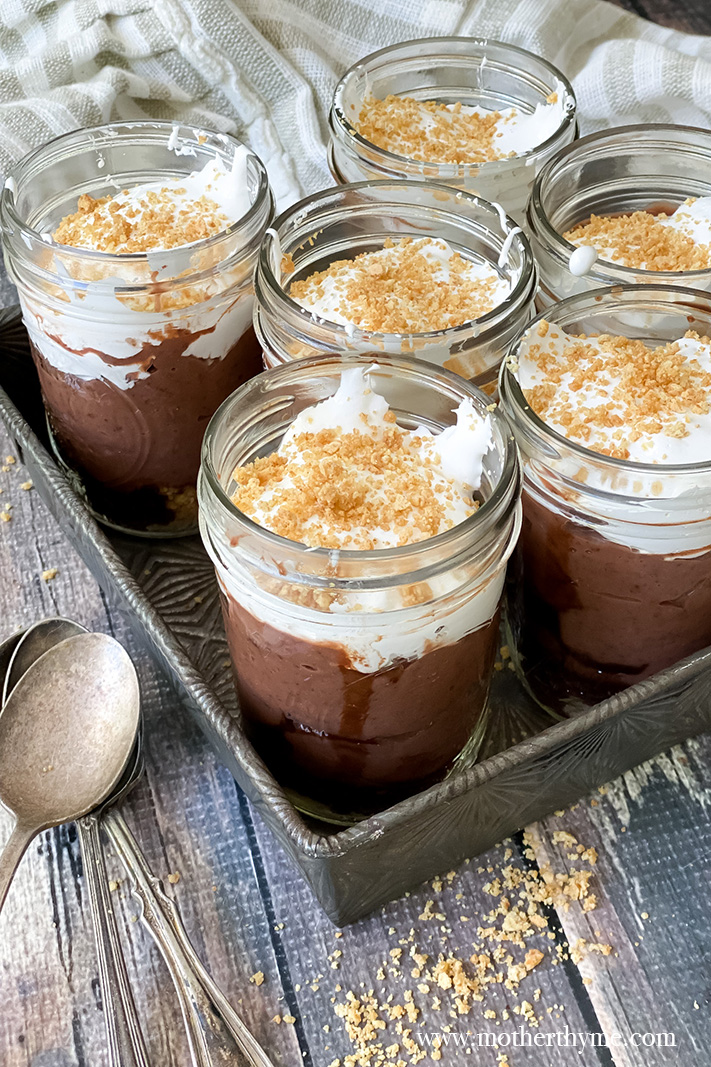
S’mores in a Jar
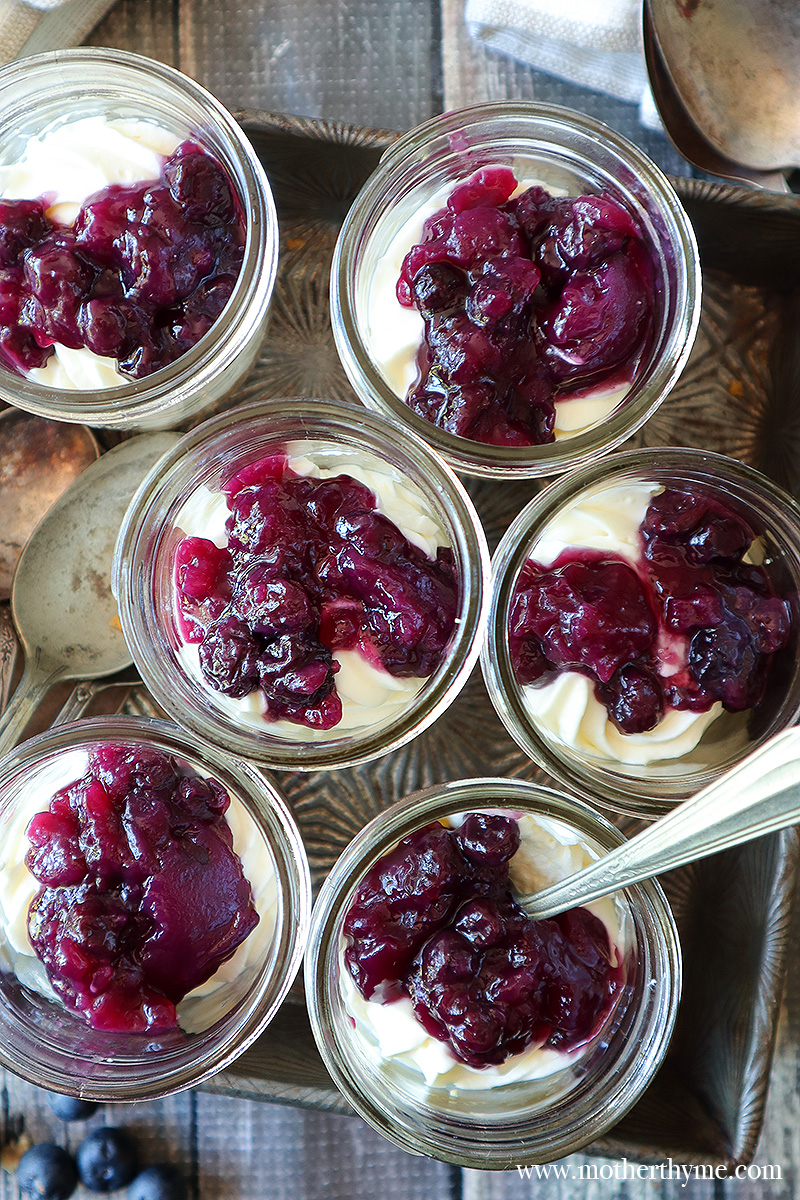
No-Bake Cheesecake in a Jar
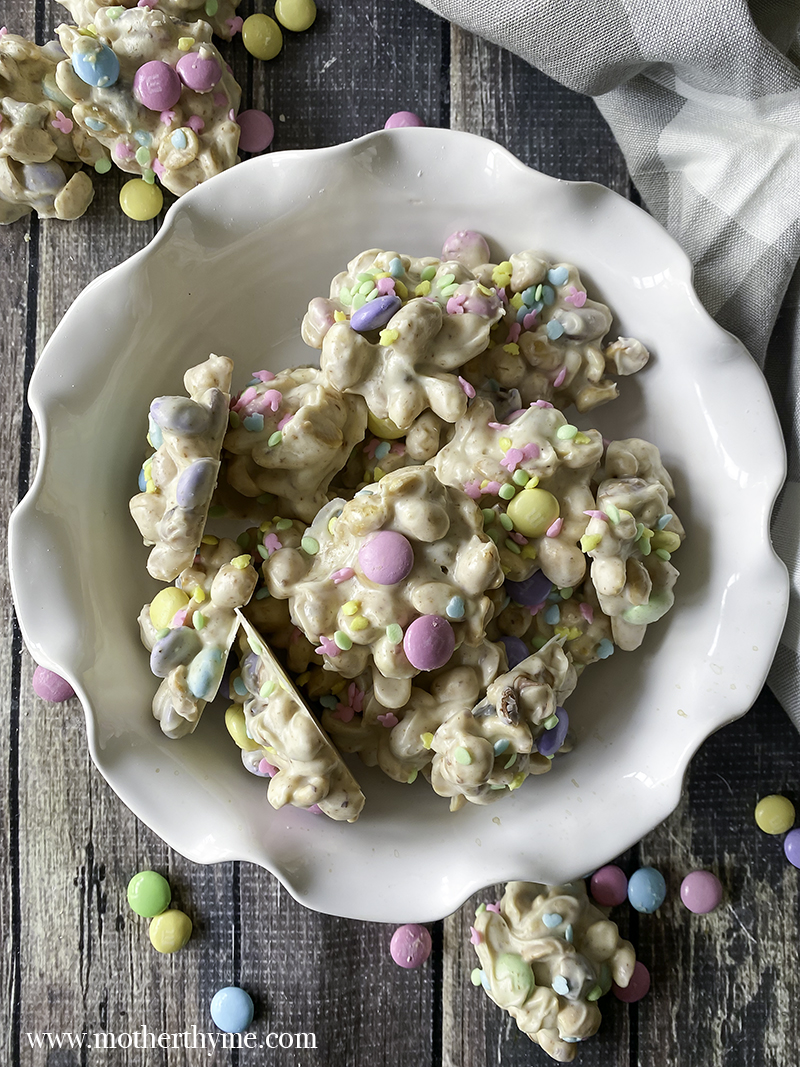
5-Ingredient Crock Pot Easter Peanut Clusters
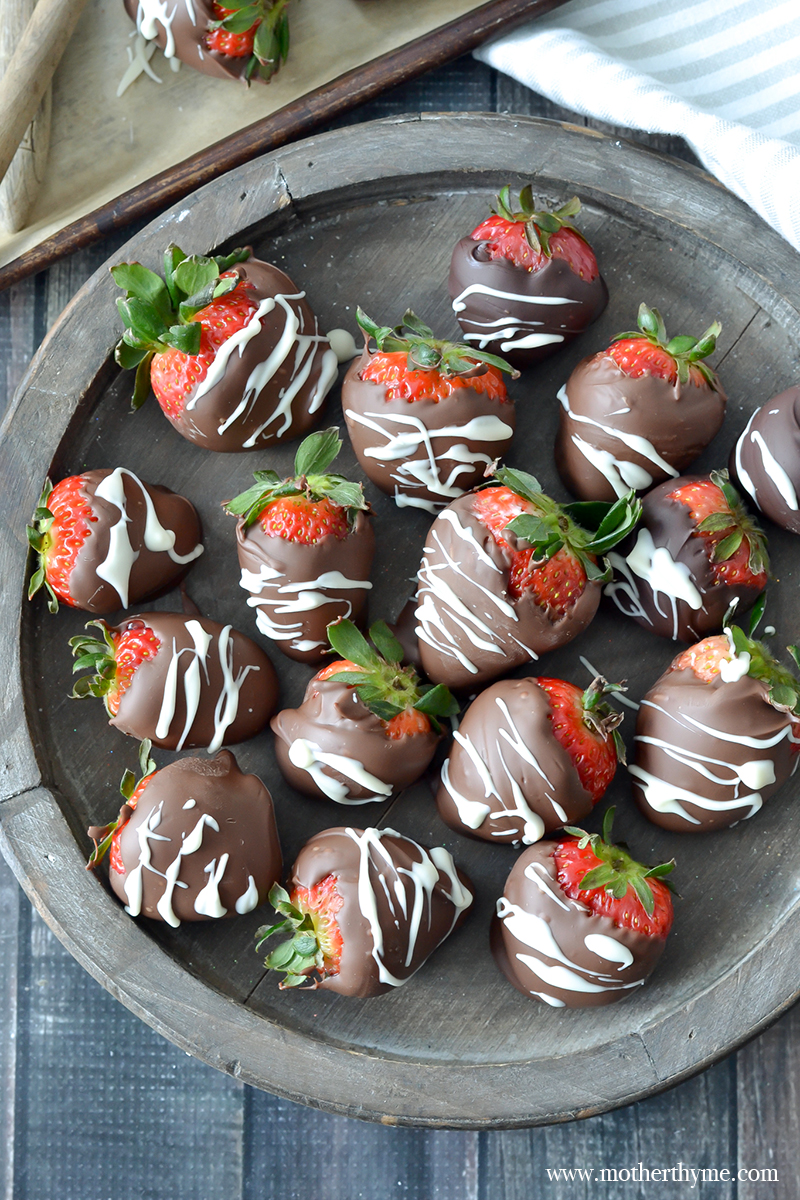
Chocolate Covered Strawberries
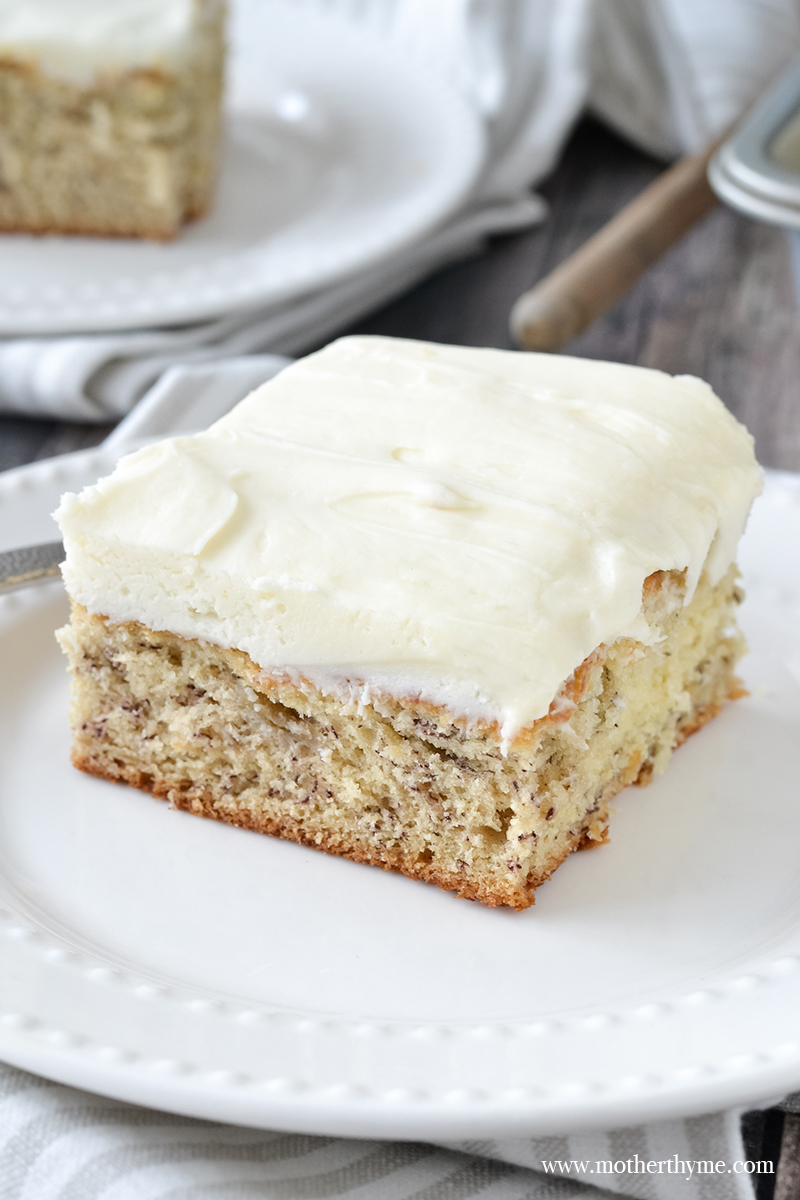
Homemade Banana Cake with Cream Cheese Frosting
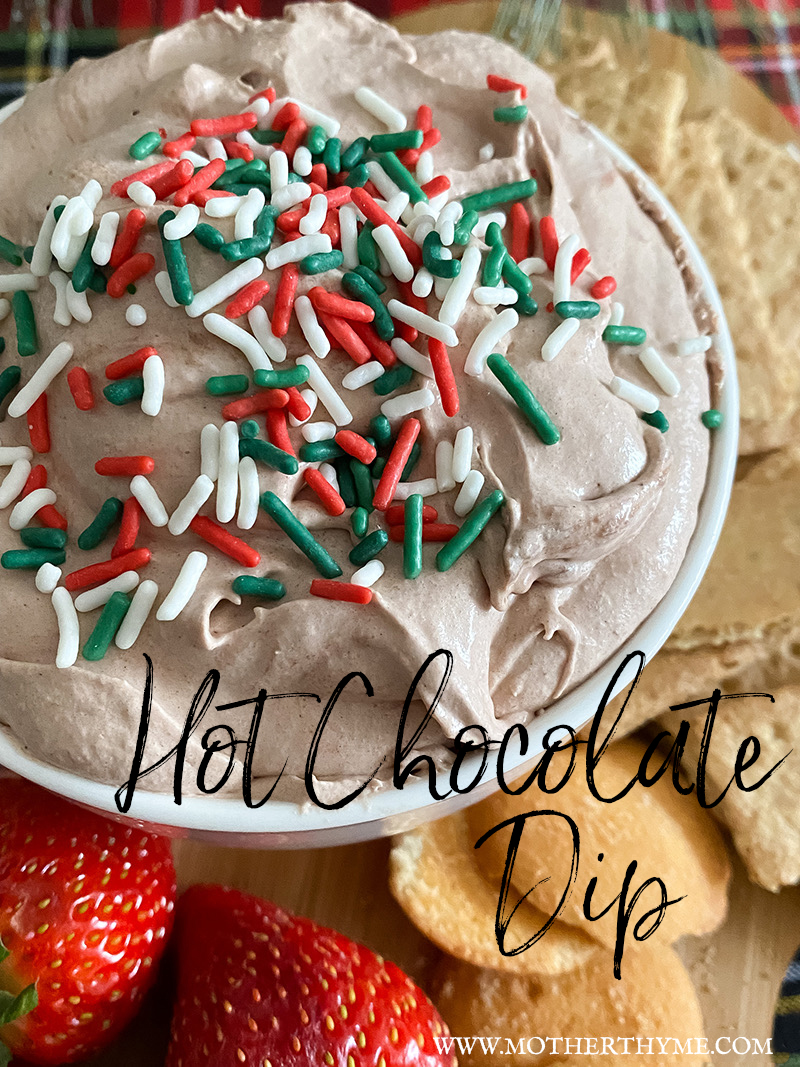
Hot Chocolate Dip
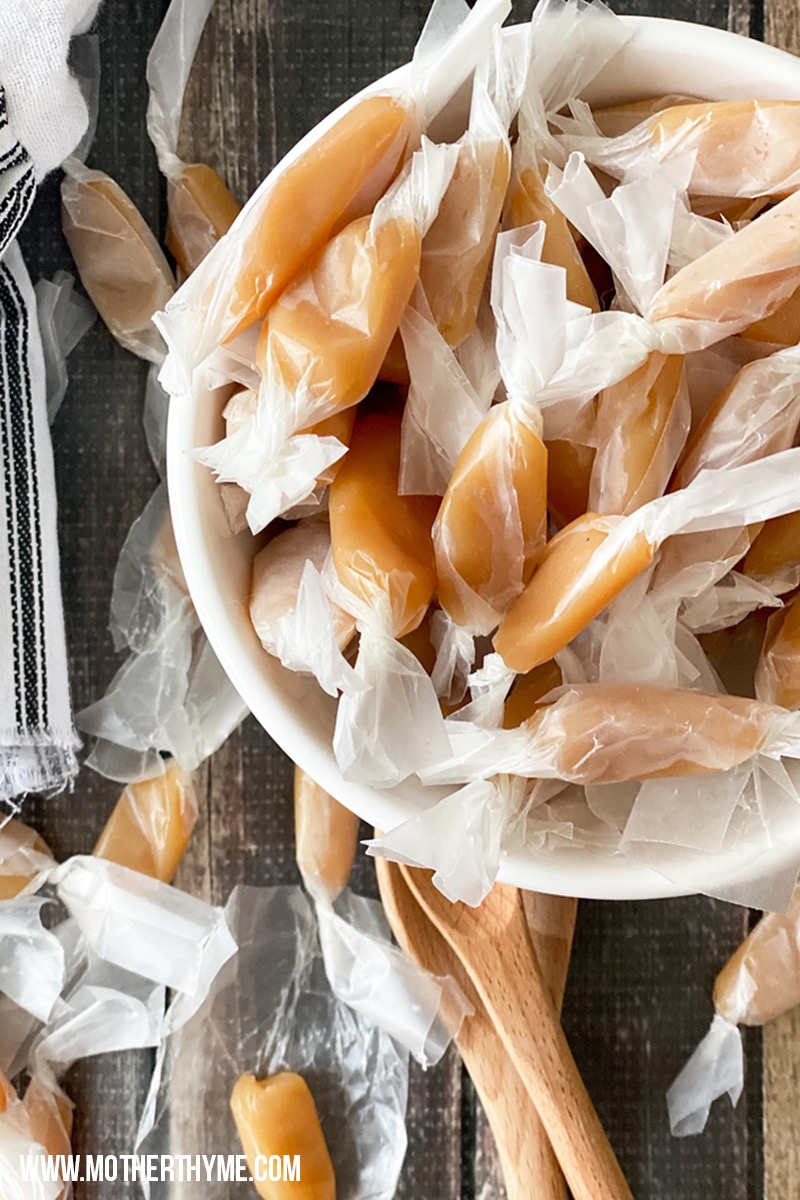
Easy Homemade Caramels
Page navigation
1
2
3
…
14
Next Page
Next
Scroll to top
Scroll to top
HOME
YOUTUBE
BLOG
RECIPE INDEX
ABOUT
AMAZON
CHALK COUTURE
PRINT SHOP
Expand child menu
Expand
DIGITAL PRINT SHOP
FREE PRINTABLES
Toggle Menu Close
Search for:
Search