DIY Light Up Primitive Pantry Jars
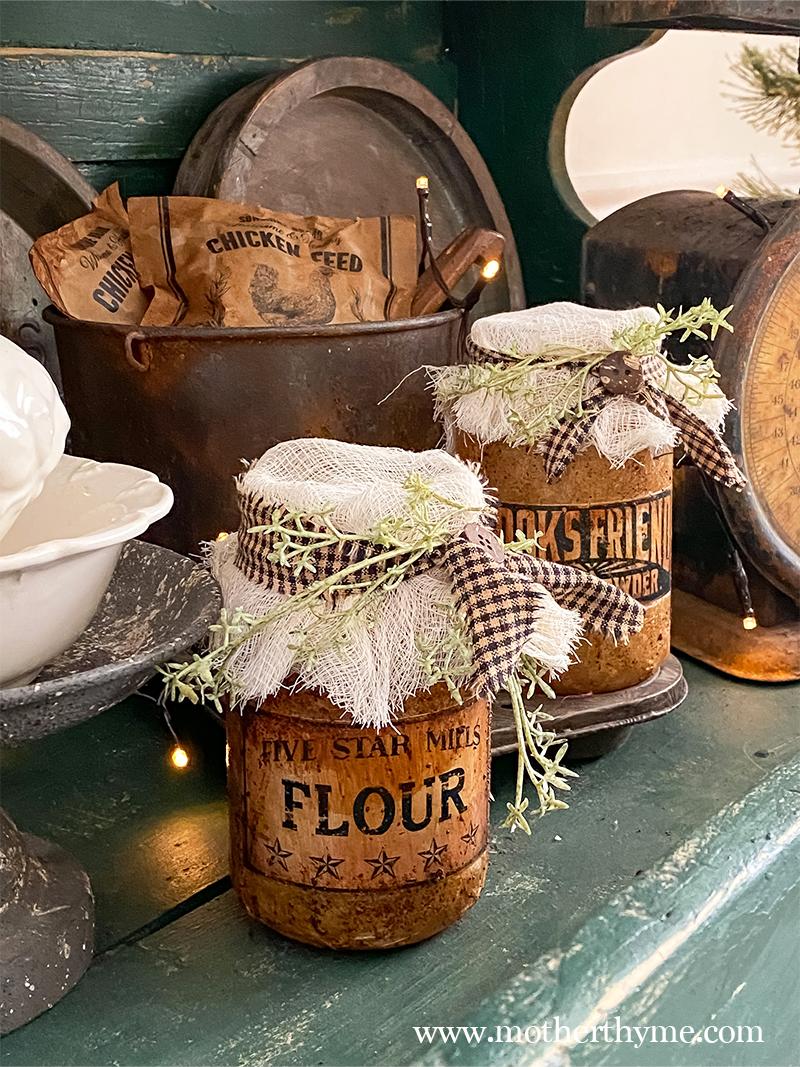
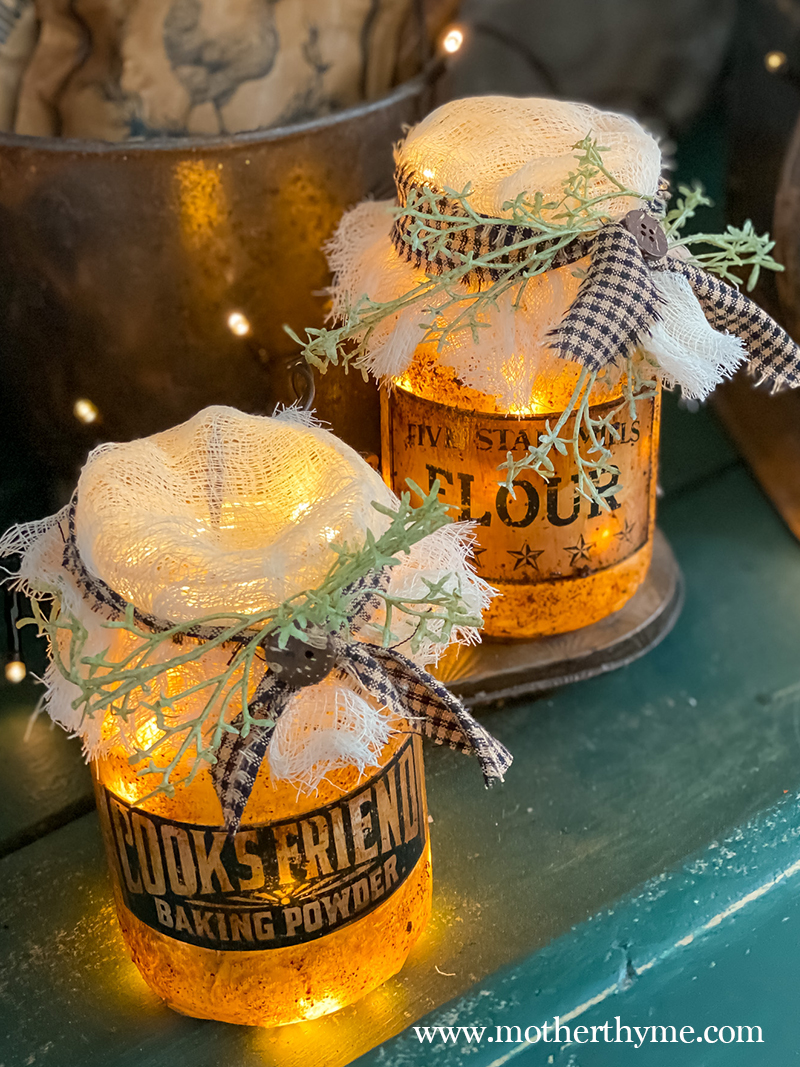
How cute are these primitive jars? I love how they turned out! They even night up! Perfect to add a cozy glow anywhere in your home, to add on a shelf or coffee bar or to use as night light.
These primitive jars are so easy to make! Wait until you see! With just a few supplies you’ll be able to whip a bunch of these up!
So grab some jars and let’s get crafting!
Click HERE to watch on I made this on Facebook!
What you need
- Jars – I recommend finding smooth jars. The jars I’m using are from Dollar Tree. You can find similar ones at Hobby Lobby or even save your own jars.
- Matte Mod Podge
- Instant Coffee
- Cinnamon
- Unbleached parchment paper
- Printable labels – I find my on Etsy (click HERE for the labels I used)
- Unbleached cheesecloth (I get mine at Hobby Lobby)
- A piece of torn homespun (I get mine at Hobby Lobby)
- Button
- Paint brush
- A few pieces of greens, Spanish moss or sweet annie
- Hot glue (for button)
WATCH ON FACEBOOK
Steps
- Grind a little bit of instant coffee until it’s not as coarse. I usually do about a cup at a time and store the leftovers in a mason jar to use for other projects.
- I also add some ground cinnamon into my ground instant coffee. I usually just eyeball it, about a few teaspoons to every cup.
- Take some of your matte Mod Podge and mix a little of your ground instant coffee. Start with about 1/4 cup of Mod Podge, you can always mix up more if you need some then stir in some of the ground instant coffee until it’s a nice light brown or caramel color, whatever you desired. It just gives it a nice tint.
- Next cut a piece of parchment paper large enough to roll around the jar. You can trim the excess off later.
- Next apply a coat of Mod Podge on the jar, then wrap jar with parchment paper, smoothing it out with your fingers. Pleat the bottom and trim off excess. I also trim the excess at the top before rim.
- Cut out label, add a coat of Mod Podge to the back and attach to jar.
- Let it dry slightly then add a coat of Mod Podge on top to seal it in. I also cover the label.
- While Mod Podge is still wet I also dip my brush into the ground coffee and brush it on top of jar to give it a more texture. I also apply thicker layers in spots.
- Then I give it one more light coat of Mod Podge to seal it all in.
- Let it air dry or if it’s a nice, warm sunny day place it in the sun and it will dry fast. You can also dry it with a dryer too.
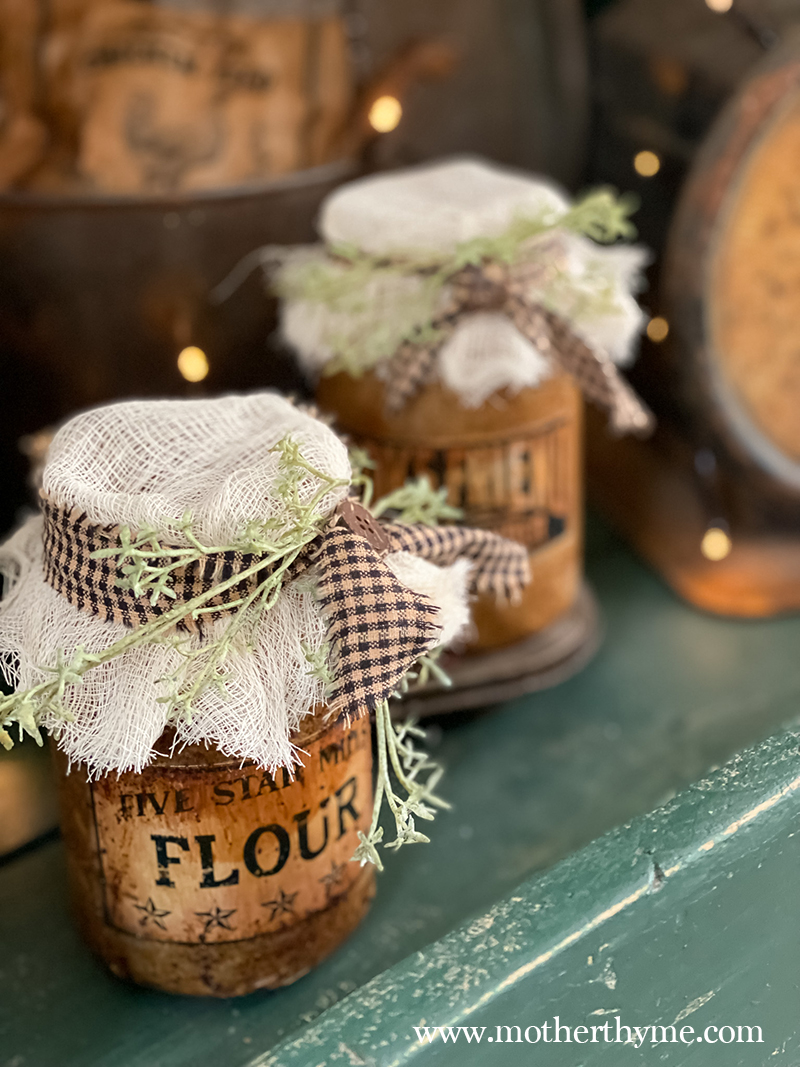
- Next if desired add some battery operated lights in the jar, keeping the battery pack outside of the jar to easily turn on and off or to change batteries.
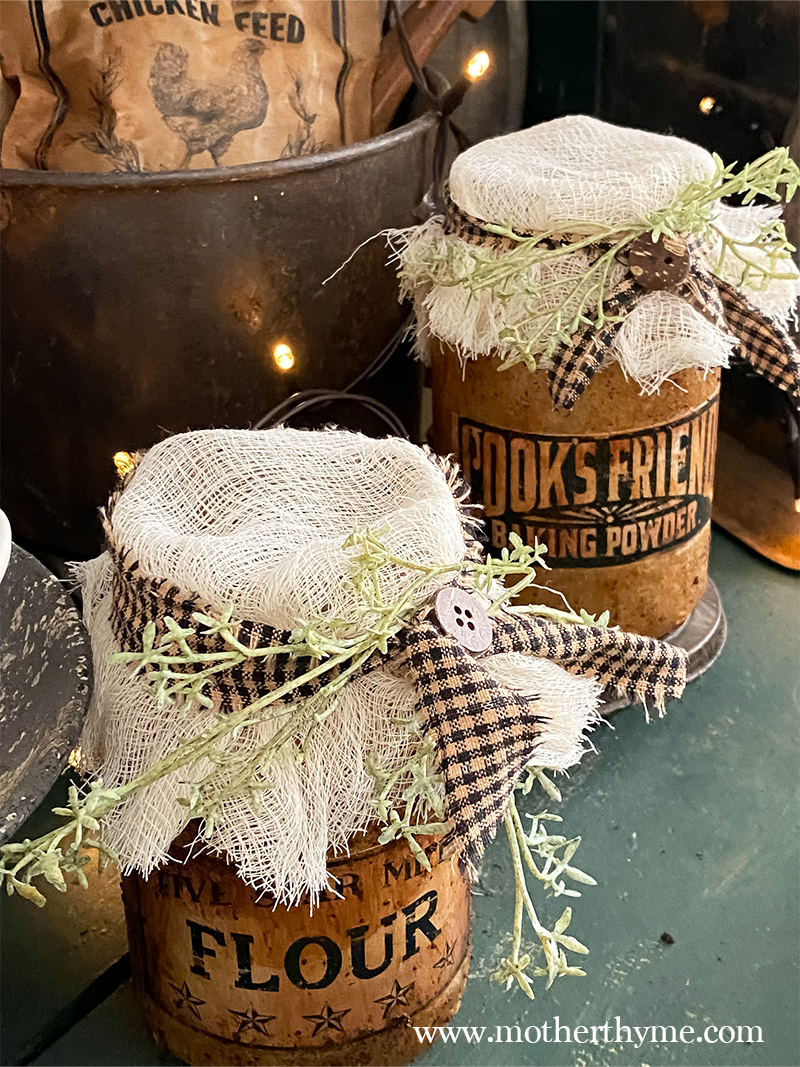
- I topped the jar with a piece of unbleached cheesecloth and wrapped it with a piece of torn homespun. I also add some pieces of greens and a hot glued on a button.
How cute will these be for fall and Christmas? You can make these using seasonal labels or switch the greens out on these jars with seasonal stems.
If you make this too I’d love to see! Snap a picture and tag me on Facebook or Instagram!